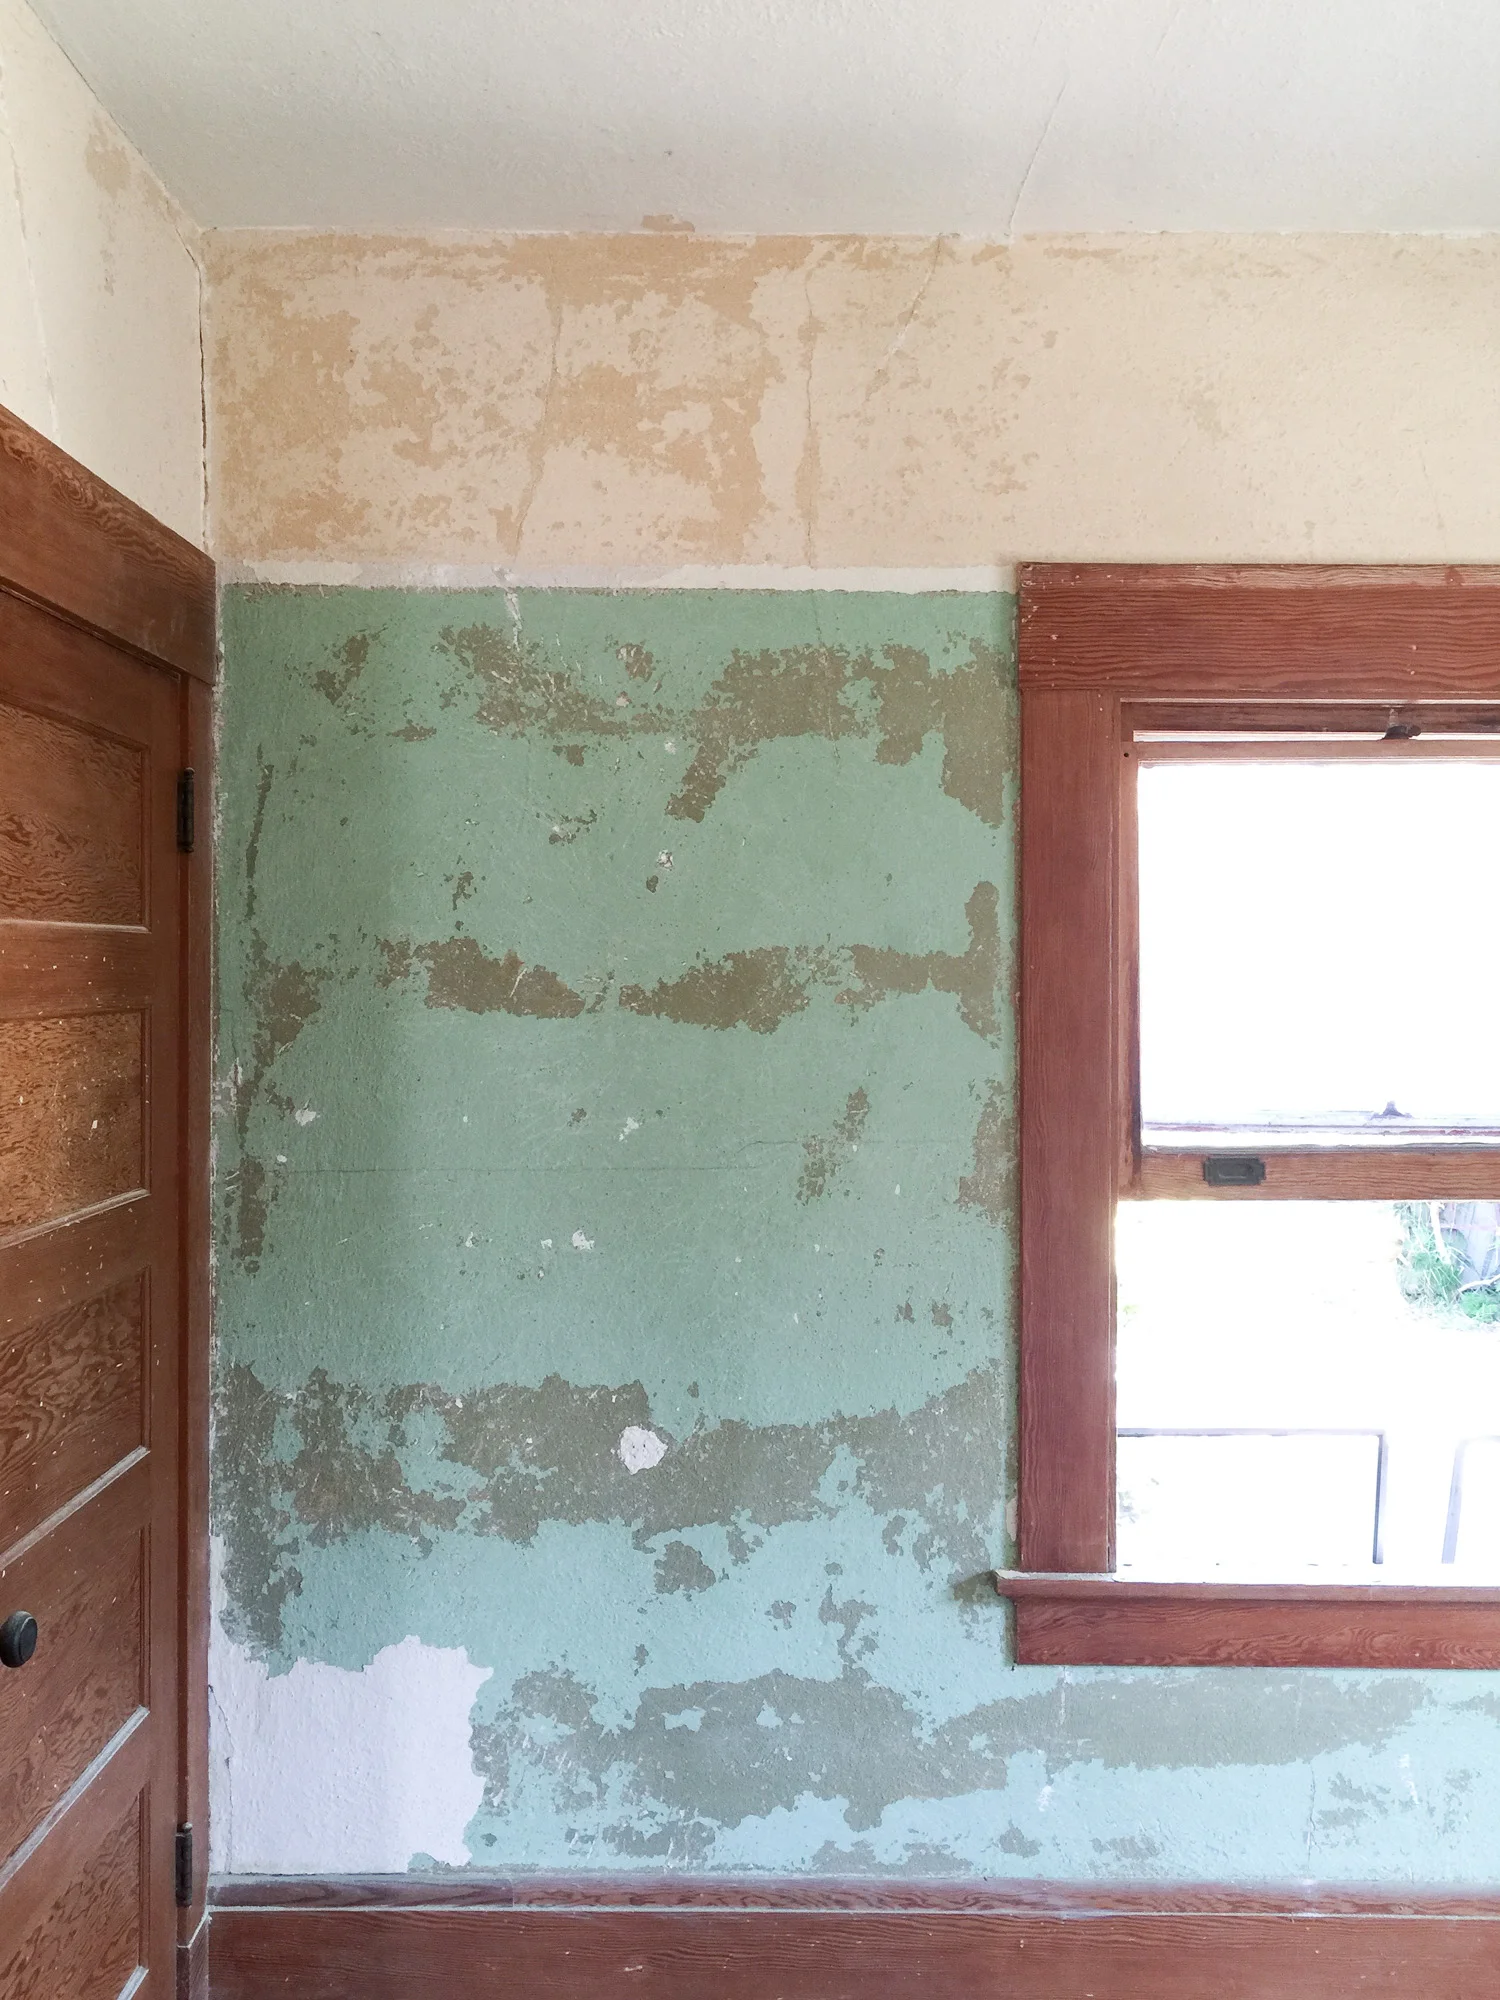
The process is quite simple once you get the hang of the wrist movements. I used Holly's recommended mud pan and a small putty knife to fill the big holes and cracks, then layered them with fiberglass mesh tape to add strength that would prevent cracking again. Once everything was patched, I used a trowel to scrape the walls so I could knock down any high peaks in the texture. Then, I used the joint compound mixed with a touch of water to coat a layer over all surfaces. The idea was to use enough mud to fill in all of the valleys in the texture to bring the recessed portions to the height of the peaks but not so much that you're caking everything with an inch of drywall. I worked in the closets late at night so I lost track of time and the ability to judge the quality of my work, but I'd say it turned out pretty nicely - for a closet.
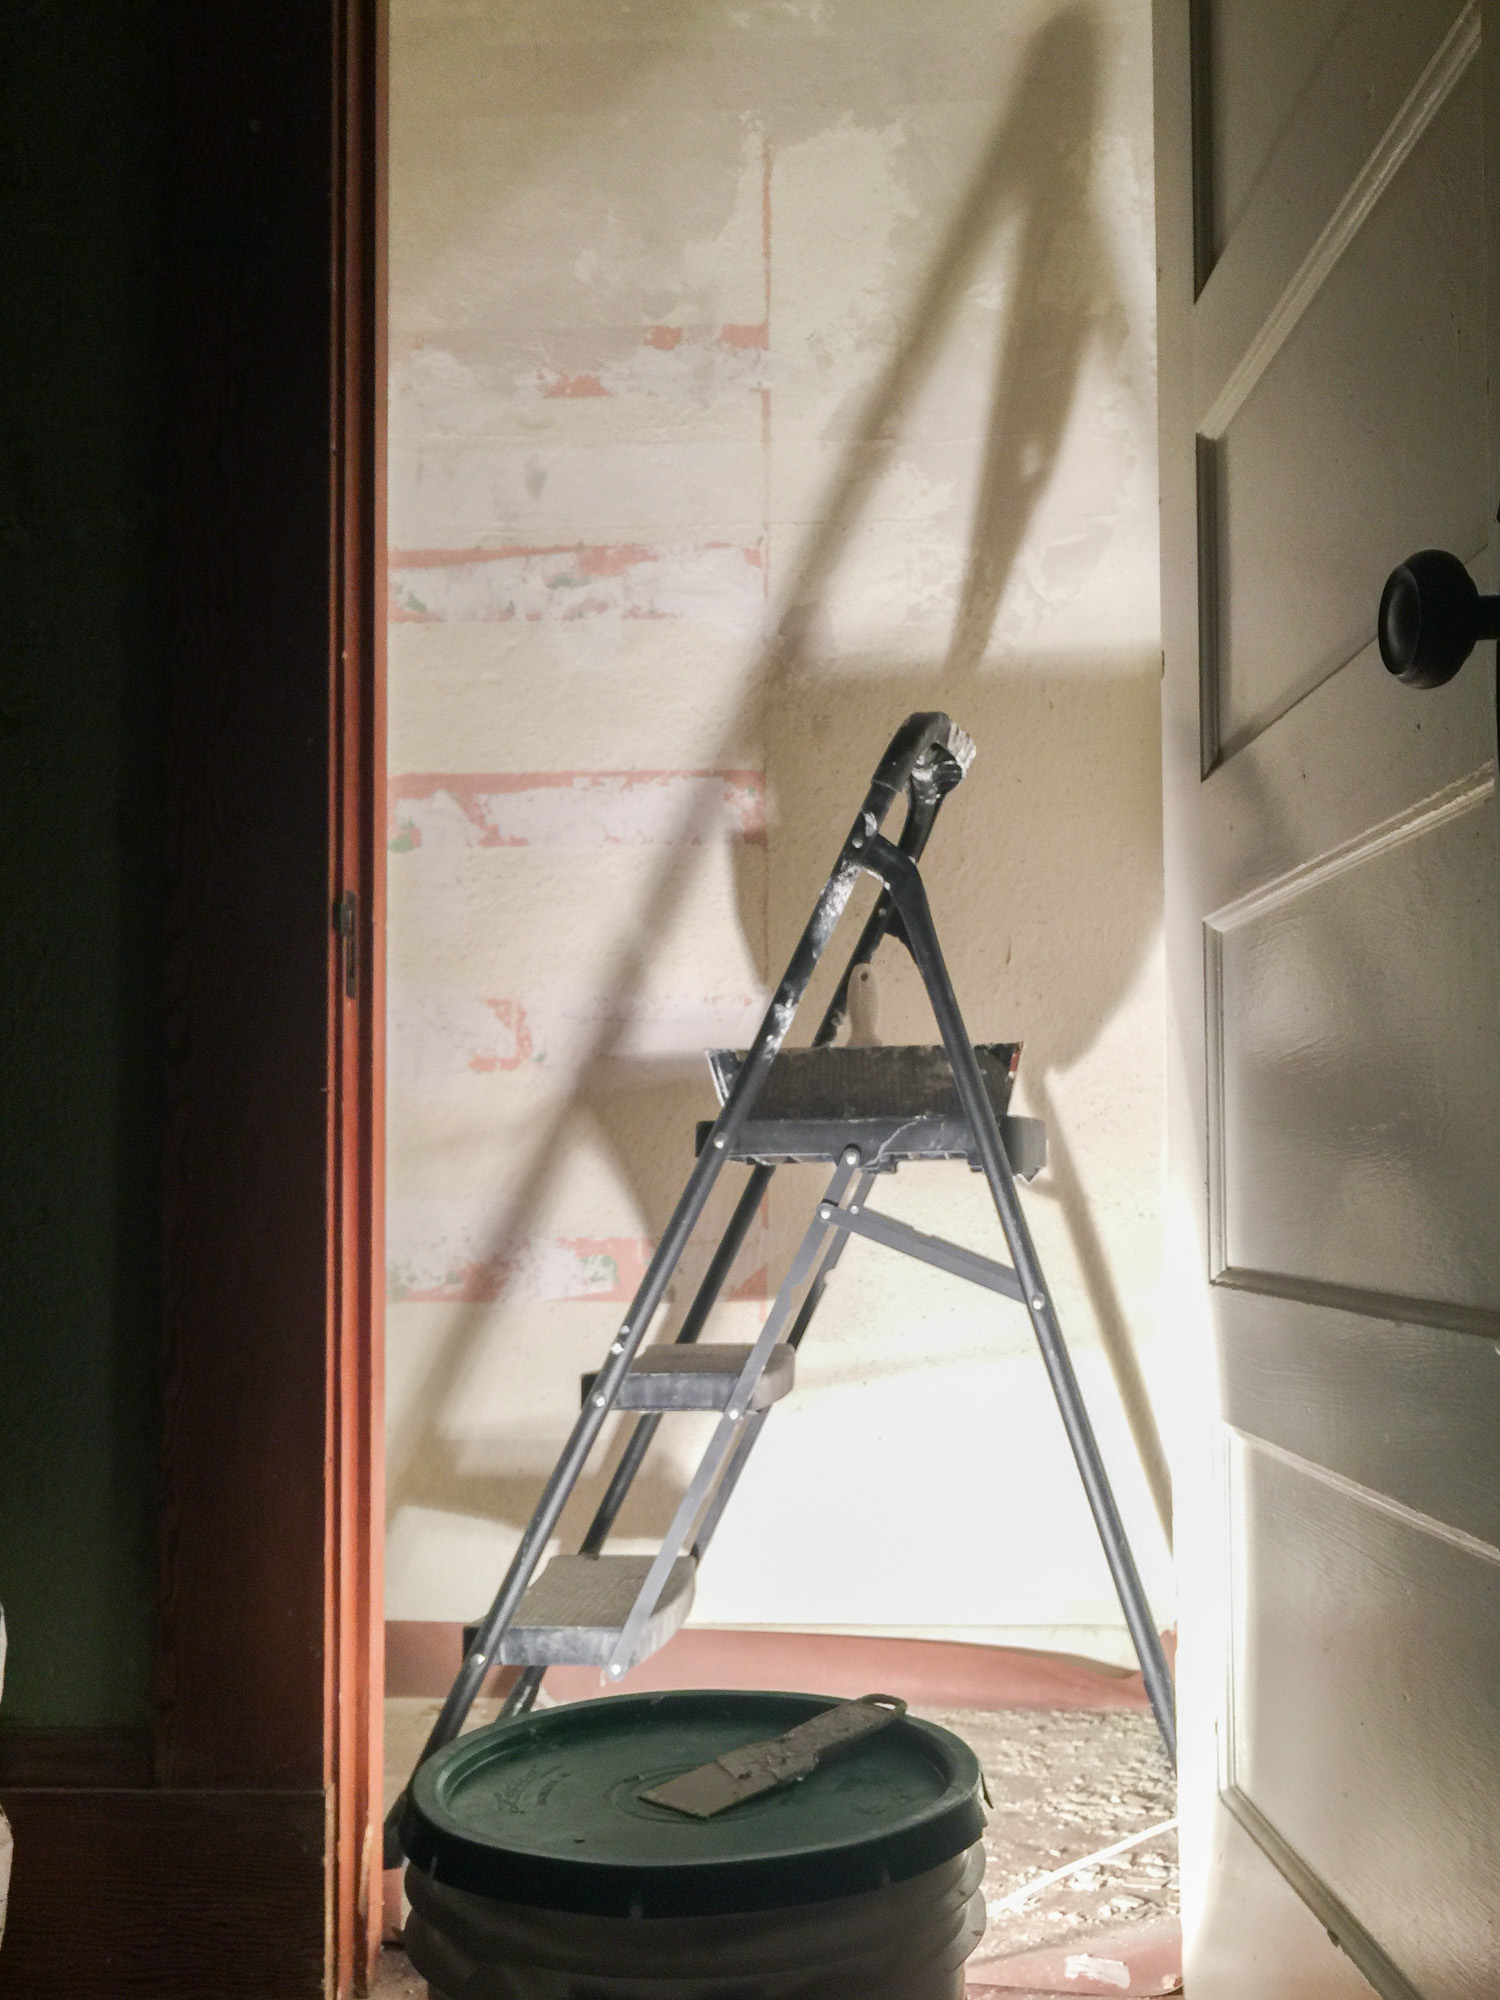
I really enjoyed working with the drywall mud but I was losing energy. I was retexturing walls while also doing lots of other projects on the must do before move-in list and I wasn't moving as quickly as I hoped. The wall texturing was necessary to complete before the floor refinishing, so I was risking slowing down the progress of the rest of the renovations. So, we hired it out, and I'm so glad we did. It was completed perfectly by the pros, freed up my time to work on other projects, and ensured that all wall surfaces were completely covered up and free of smells.
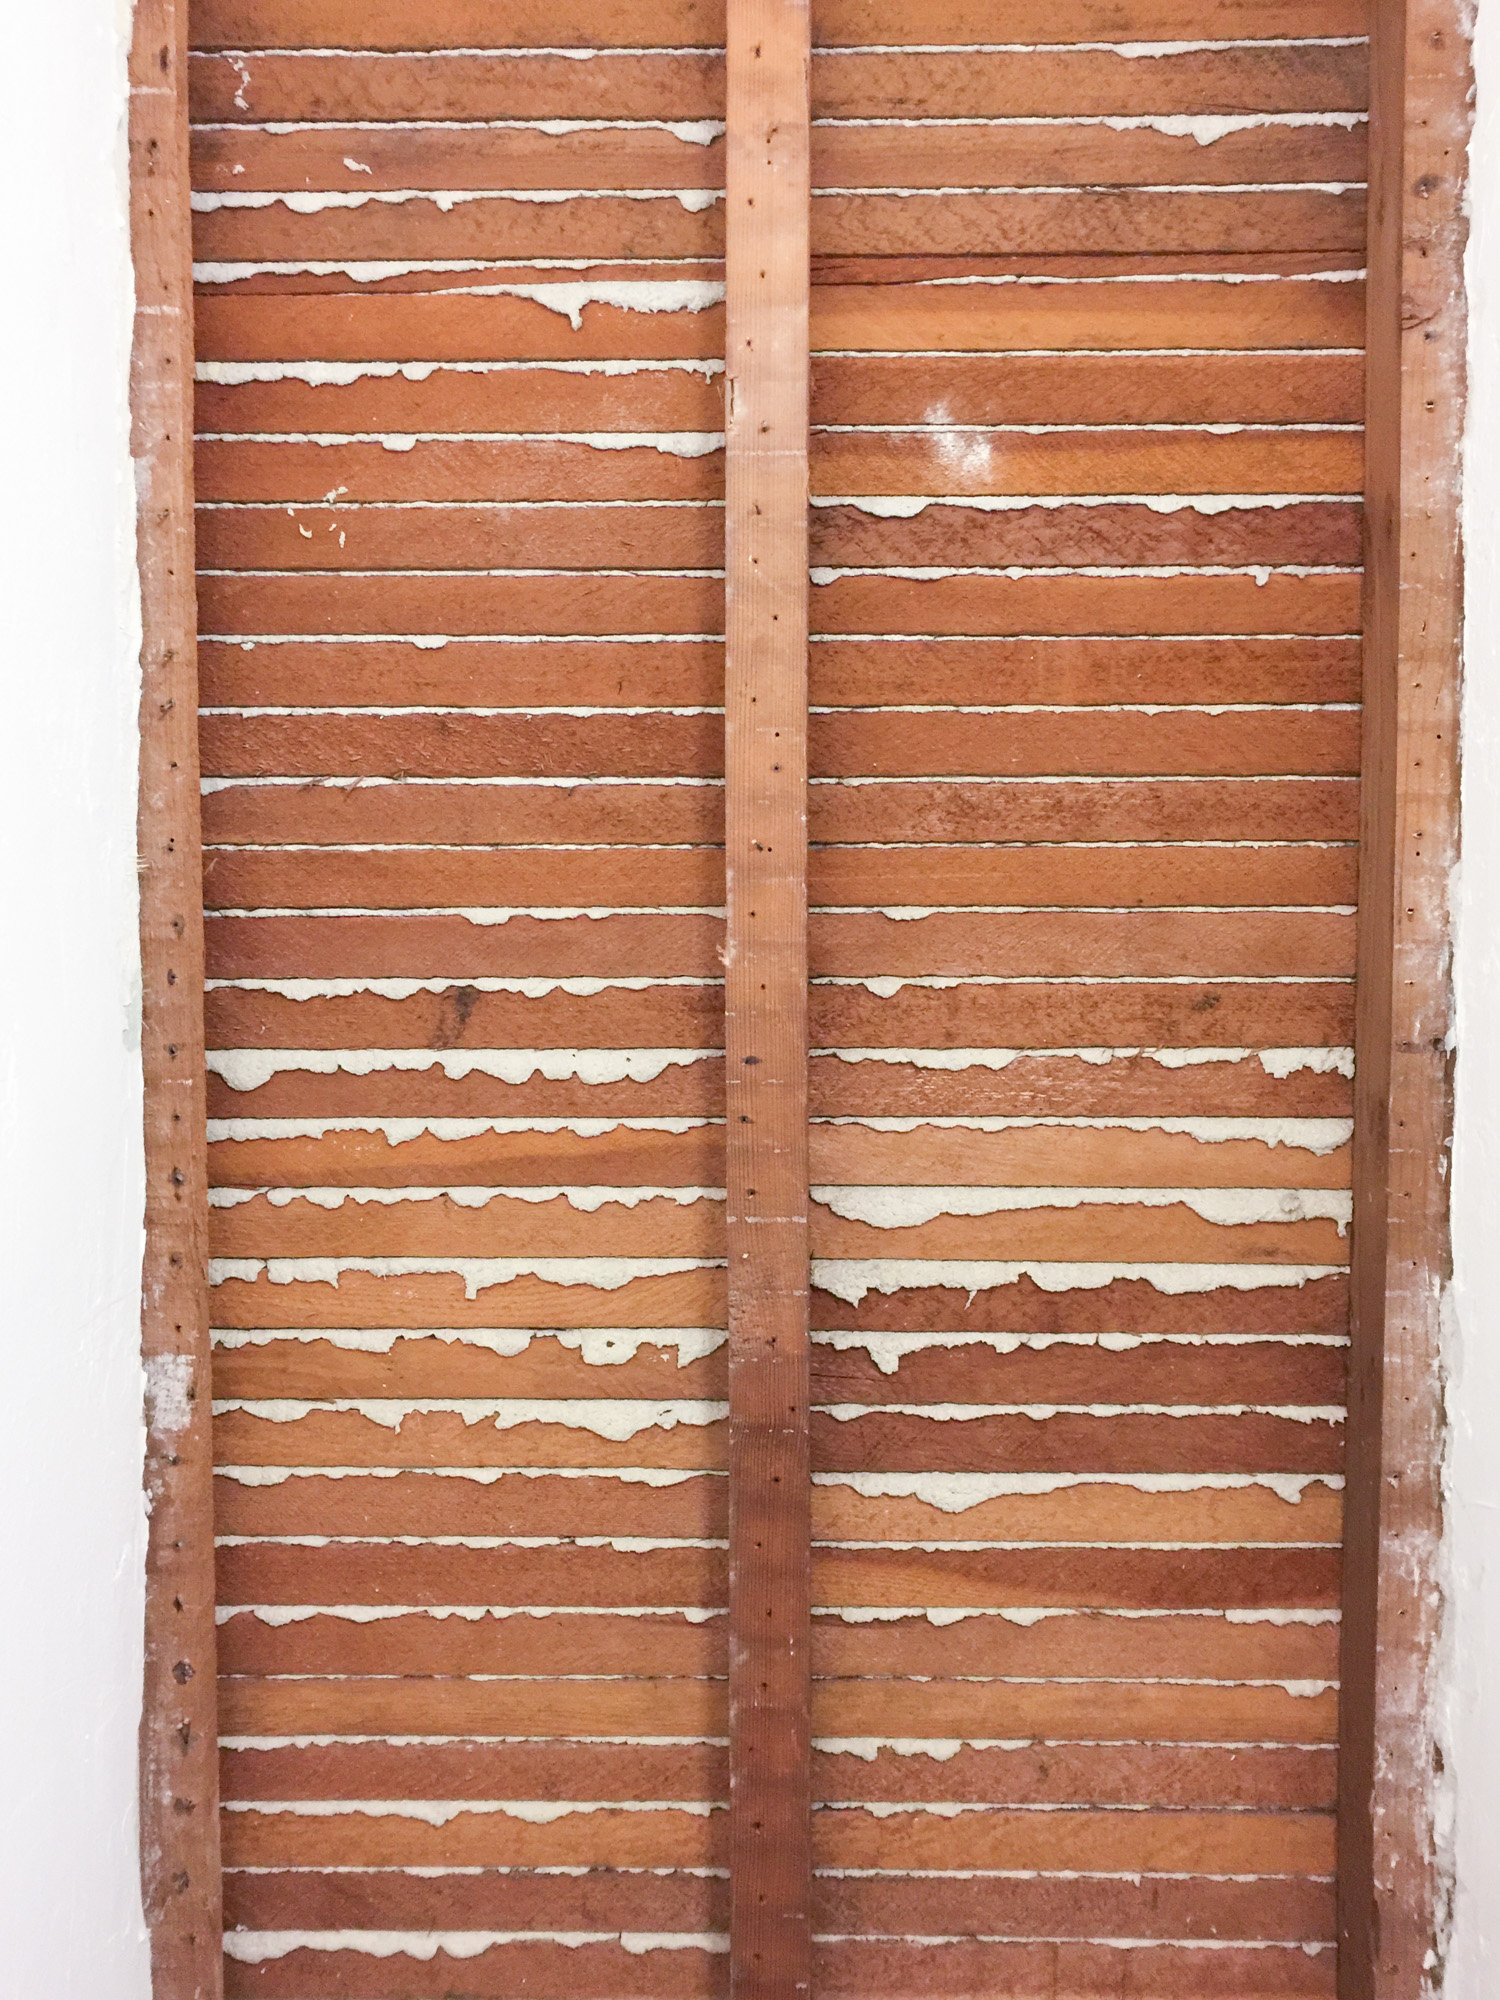
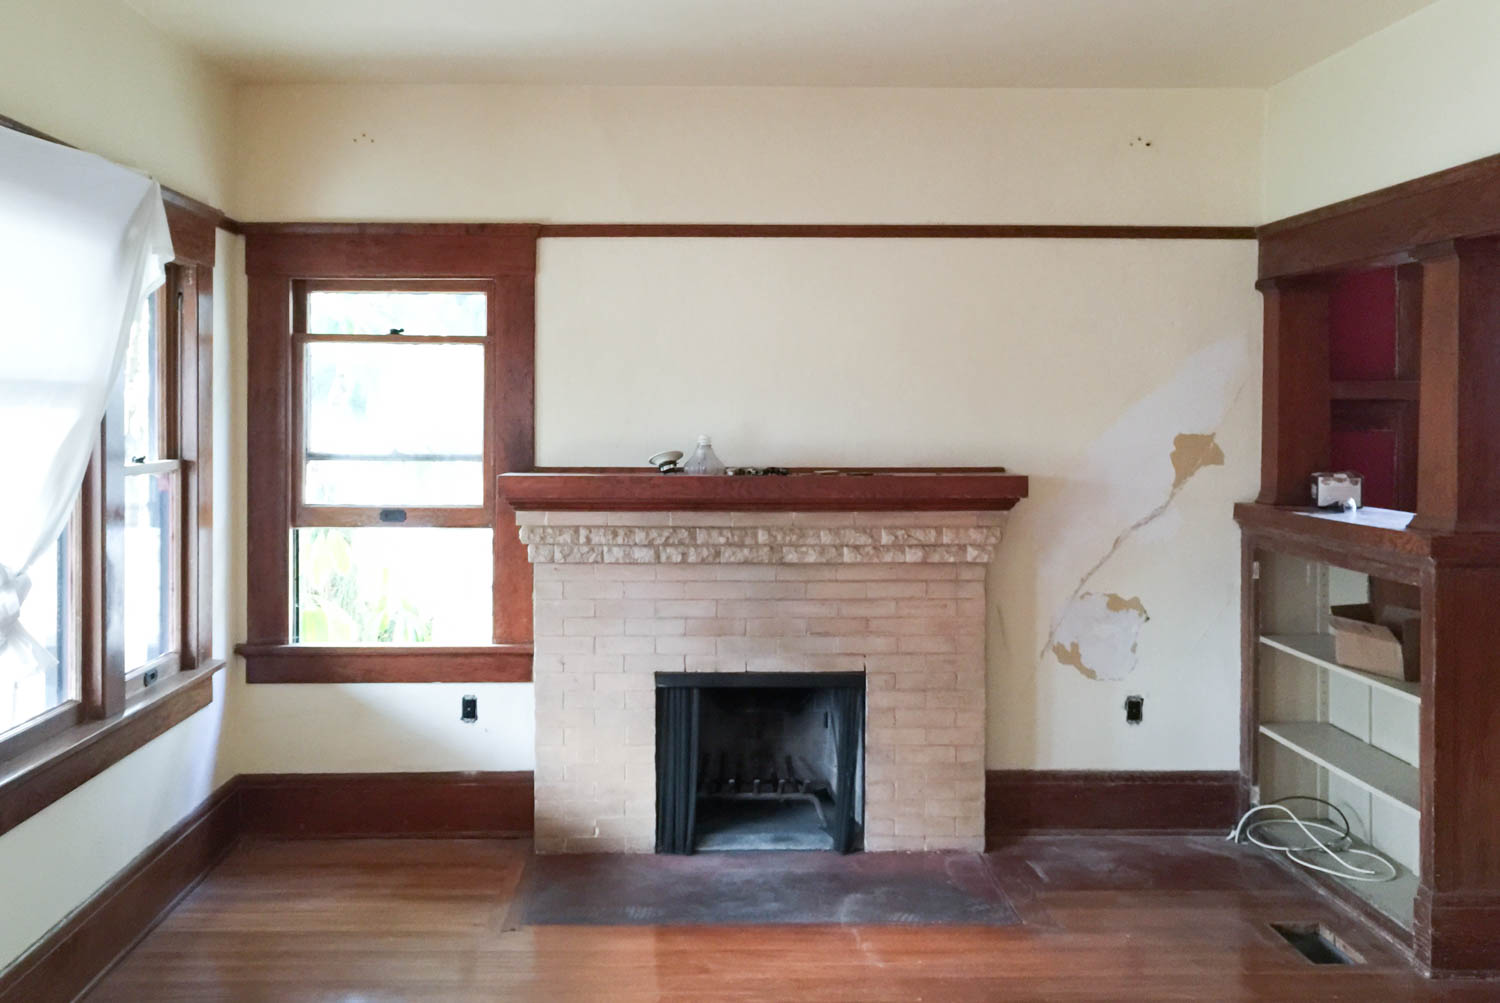
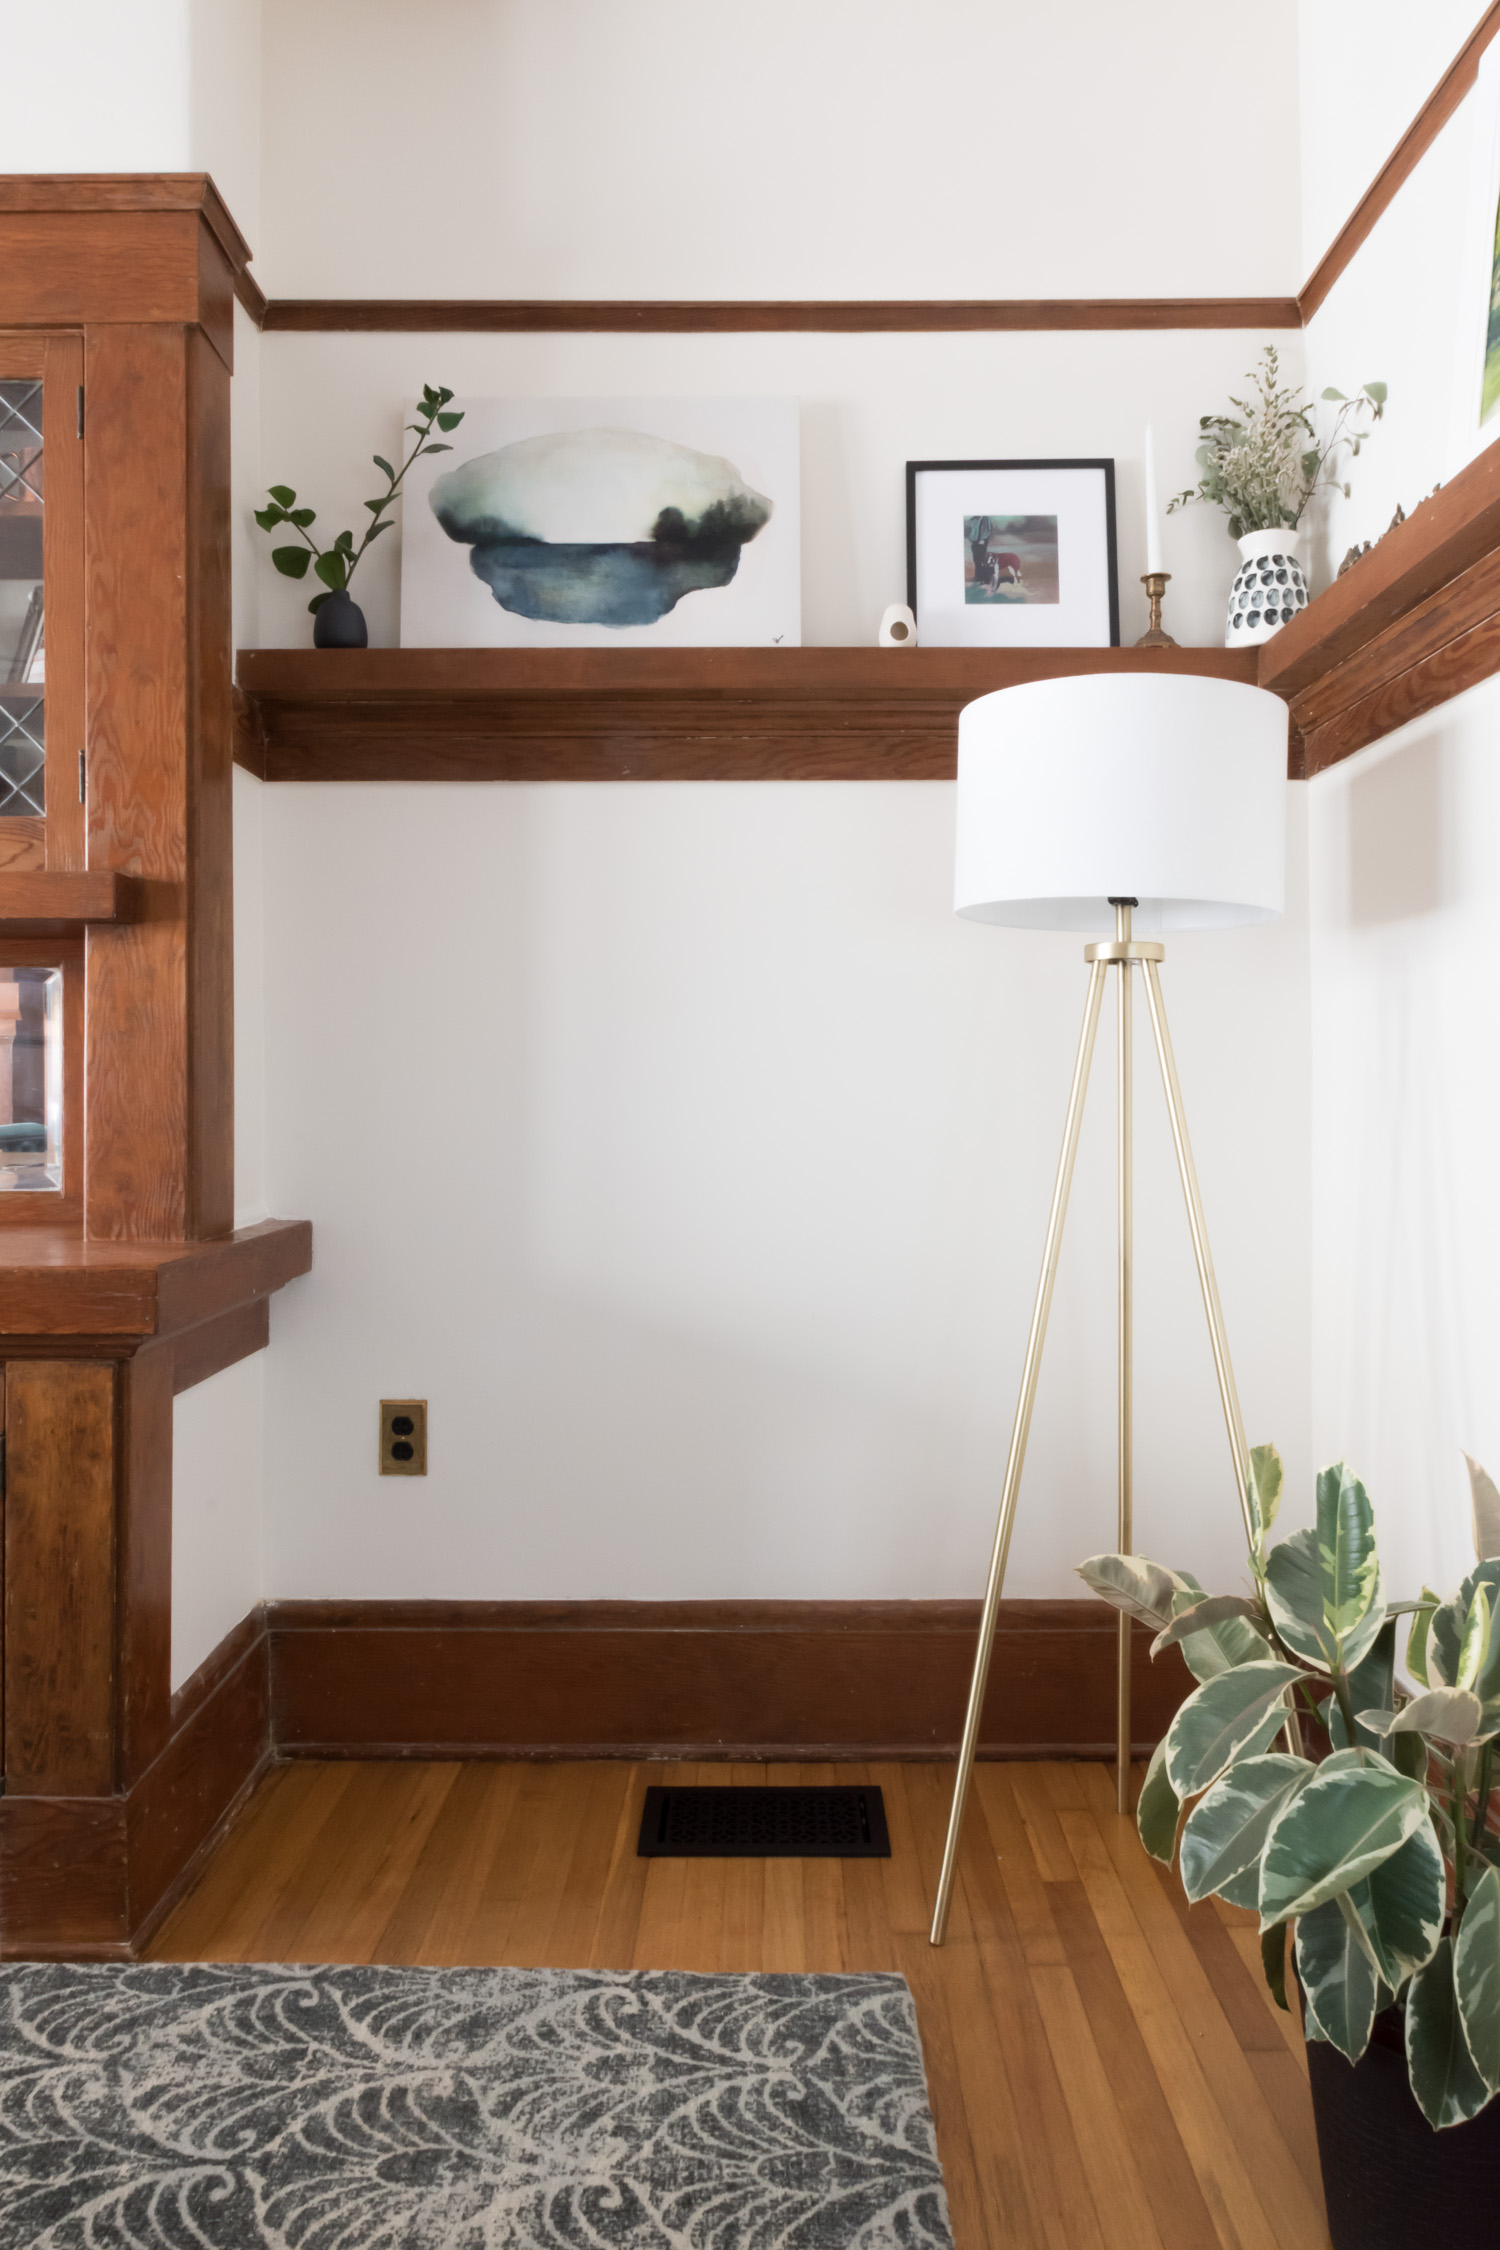
The crew skim coated everything in a very light skip trowel texture to make the walls almost completely smooth. The ceilings had their fair share of cracks, and due to the horizontal nature of ceilings, they tend to crack perpetually. To prevent this, the ceilings earned fresh pieces of drywall that won't crack or peel.


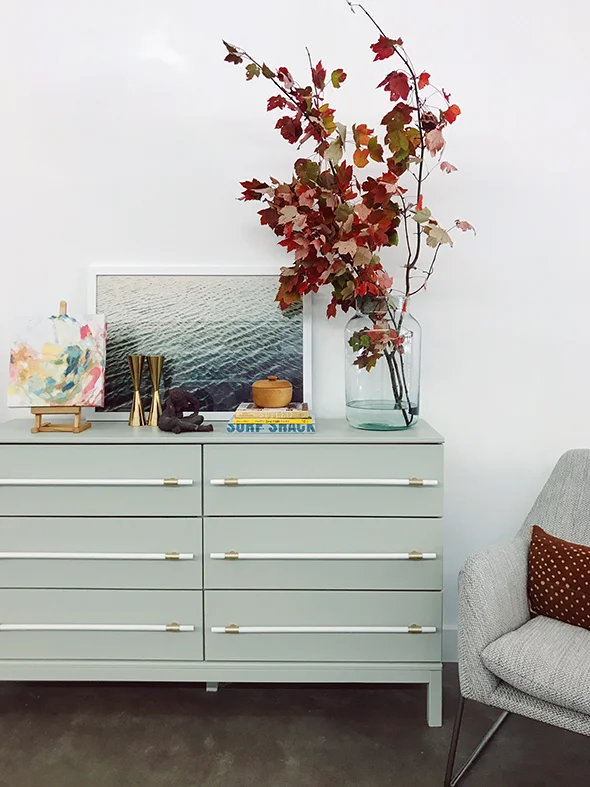


Margot is getting an upgraded room to make space for baby sister in the nursery.
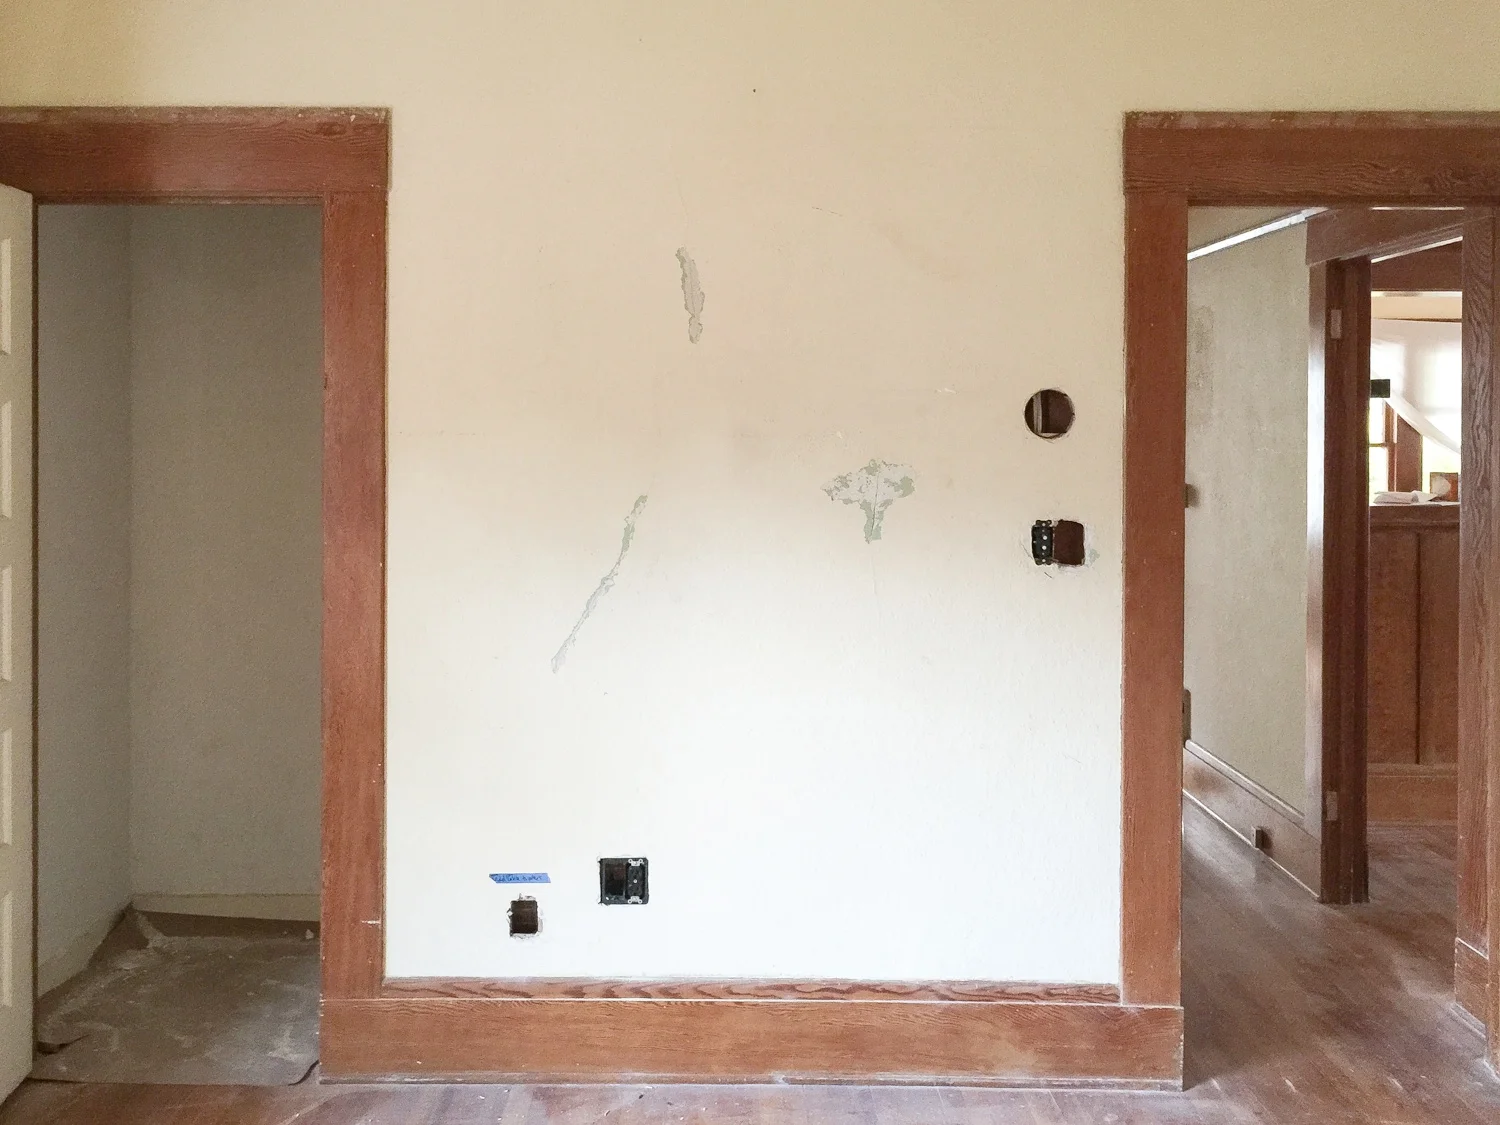
With an additional family member, we want to shuffle the rooms of our 3-bedroom house around. The one off the living room was being used as my home office, so now it’s time to convert it into an actual bedroom. The initial thought was to give this room to baby sister and keep Margot in her room. But we ultimately decided to put the baby in the room designed to be a nursery, then convert the home office into a space designed for a bigger kid. Plus, the office has more windows, and is right off the living room (Margot’s playroom) so it’s better suited for all the daytime play, whereas the single-window nursery is cozier for lots of daytime naps.