I Sealed My Outdoor Teak Table With an Environmentally Friendly (And Long-Lasting!) Oil

I Sealed My Outdoor Teak Table With an Environmentally Friendly (And Long-Lasting!) Oil

We recently added a big teak table to our backyard and itโ€™s the perfect companion to our (soon-to-be) completed kitchen. The solid teak table arrived un-treated which was already gorgeous, but I wanted to give it even more oomph. I hunted high and low for an environmentally friendly oil thatโ€™s free of petrochemicals, and I found one!

Read More

Refinishing Our 100-Year-Old Oak Floors

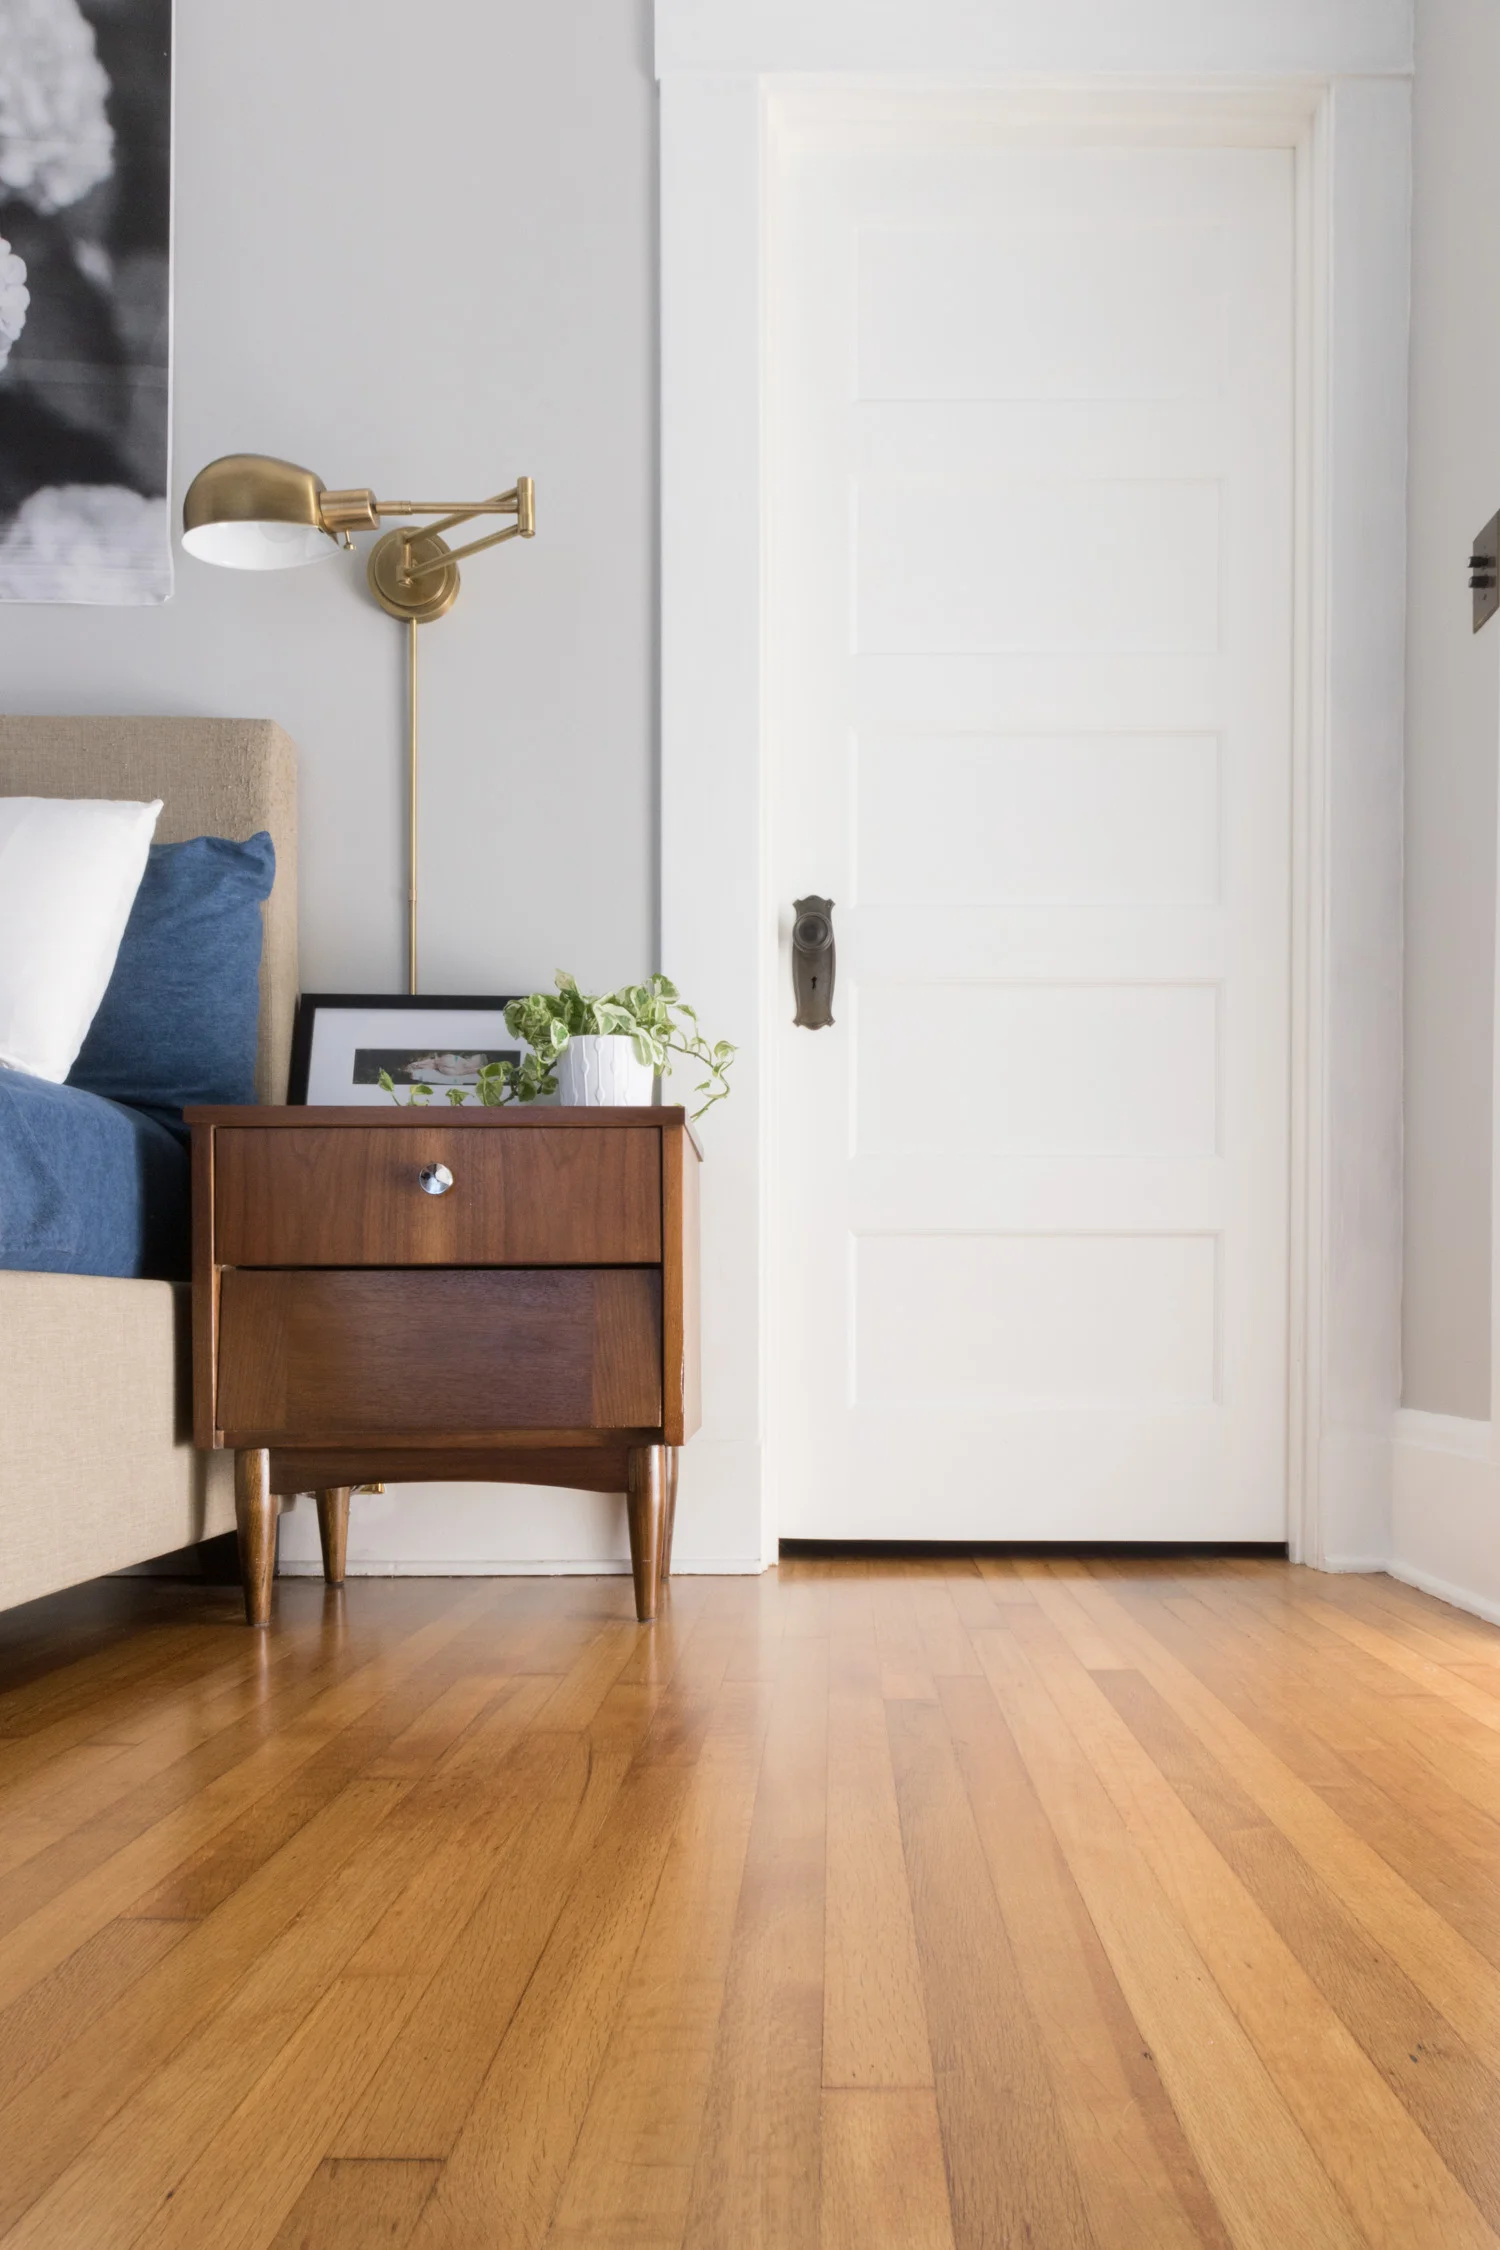
The Gold Hive Master Bedroom Floors

Refinishing the hardwood floors was the last step in remedying the odor issue. Once all was said and done, the smell disappeared and the flooring was revived โ€“ win win!

As a reminder, hereโ€™s what the flooring looked like.

flooringbefore

The 100-year-old rift and quartersawn white oak was actually in pretty great condition throughout most of the house. However, the urine stains (the dark spots seen above) and termite damage warranted repairs. Plus, there's no better time to restore the floors than when not living in the house - youโ€™d have to move eeeeeeverything out off the floors otherwise.

The very first step was to make a mess. All drywall, painting, and bathroom construction (stay tuned!) occurred before the flooring crew set foot in the house. There's no sense in making that oak perfect and shiny, to then drag a bag of demo debris over it. I've heard professional painters say to paint after floor refinishing because dust can get into the paint, but I sided with the hardwood guys that said to paint first. It makes so much more sense, I mean, I've been known to drop a cup of paint from the top of a ladder.

Oops. Thank goodness for rosin paper. Once I was done spilling paint, the sanding process could begin.

That freshly sanded oak makes my heart skip a beat! I also have a crush on this sander. Ain't she a beaut? Looking back, I think that retro pale green influenced my kitchen cabinet color.

The floors had previously been refinished, but in the back of the closets was the original wax finish. It was pretty dull, but there's something so special about finding a part of the house that hadn't been messed with over the years - even if its a small bit of dingy flooring. Below, you can see the wax finish transition to the glossy polyurethane before getting sanded down. Also, note the termite damage.

All of the boards that were brittle from termites gnawing on them had to be replaced.

It's no surprise to find a few boards that are beyond repair, but the bummer was discovering that termites had eaten through the subfloor, too. It was so chewed on that I could easily poke my finger straight through to the crawl space. Half of the master bedroom flooring had to go. This is where I can't stress enough the importance of house maintenance. This back corner of the house was termite heaven because of the moisture that built up in a non-vented crawl space. There's also no record of termite treatments after 1982. People, these are BUGS inside of your floors/walls/furniture/etc. Get them out before they do this!

Local suppliers were out of the same type of flooring we have (2โ€ x 1/2โ€ rift and quartersawn white oak) and tried to convince us to use plain/flatsawn wood. We insisted on using the same type of cut as the existing flooring, and even though it delayed our move-in date, it was well worth the wait. Once the matching hardwood arrived, it had to acclimate to match the house's humidity.

During the acclimation time, we brainstormed how to finish the floors. The sanding did wonders for the small stains and scuffs, but the urine damage was still noticeable and would stand out even more when coated in polyurethane.

I was prepared to stain the wood a dark shade in order to hide the stains. But at the last minute, Ross made his biggest design contribution to date - he declared, "no stain!"

The ghosts of urine blemishes remain, but we couldn't be happier with the choice to keep the white oak light and natural.

After an application of wood putty and another few rounds of sanding, the floors were coated in an oil-based satin polyurethane. The finish is just shiny enough without being glossy, and its amber tones add to the patina of the 100-year-old wood. Choosing to do oil-based was in my goal of keeping with the history of the house - giving it the warm amber look and using finishes customary from years ago. But I kind of which we didnโ€™t do the oil based poly and instead left the wood even more pure in itโ€™s lighter hue. Itโ€™s okay, though!

We hired out the project and spent about $5k on the whole process. It was well worth it considering we were in a rush to move in and had lots of other things going on. But, I do yearn for the day when I can refinish floors myself! The Grit and Polish shared how they refinished their floors themselves and included the cost to do so here.

Once the flooring was complete, it felt like a whole new space - almost ready to be lived in. But before moved-in, there was still so much more to do. Which of those projects do you want to hear about next? The bathroom remodel? The kitchen update? More odds-and ends?