How to Train Vines to Climb a Fence + A Video
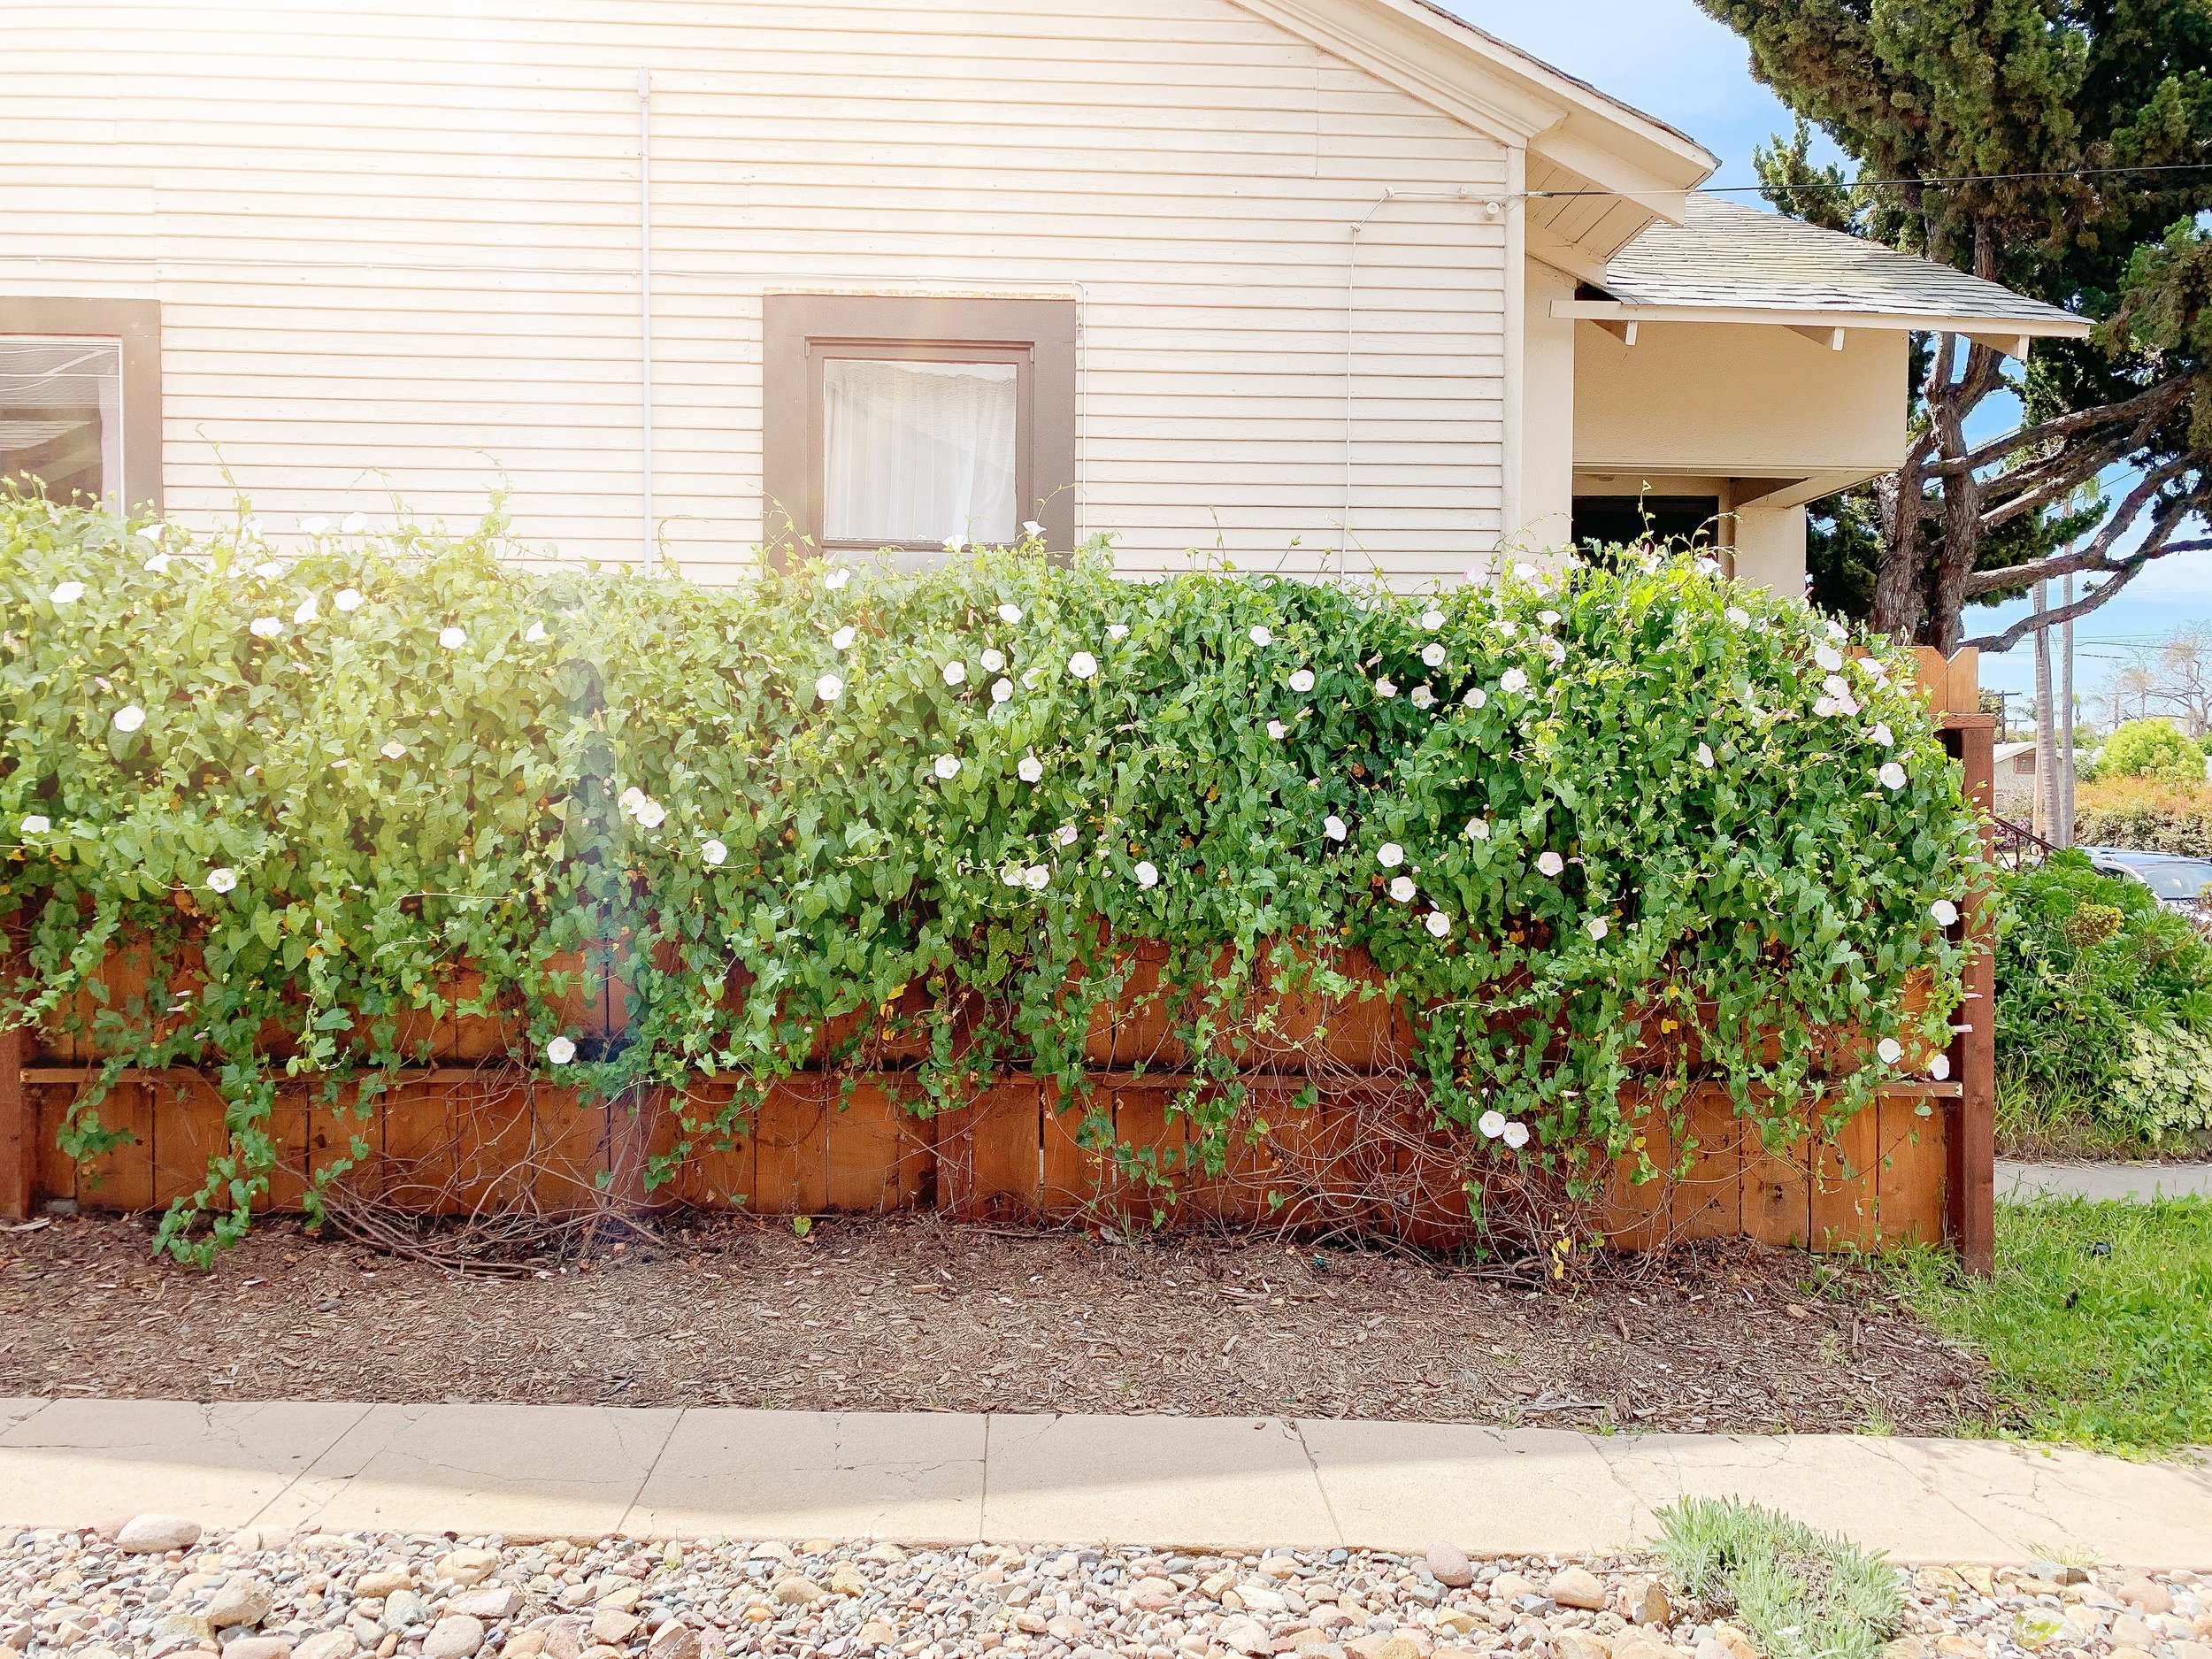
/I shared how I refreshed a tired fence, and now I’m back to tell you how I covered up the refinished fence with vines and flowers. I love foliage and will happily plant a tree or bush or shrub or vine anywhere and everywhere outside. So, while I covered up my freshly stained fence, I’m v pleased with my wall of leaves and flowers.
It’s so easy that I maybe shouldn’t even bother with this blog post, but here I am.
To see the process in action and in brief (2 minutes and free of narration but with a song people on YouTube complain about years later) watch the handy video below, then scroll down to read through the step-by-step).
What you’ll need:
Vine that thrives in your climate
Straight edge ruler or measuring tape
1” screw eyes or construction adhesive and outdoor-grade hooks
Natural twine (optional)
1. Select a vine
I debated this for awhile but ultimately decided on a Anacana pink morning glory. I chose this plant because it’s a native variety (other morning glory varieties are considered invasive). It doesn’t need much water and it’s adored by the pollinating insects in my region. It also produces beautiful bright green leaves, grows like crazy, and has delicate white and pink flowers.
I kinda wish I planted passion fruit vine because it would have yielded an edible fruit and the flowers are insanely cool looking, but it needs more water than the morning glory and I didn’t want to set up irrigation over here. I also considered pink jasmine which smells delicious, but it looks nearly dead for a good portion of the year in my region.
We have a narrow area between the cars and fence, so we weren’t able to espalier a tree and we avoided any vines that had thorns to prick us while getting in and out of the car.
2. Decide on a vine trailing shape
For slow-growing vines and espalier trees, you can create designs and shapes to train the plants to grow on. I almost did this but I’m glad I didn't because the morning glory grows so fast that it would have covered up the design within a matter of months. So, I just did horizontal lines to give the vines support as they grew and gained weight.
3. Create a nice canvas for the vines
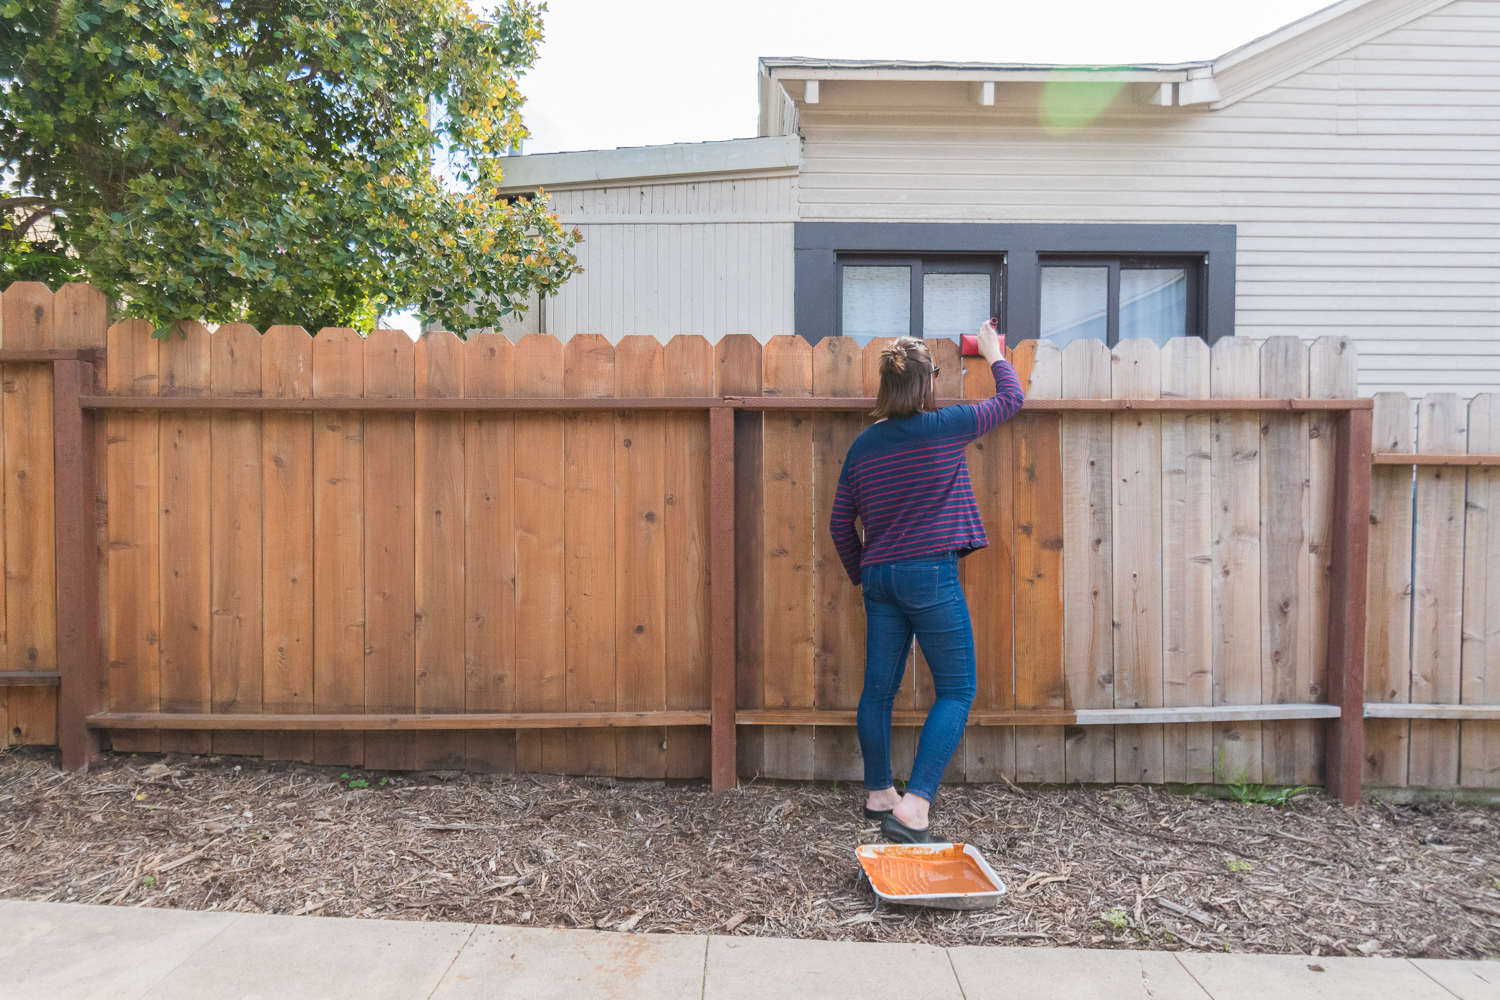
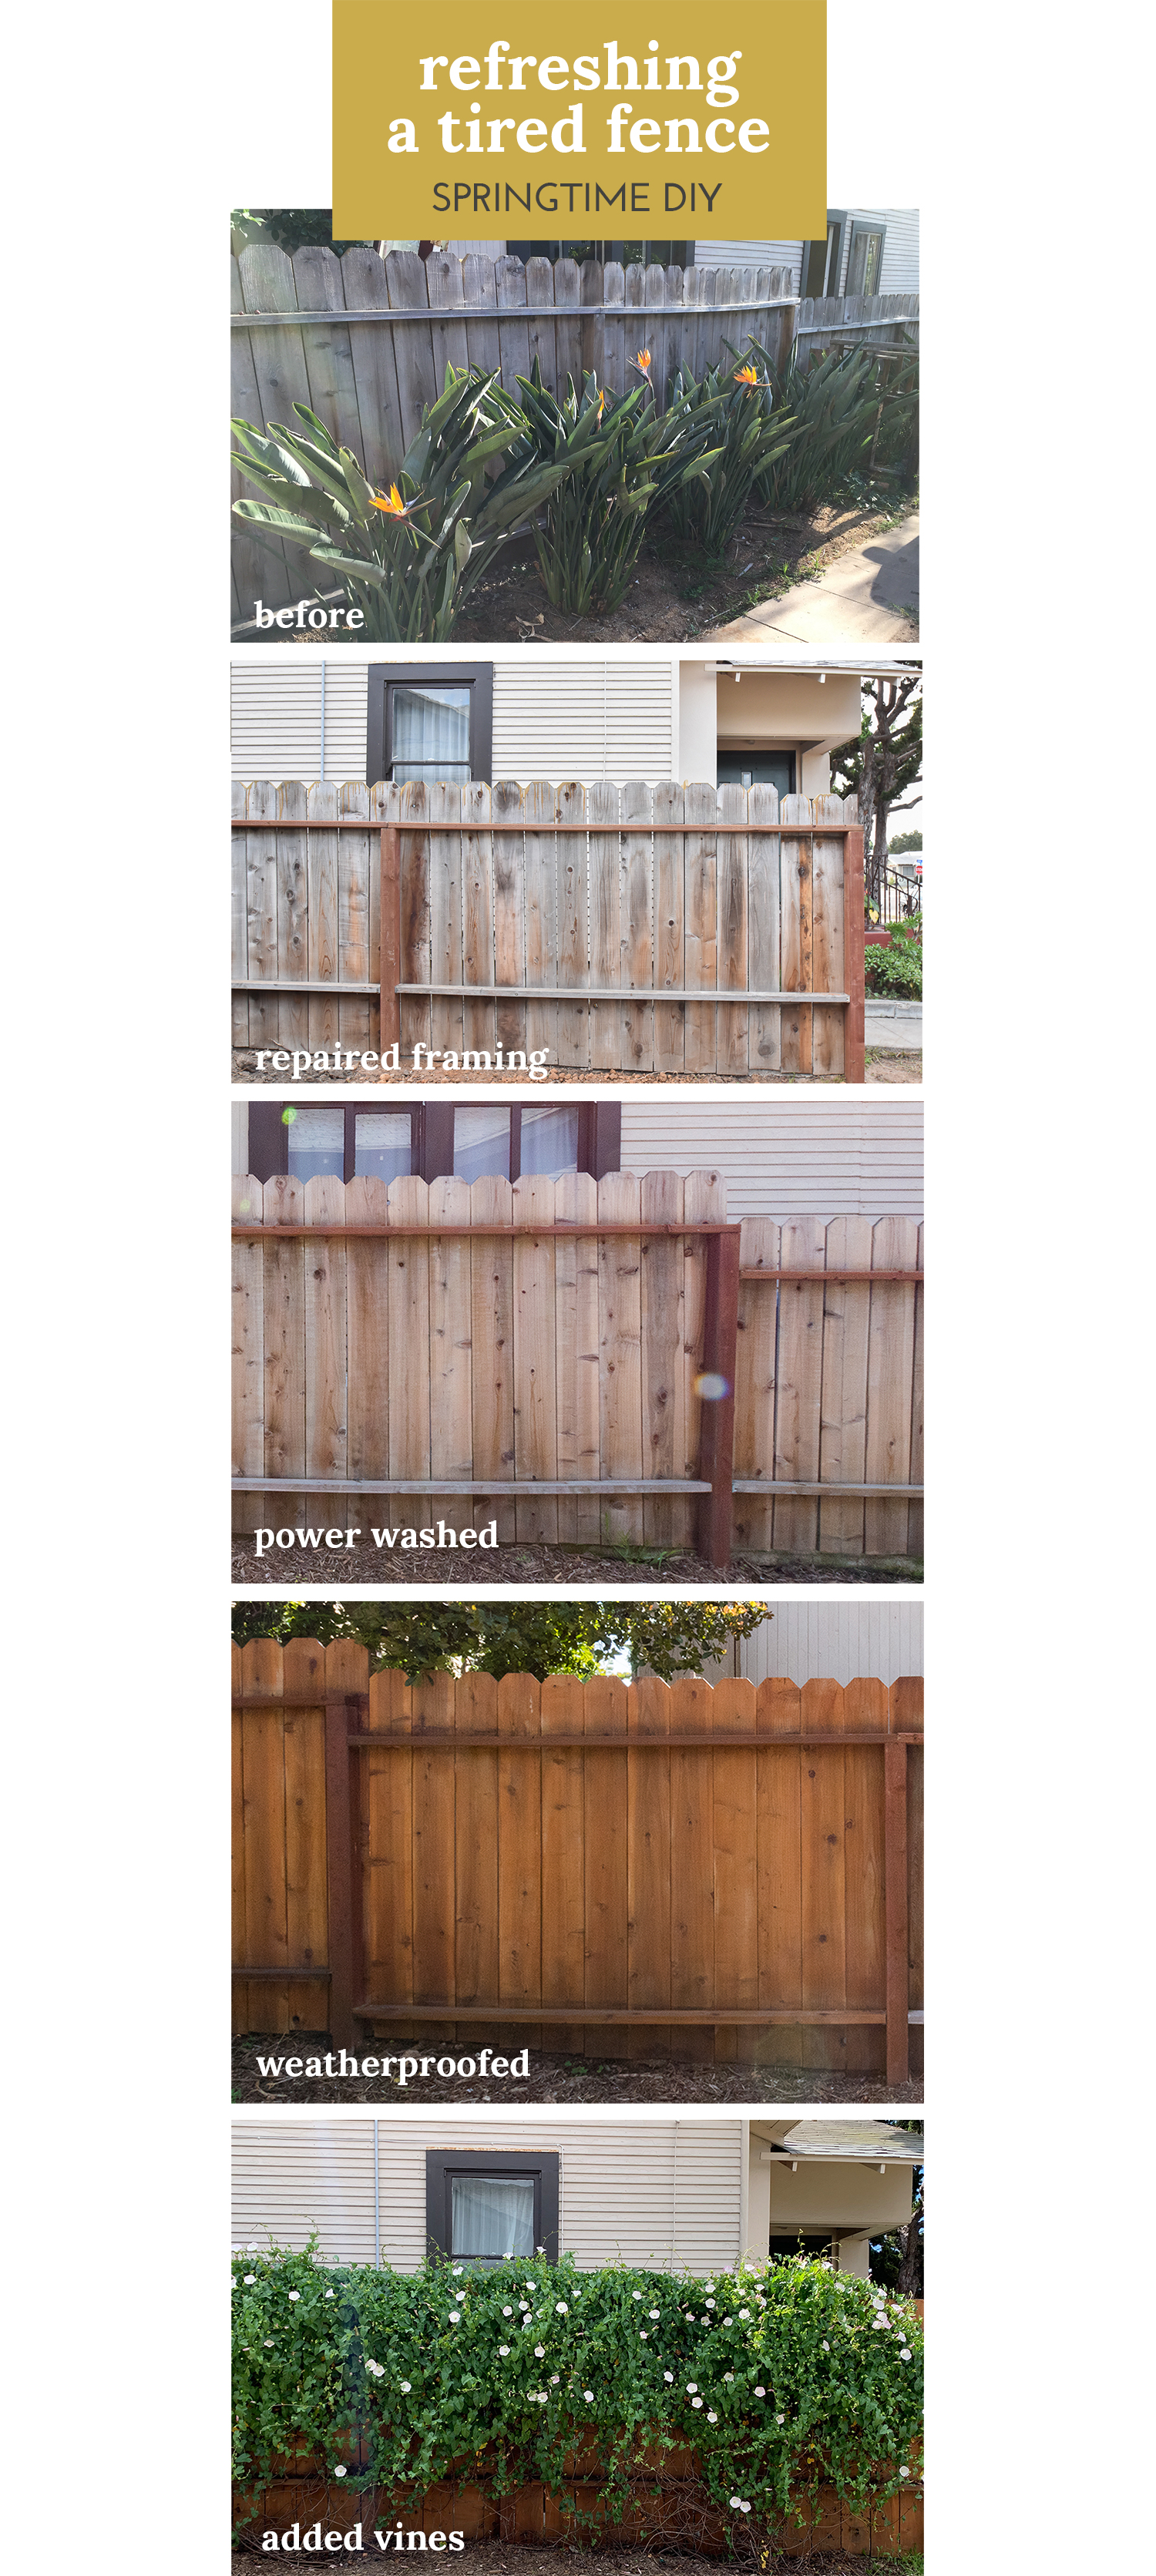
The beauty of this project is you can cover up something ugly (say, a neighbor’s gross fence, cinderblock, the side of a garage, a utility closet, etc.). But, even you’re trying to hide something with the plans, you do want to be sure you’re hanging vines on a solid foundation. Now is the time to remove any termite-filled wood, reinforce the foundation, and stain materials that could decay without weatherproofing. I covered all of that in this post when I worked with my neighbor to replace the whole fencing.
4. Measure and drill
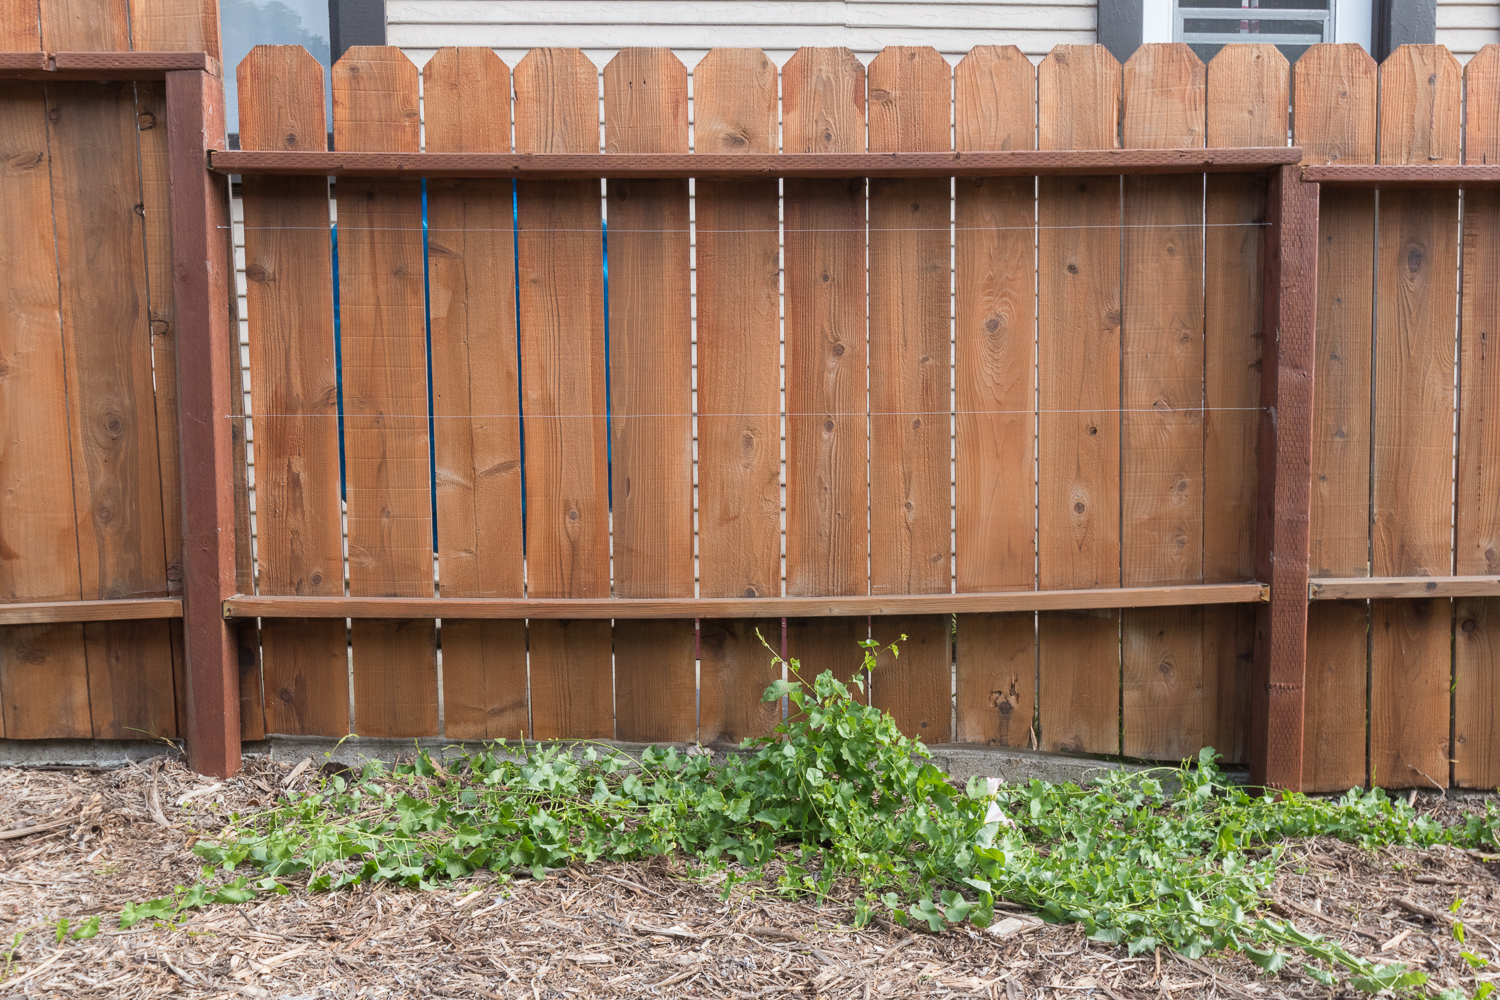
I decided to make three rows of wire for the vines to climb on. While they don’t need to be perfectly level, I didn’t want them to be completely wonky. Instead of measuring from the uneven ground, I propped my straight edge ruler on the bottom rail of the fence, then marked intervals up the sides of the posts roughly equidistant. Then, I used my trusty drill to make pilot holes.
If you’re mounting onto cinderblock or brick, you can get construction adhesive and glue outdoor-grade hooks to the surface.
5. Install screw eyes
Update: Use bigger screw eyes than I did (aim for 1” screw eyes)! I used what I had on hand and should have gone out to buy bigger ones that wouldn’t fall out of the wood after the weight of the vines pulled on them after a couple of years. (This is the beauty of blogging about things I did years ago - I’ve learned my lessons, so you can too!). So, do as I say, not as I do.
Screw in the eyes into the pilot holes. To drive them in, inserts a screwdriver into the eye and twist to get some torque.
6. Install wire
Simply thread the wire through the eye, then twist it around itself to secure. Be sure to use a wire that can withstand the weight of the vines and use galvanized wire so it doesn’t rust. I should have used a thicker gauge wire than what you see pictured, so again - do as I say not as I do.
Next, attach a turnbuckle to one screw eye, attach the wire to it, then secure the wire to the other screw eye. You can then go to the turnbuckle and since it tighter for a more taught wire. When I installed this I was too lazy to do the turnbuckle so I skipped it and just added tension by tightening a loose screw eye deeper into the wood. Not the ideal method, but it works.
7. Wrap vine around wire
I planted my vines and let them grow for a few months before installing the wire, so it had long limbs to train. You can plant the plant or install the wires first, but just make sure you aren’t yanking on your baby plant if the vines are too short to train to the wires. Once they have long enough legs to reach the wires, you can gently wrap them around the wire. The vines have tendrils that will naturally grow and wrap around objects that they find, but this initial wrap that you do on the wires is to teach them where to go. Aim to fill in as much of the fence as you can, guiding the plant up, down, and to each side.
If your vines are heavy or you’re stretching them high up, you can give it support by making a hammock with a piece of string. Just tie a big loop around the vine and a piece of wire to let the plant have some more support. Don’t tie it tightly! Use a piece of natural twine so it can just degrade into nothing over time rather than using a plastic-based piece of yarn that will become litter.
8. Fuss with the vines as the plant grows
It will look funny at first. But, as the plant grows, it will start to fill in and will grab ahold of other vines or wires to hold onto. I still venture out to train the vines to grow in directions I prefer. If I leave them to their own devices, the vines will climb over the fence and wrap around the neighbor’s garbage can or up their tree.
9. Enjoy!
Enjoy the greenery, the flowers, the fruit, or just enjoy not looking at a plain fence. Be sure to water and feed the vine per its desired feedings based on your climate. Do also check in with your neighbor periodically to ensure that they’re happy with the vine arrangement that they agreed to when you first talked to them about it.


