How I Refreshed a Tired Fence
/It’s spring which is a great time for outdoor projects big and small. A quick, effective, and high-impact upgrade is a refreshed fence and some florals, so I’ve got both for you.

The fence between my driveway and our neighbor’s house has had quite the evolution and now I absolutely adore it. I admire the fence daily when I look out the bathroom window while I shower. I know, loving a fence is unconventional but c’est la vie.

When we first bought the house, the driveway had multiple palm trees and birds of paradise plants (two of my least favorite flora) lining the wall between our house and the neighbor. Since these plant species weren’t my cup of tea and they were in the way when trying to get out of the car, we re-homed them. Click here to read my post about how I cleared the landscaping without destroying any plants, while saving money, and did it super easily. Win win win. While you’re at it, check out what the landscaping looked like when we bought the house.
Once the plants were cleared out, it became clear that the fence wasn’t in the greatest of shape. The support posts were rotted out and a few of the footings weren’t well-poured to begin win. My neighbor and I worked on the project of replacing the posts since we both benefited from the improvement. He did most of the back breaking work because he “likes doing that sort of thing” which I admittedly do not, so I sat back. I covered the expenses of the lumber and concrete since he spent all of his free time doing manual labor in the blazing sun. It was only fair.
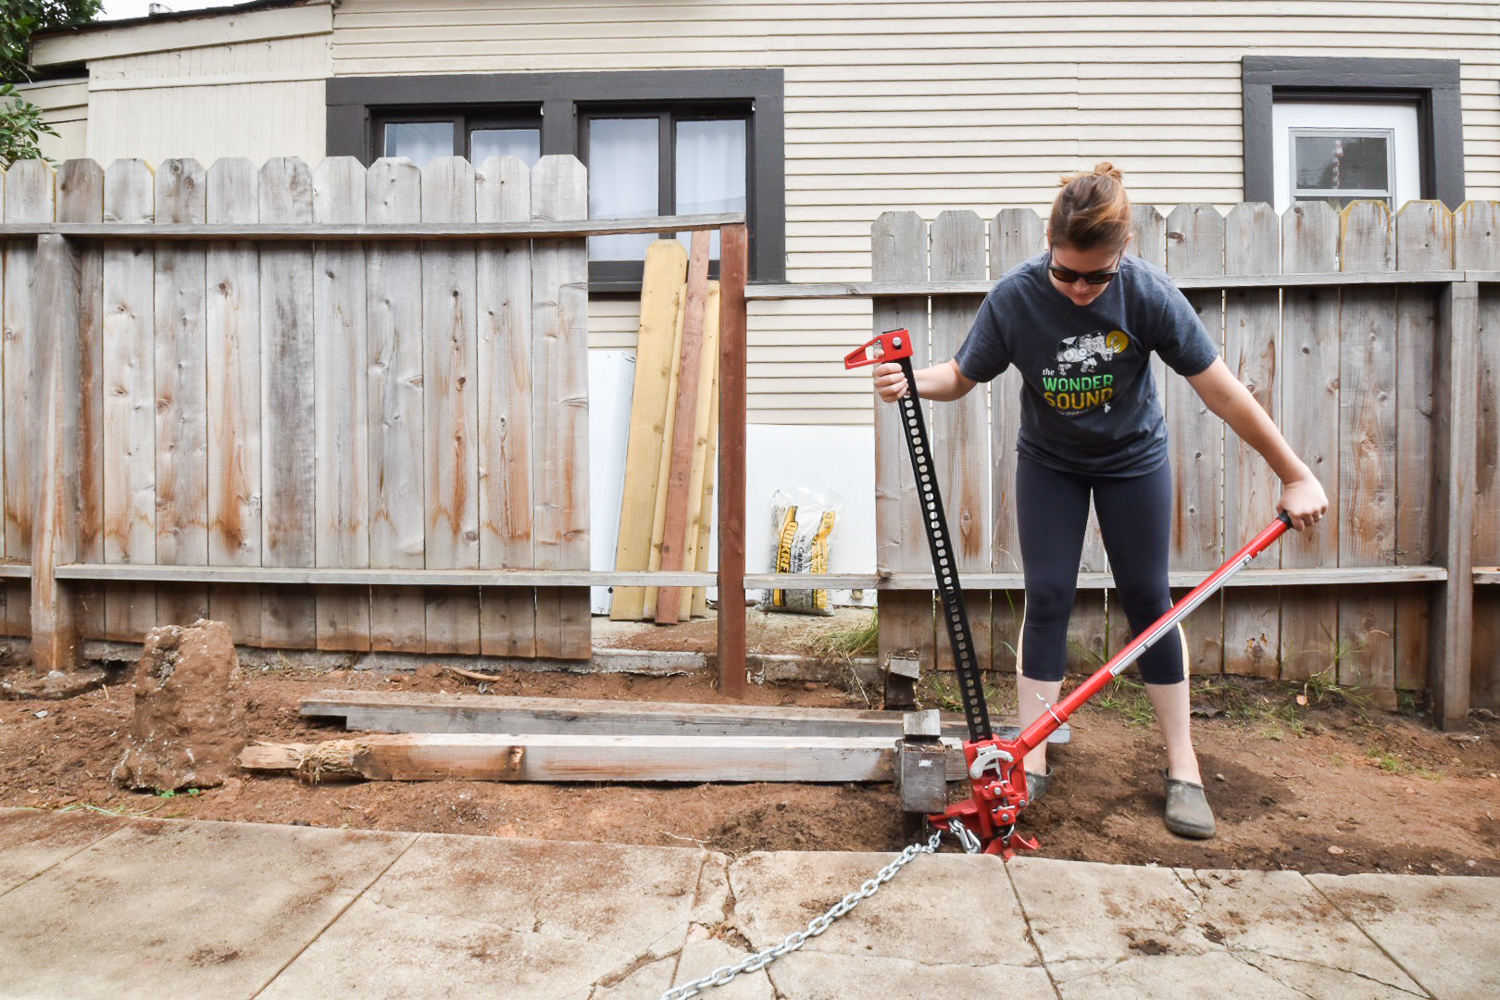
I did however help out with some digging and I removed a few of the fence posts with a handy hi-lift jack. This is a tool used mostly for car repair, but works super well for yanking out stubborn footings, posts, and roots. Above, I’m using it to remove 3’ long post stakes that previously supported a chickenwire driveway gate (seen here).
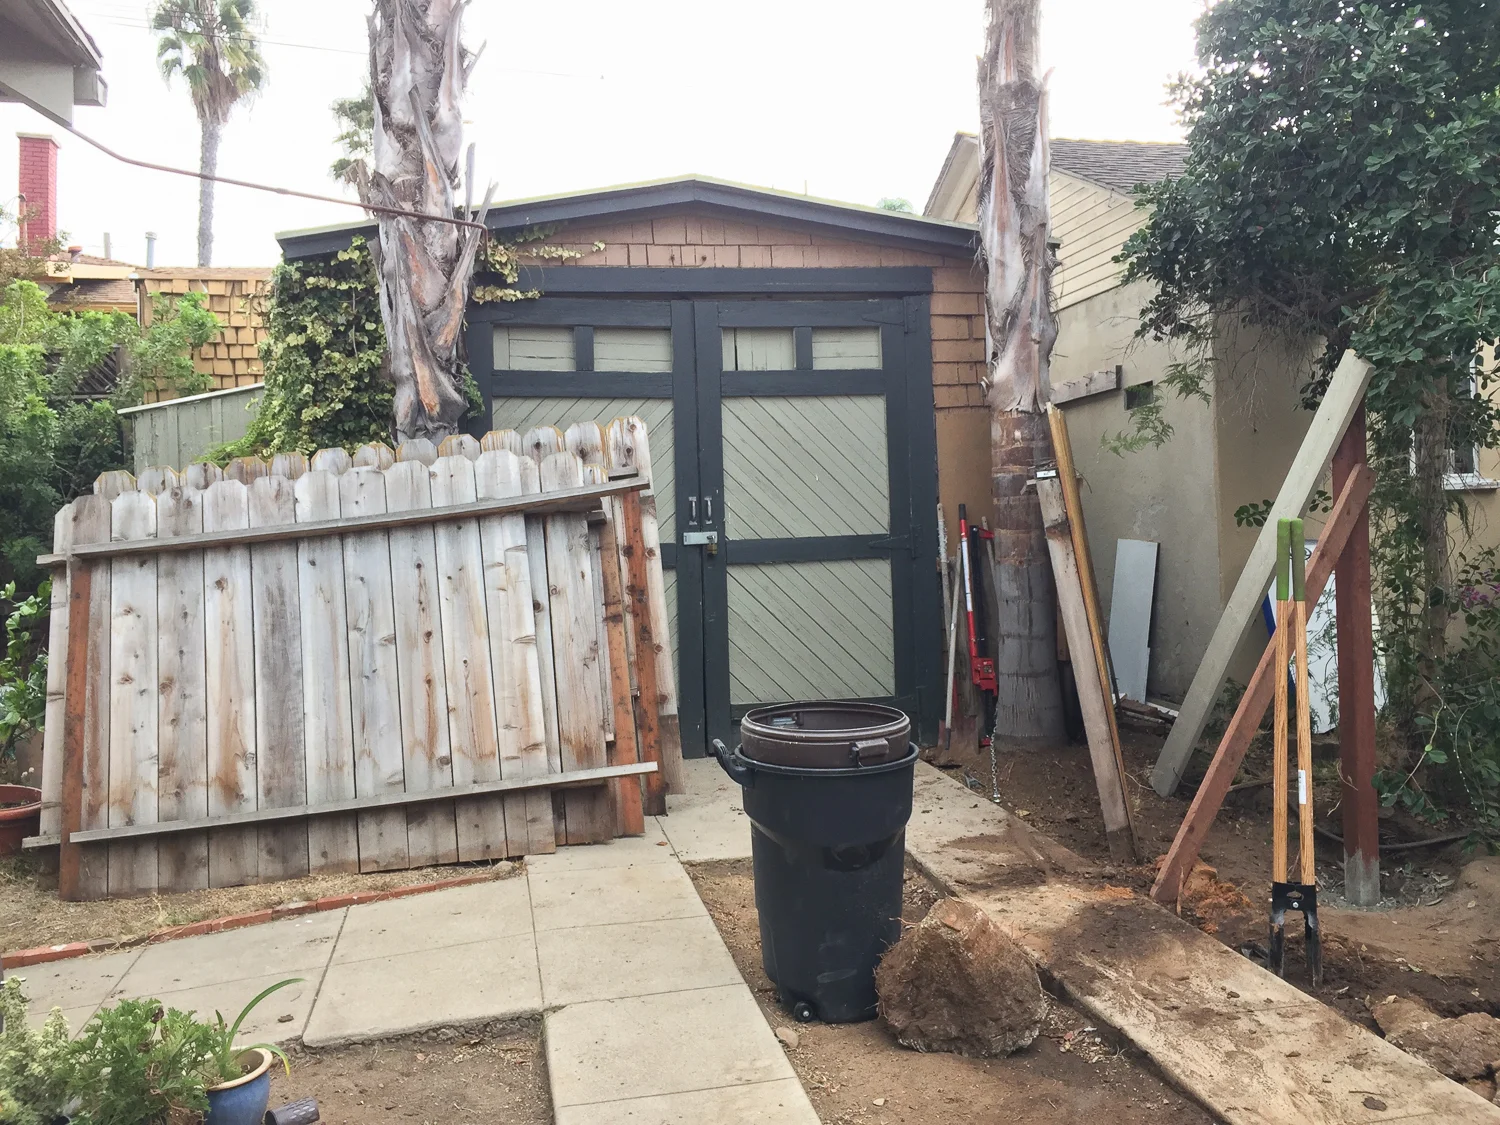
Since the fencing itself was in decent shape (not great but not crumbling), we repurposed the panels and re-attached them to the newly framed support posts. If I can avoid throwing something out, I absolutely will. It prevents materials from filling up the landfill, saves money spent on buying new, and avoids the waste to produce the new material. We set the panels aside, then reattached once the new posts were situated.
To create a long-lasting fence, we used fresh, pressure-treated lumber for the new posts and poured new footings in the same spots that they were already in. You can see a fresh post in the above photo off to the right. To install, we used a post hole digger and some fast-setting concrete to plop the new lumber in place. Learn more about installing posts and preparing a fence installation here.
Note that when I say, “we” I really mean my handy neighbor. For this project, I mostly watched and offered a lending hand every once in awhile. Heavy lifting outside is my least favorite home improvement activity.
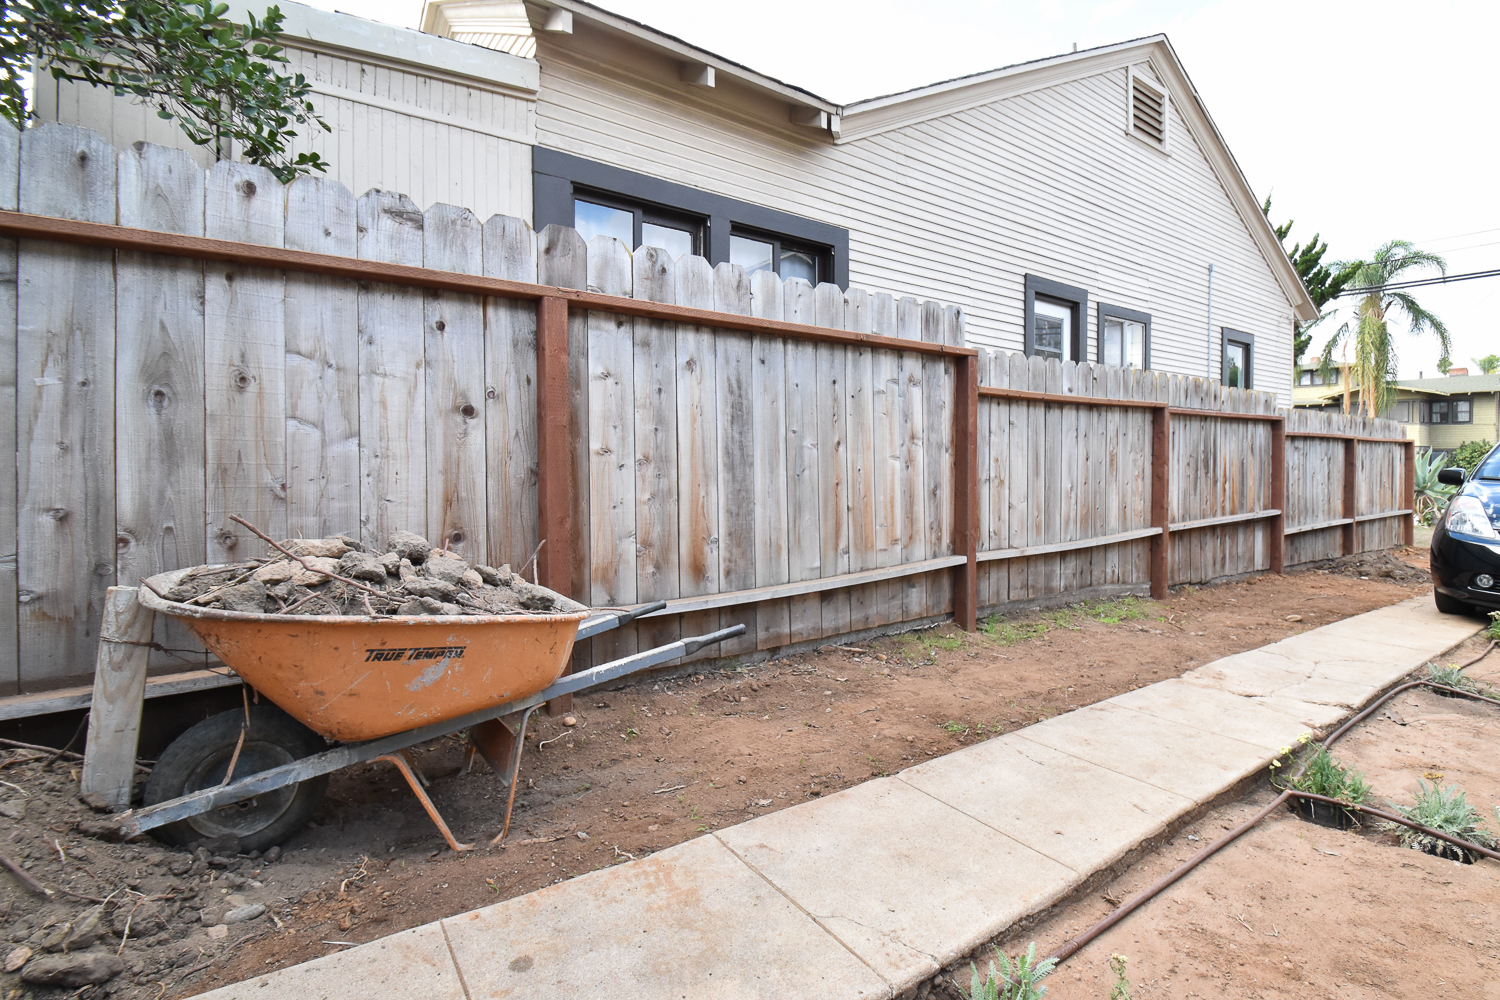
The fence was rebuilt exactly as it was, so there are no fancy calculations or designs I followed that I can share with you (although Alison shared the full tutorial and design plans to her cool horizontal fence here). The design you see at my house is about as basic as it gets and this view is considered to be the backside since all of the support posts are visible. This is a pretty cheap fence construction and often this side is the one that faces the cheapest neighbor. I guess the previous owner and I were both penny pinchers. If I didn’t want to see the framing, I could have negotiated with my neighbor to do a different design where each side is “pretty,” or I could install double fencing on my side. But again, I’m cheap, thrifty, and don’t want to waste wood for no reason. (Plus, I had a plan to make my fence look even better - stay tuned). If you find yourself in a similar situation with a neighbor and don’t like the idea of splitting the expenses 50/50, you could offer to sacrifice by having the ugly side of the fence on your side of the property. Maybe then they’d pay for 60% of the costs? Dealing with neighbors can be tricky, so tread lightly and maybe offer for the prettiest side to face them if you’re going to ask them to fork over a cost that mostly benefits you. There’s no real rule to fence etiquette, just be a good human.
Once the fence was sturdy, it was, well, still a tired fence. The cedar had greyed over time which is a look many folks like, but with the new support lumber highlighting the grey patina, it looked out of place. This renovation also came at a time when I was undoing all of the previous owner’s neglect (I did this a few years back). He had left so many parts of the house to die and fall into disrepair, and thus it was my job to revive them. There was something cathartic about taking ownership of the fence and giving it new life and freshness. So, I decided to to away with the grey.

Enter, the pressure washer. This cute little cartoon robot is a pretty great workhorse. We bought it to always have the tool easily on hand for cleaning the exterior of the house, refreshing tired wood, removing stains from the concrete porch, and deep cleaning the outdoor furniture. However, you can always rent a pressure washer from your local hardware store and it will likely be a heavier dutier machine.

Since taking photos with a water-spewing power tool is tricky, Ross stepped in to model for us. Here, you can see the dry grey cedar, then damp wood from overspray, then bright orange wood that the pressure washer revealed. The wood natural grey over time, so the power washer brings back the natural hue by removing the top layer of patina. The power washer is an easy and chemical-free way to do the job - plus it’s ultra satisfying. It does use a decent amount of water, but luckily it went into the earth to help feed the plants.

The pressure washer helped to remove the grey hue, but the wood was still kinda dry and tired. If left untreated, it would grey again over time. Not sealing the wood also leaves it open to the elements and more prone to rot, wear, and tear. So I decided to seal it and while I was at it, I decided to give it some color back. The hardware store had many options, most of which I hated. I wanted just a touch of color, but mostly I wanted to see the wood grain, so I got a transparent weather proofing sealer in Cedar Naturaltone (pictured in the middle on the bottom) which gives the wood its original glow.


To apply, I used this stain pad that can also be screwed to the end of a pole to stain a deck or taller fence. This is a better tool to use than a brush or roller because it prevents fewer bubbles and encourages the stain to go on in one pass. Using a roller and rubbing in the stain can give an uneven finish, and if you apply too much, it could flake off. You want just enough that the wood absorbs it.

Isn’t she pretty? On the right is the power washed wood without the grey patina, and on the left is the weatherproofing stain with a tint of a warm cedar hue. When it first went on, it looked kinda fake like a bad spray tan, but it grew on me to look like a rich, warm, and natural wood tone.
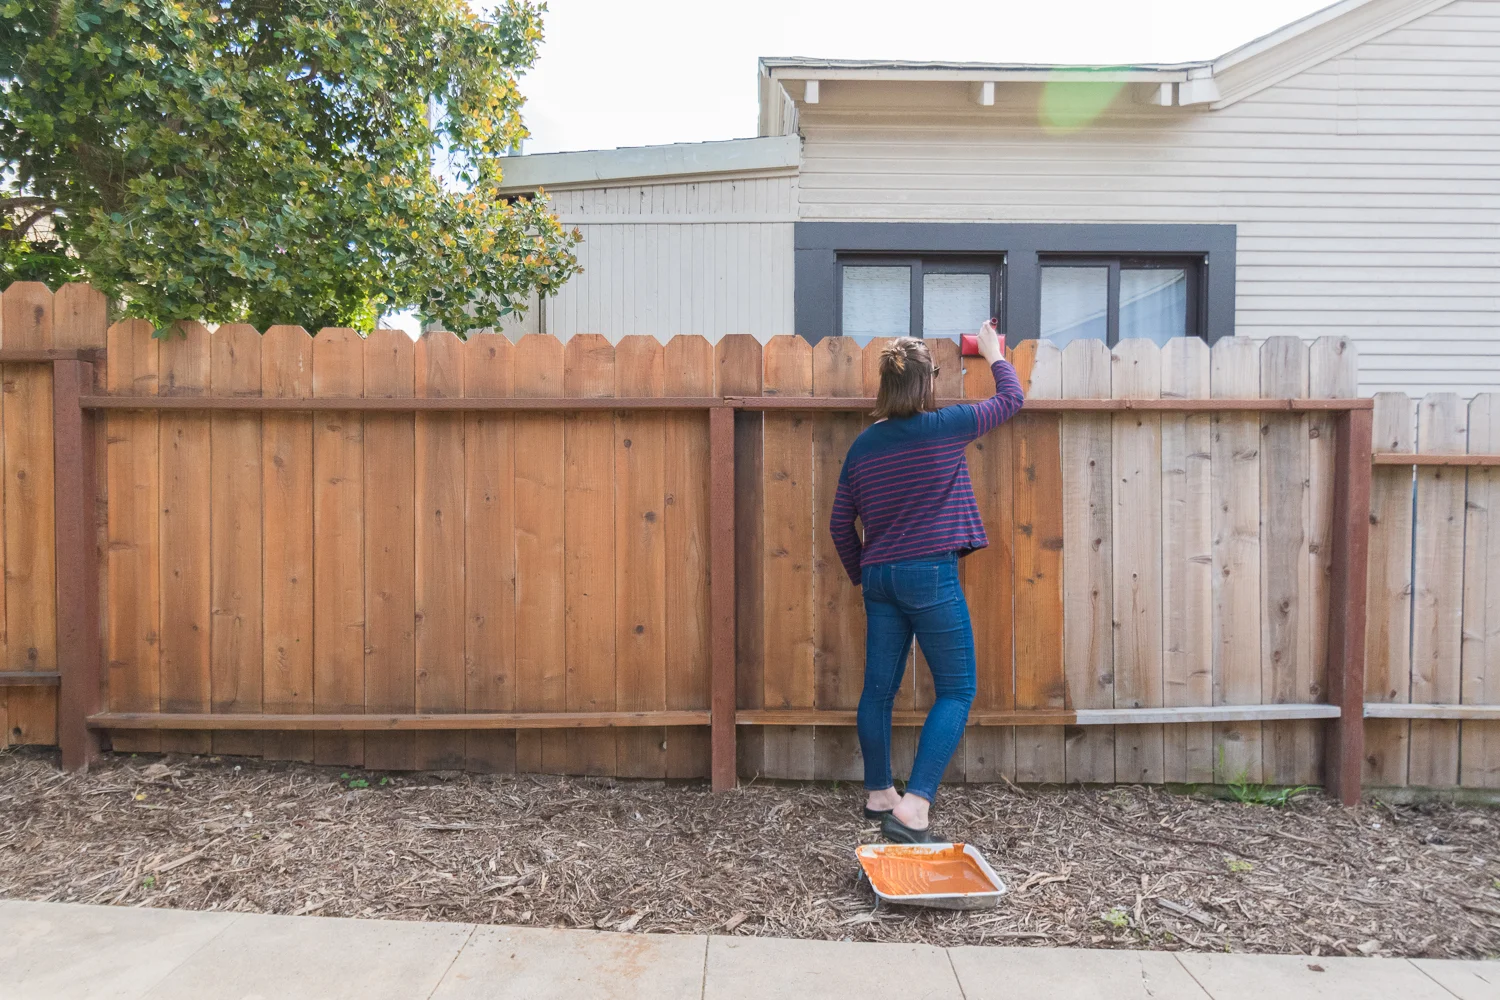
Note, I don’t do home improvement projects in skinny jeans. I normally wear pajamas or dingy paint clothes. But for the sake of sharing photos of my backside on the internet, I traded my PJs for adult human pants.
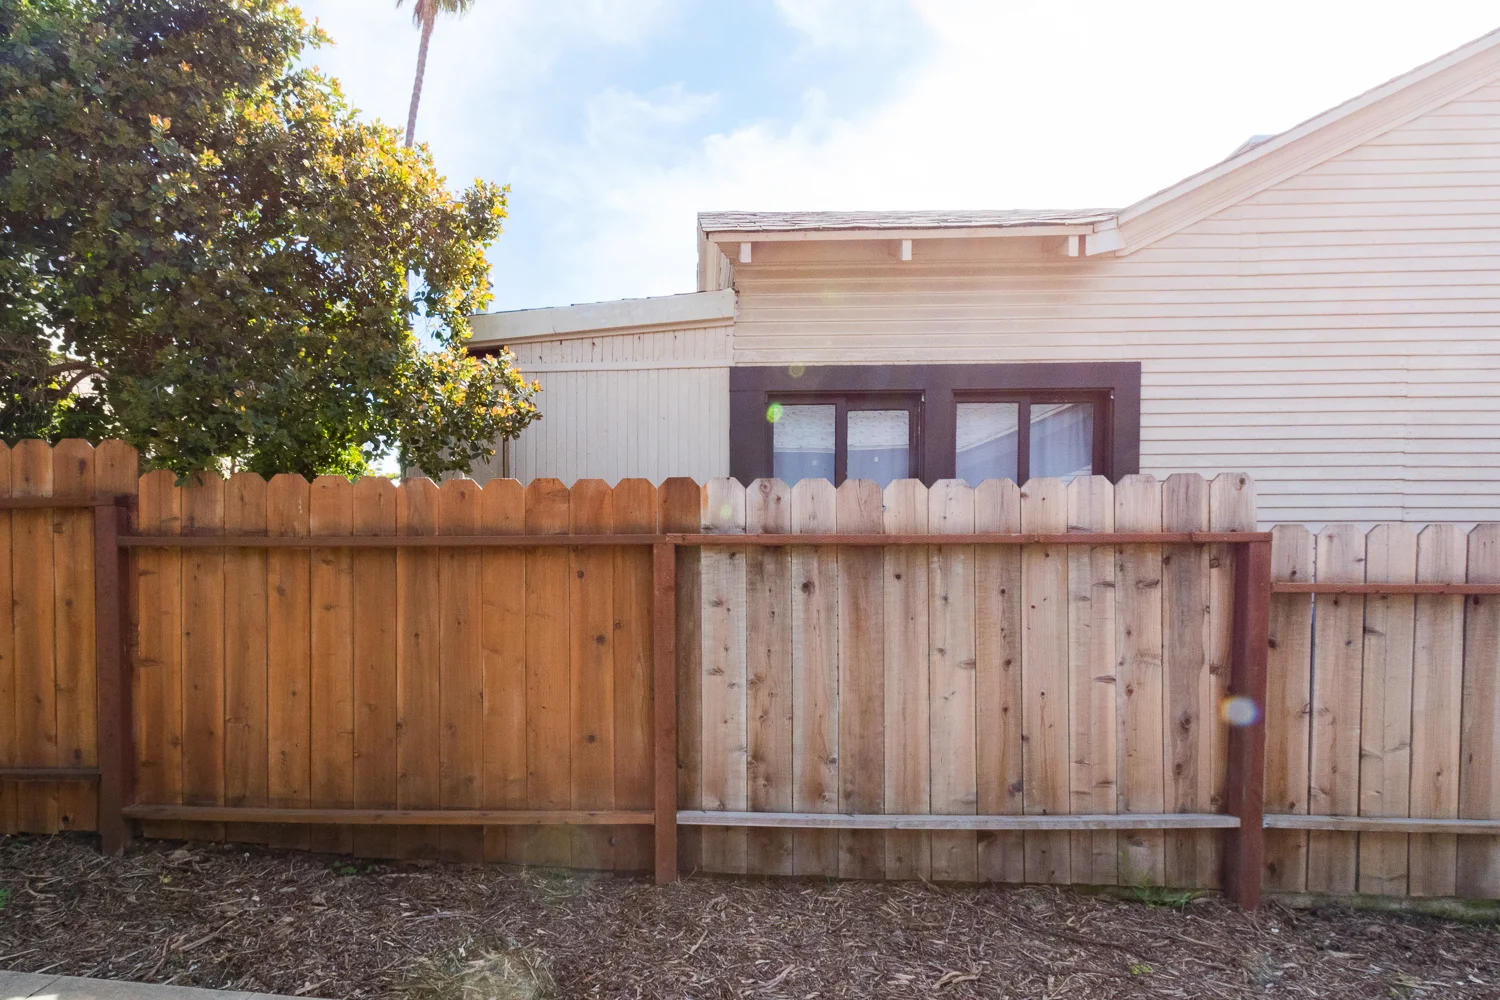
I could have certainly left the washed wood (seen on the right) as-is and maybe did a non-tinted sealer. But, the red toned pressure-treated lumber really sticks out against the pale color of the fence panels. The stain helps blend it all in, don’t you think?