Halloween Inspired Vintage Art

Halloween Print in Bathroom The Gold Hive

I don't like to go wild with decorating my home for the seasons, but I love that Halloween gives me an excuse to display eerie, weird, dark, melancholic, spooky, mischievous, and creepy artwork. I've collected some of my favorite vintage art from Etsy that could be great all year long but has a particularly spooky vibe during the month of October - especially en masse. All of these are available for purchase and should make it to your home in time for All Hallow's Eve. Enjoy!
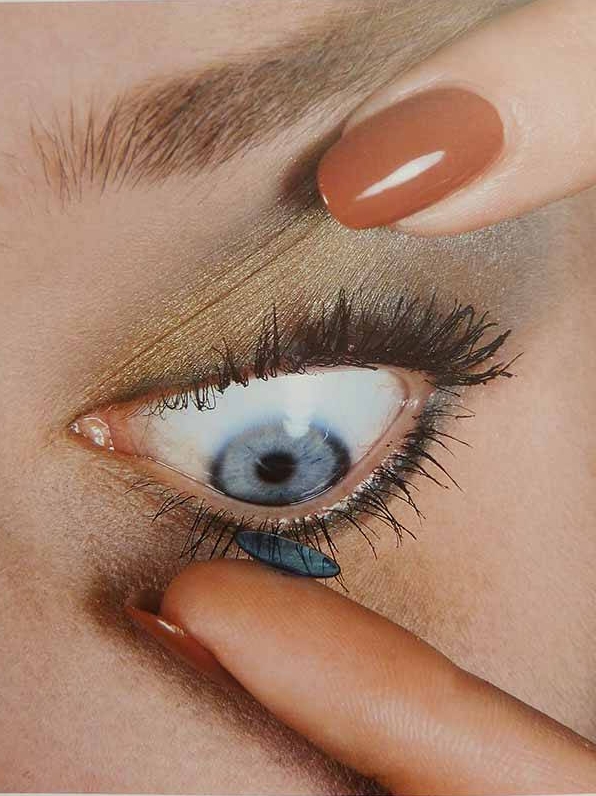
Portraits

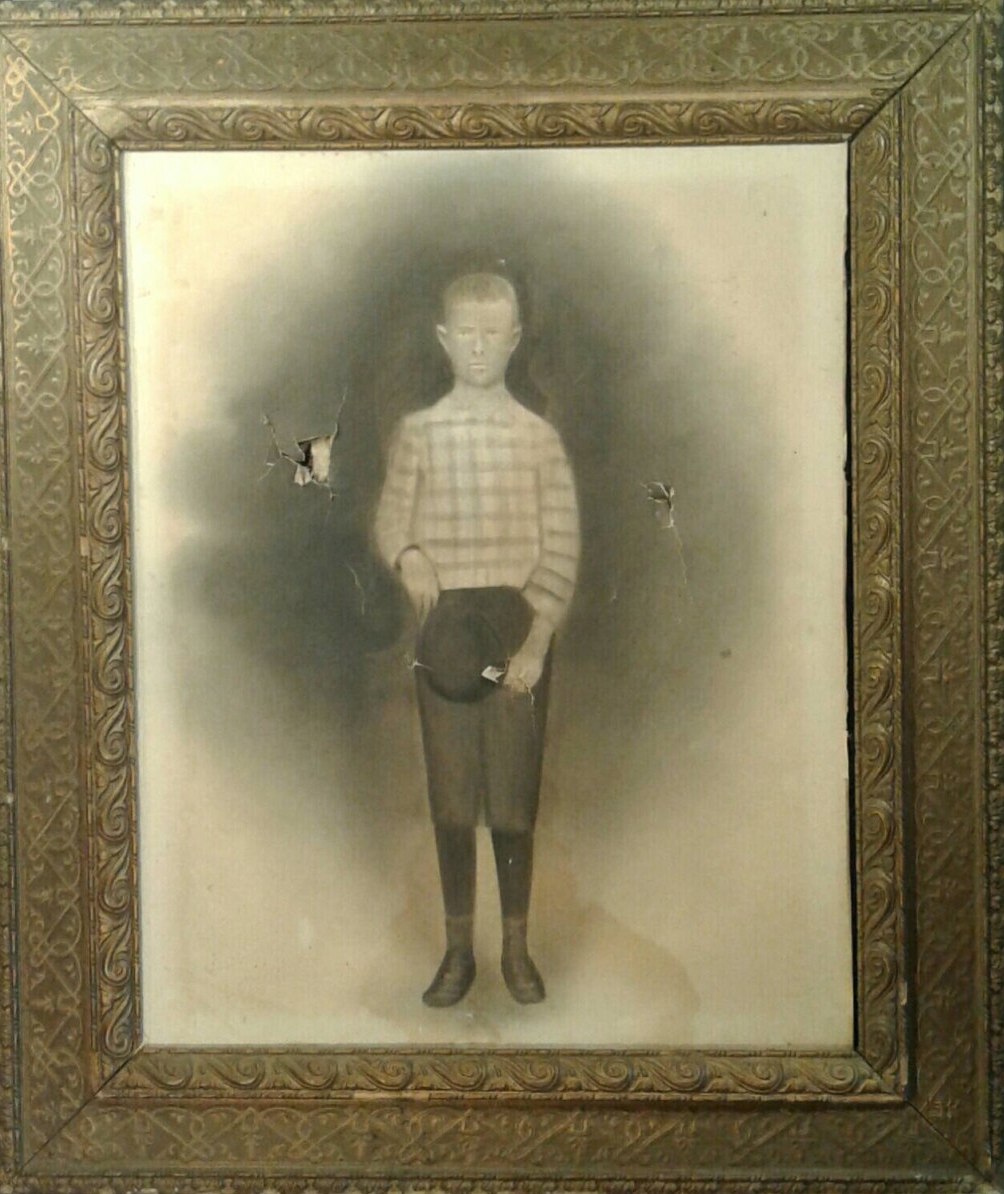
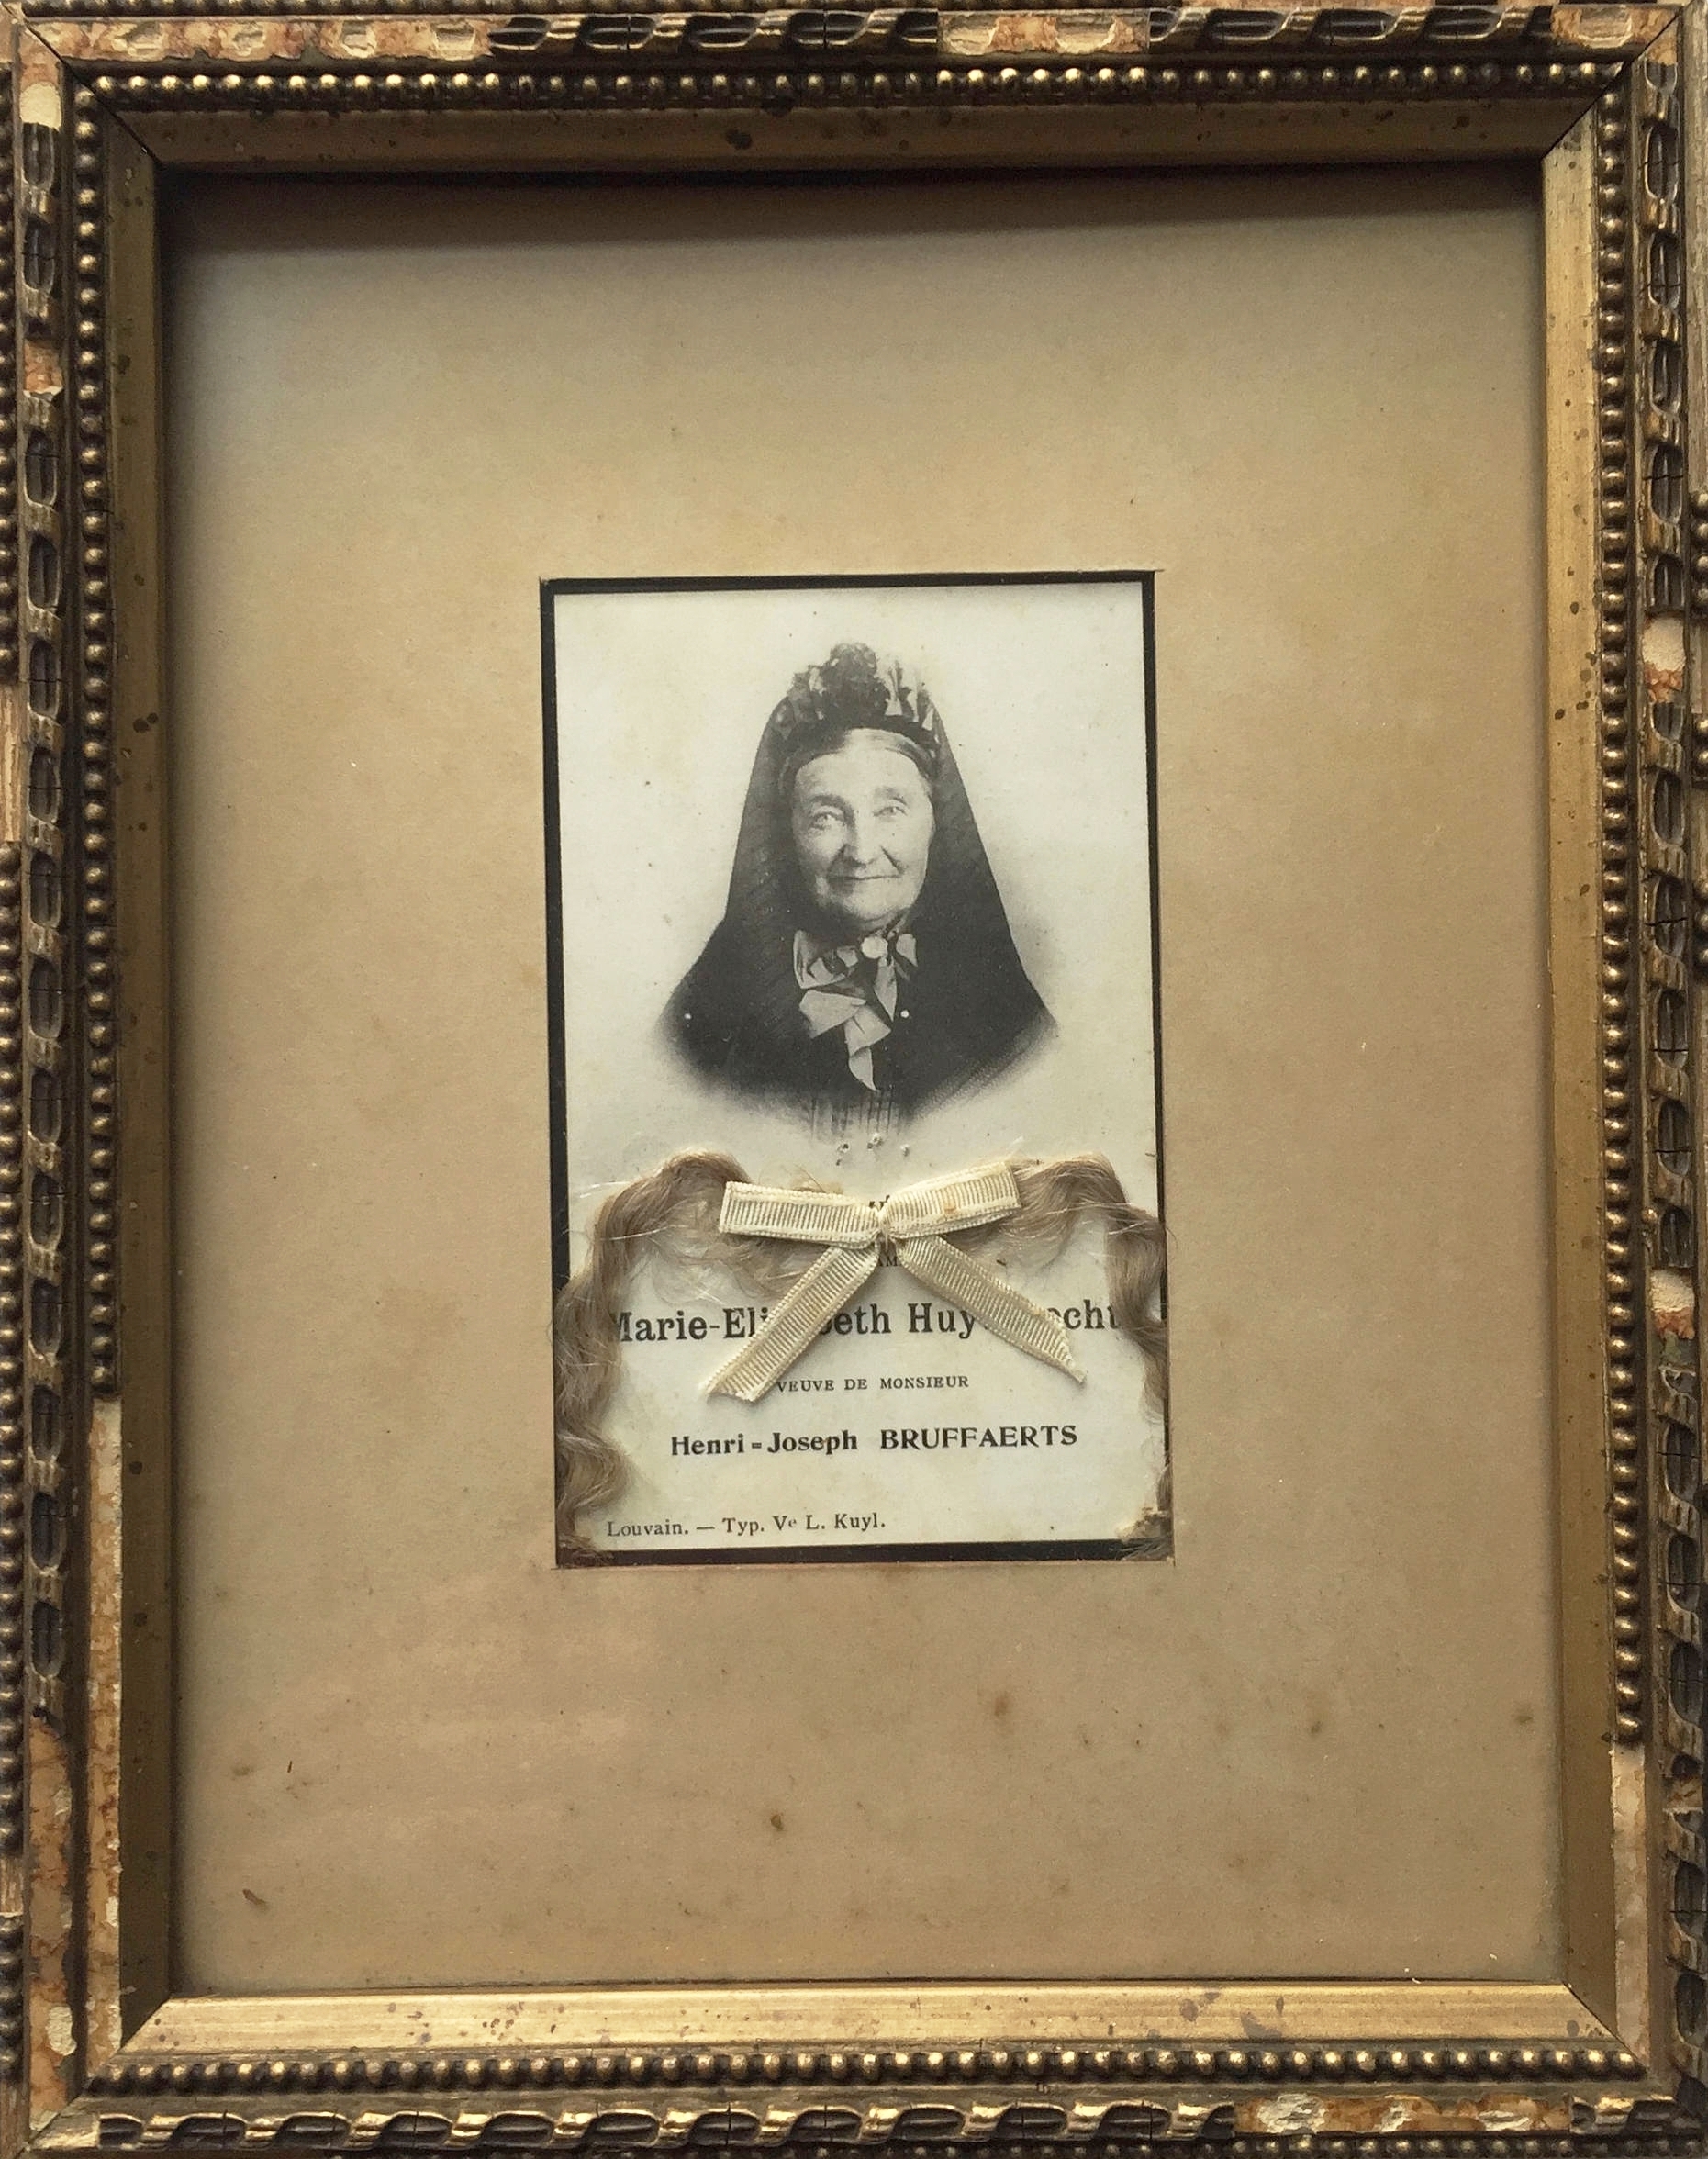
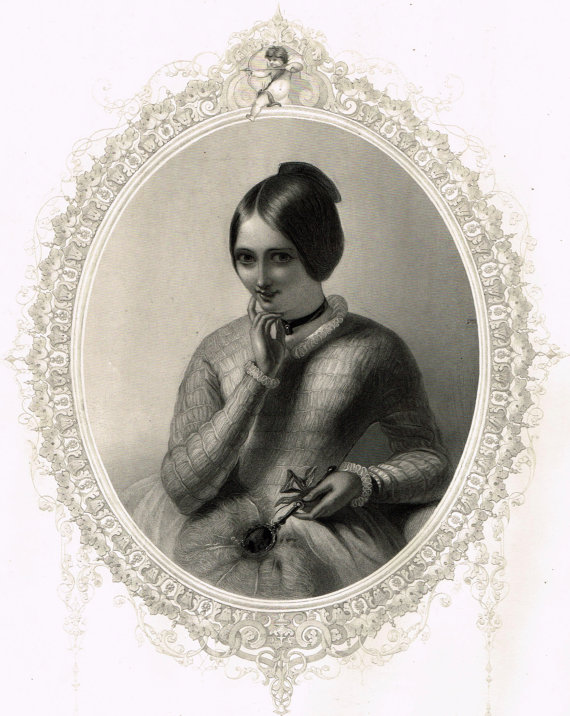
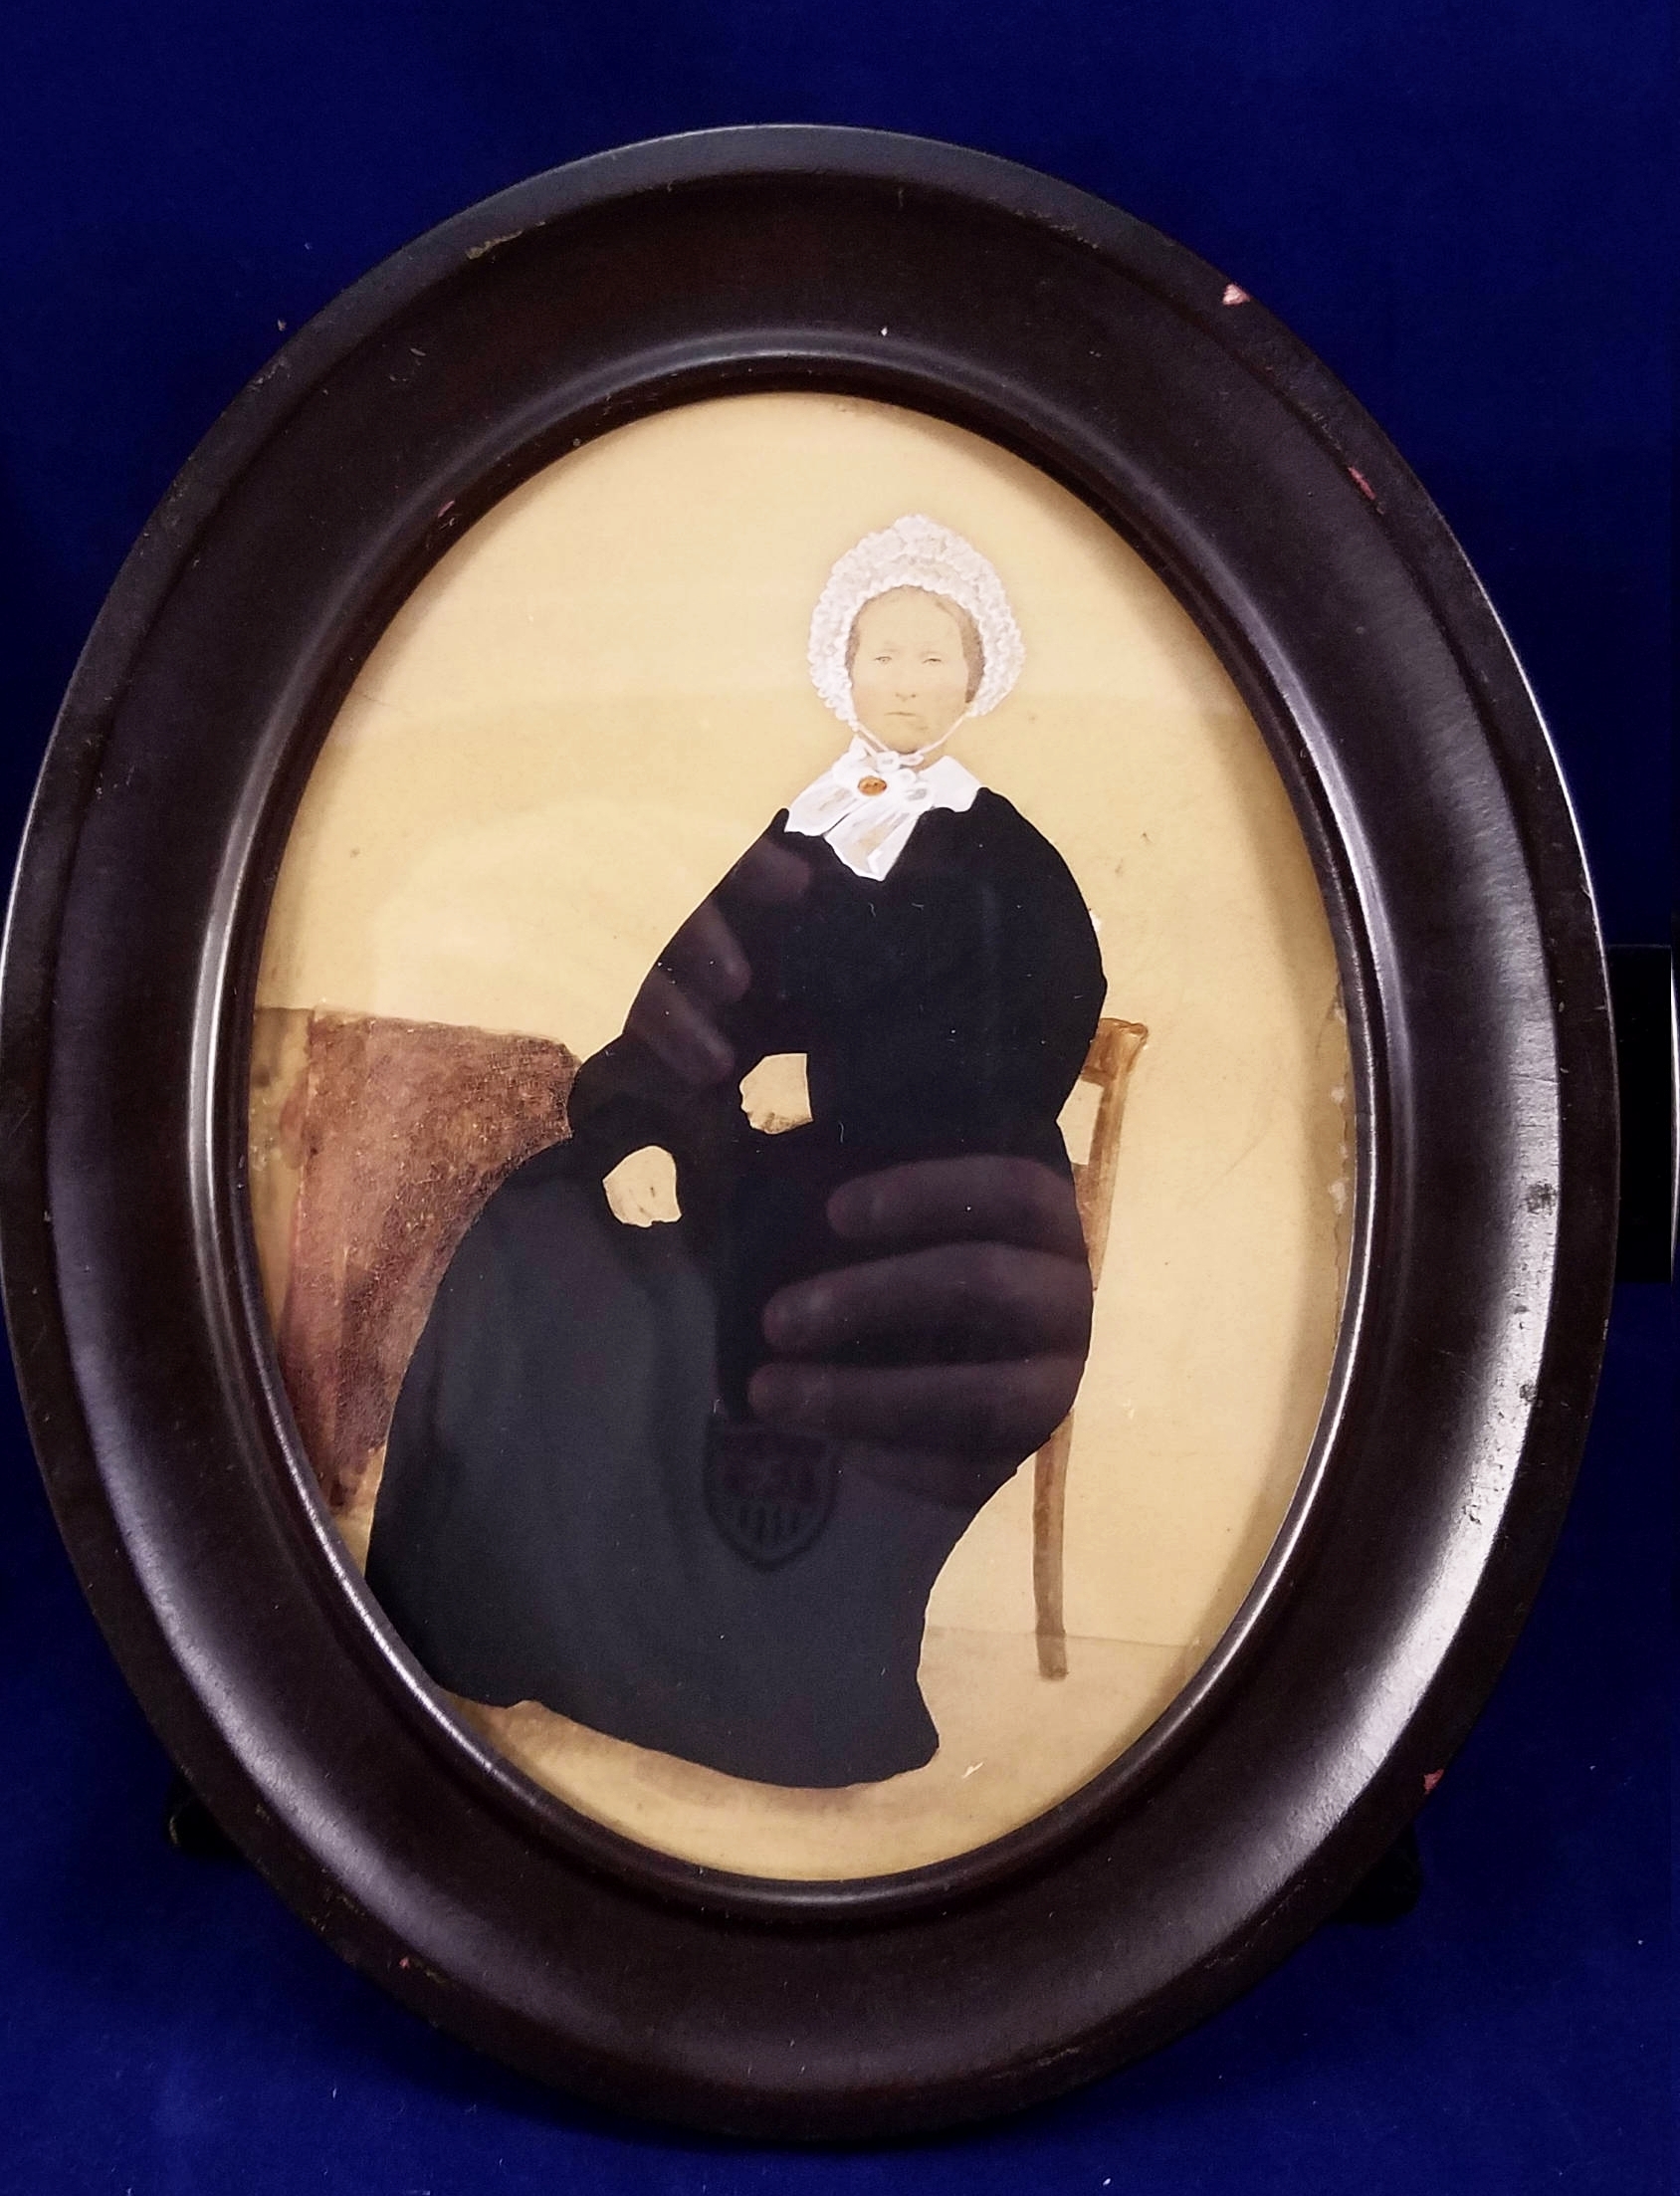
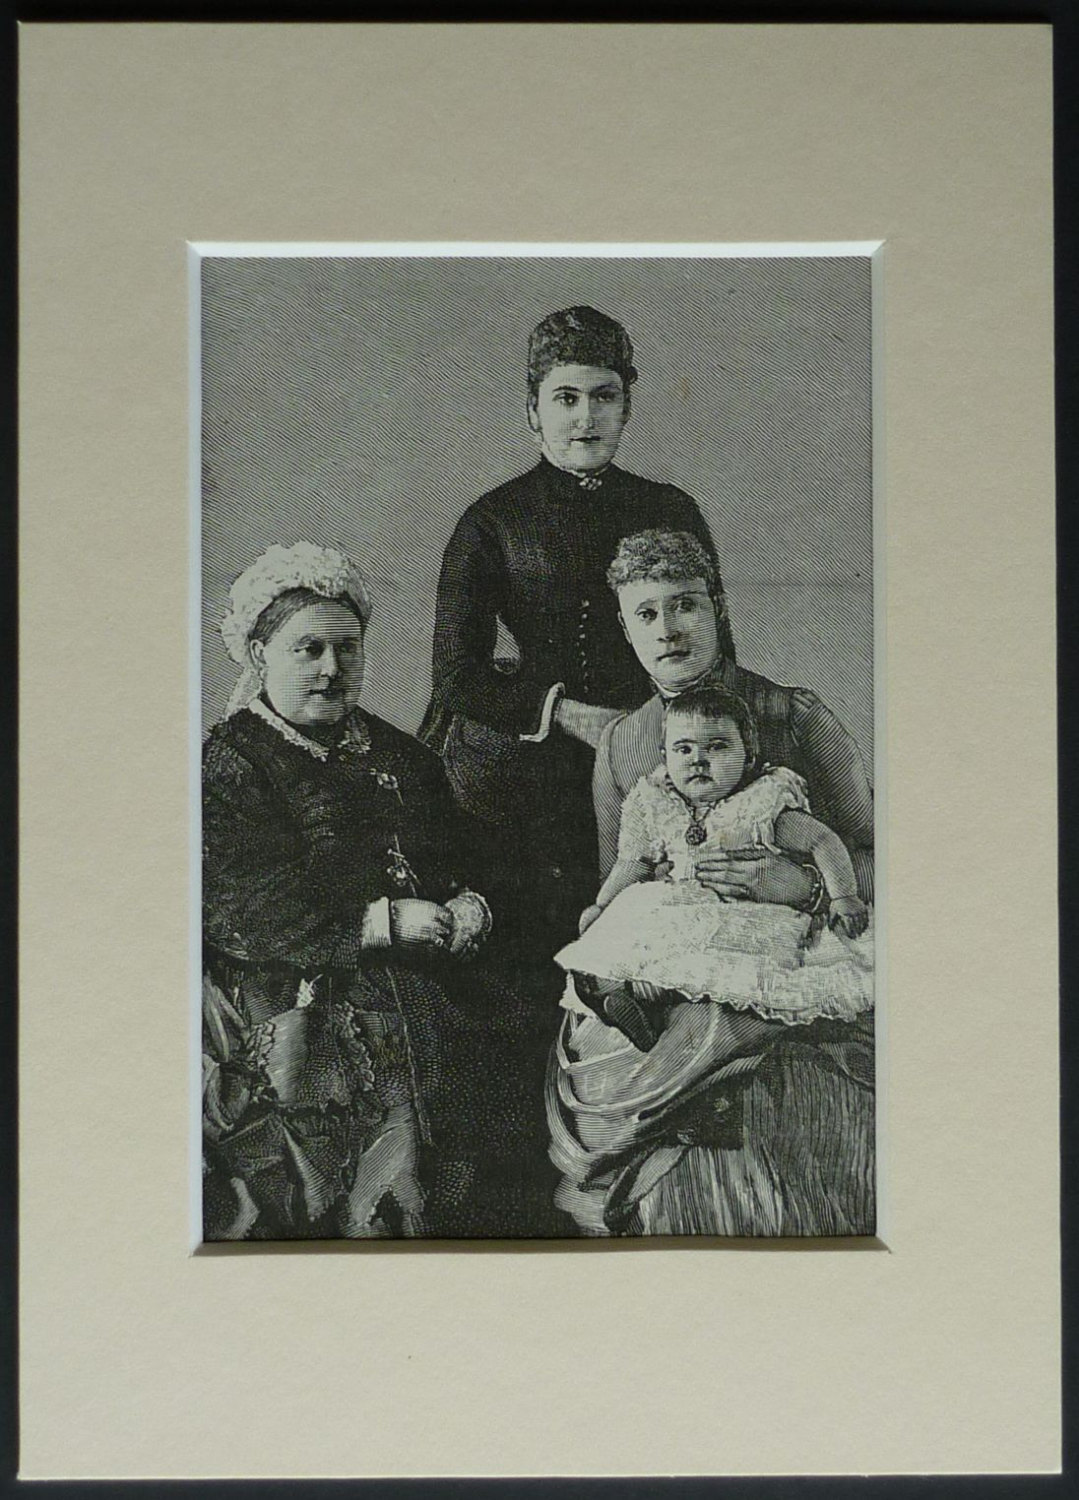
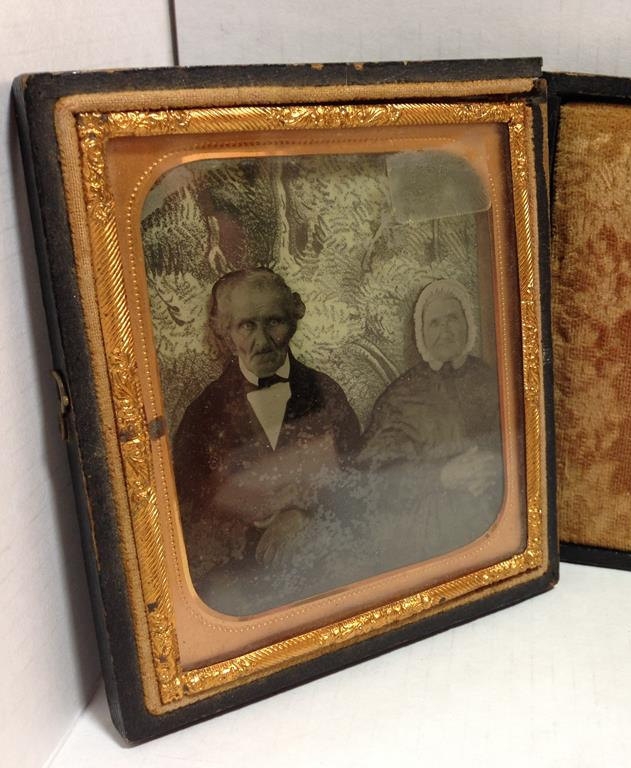
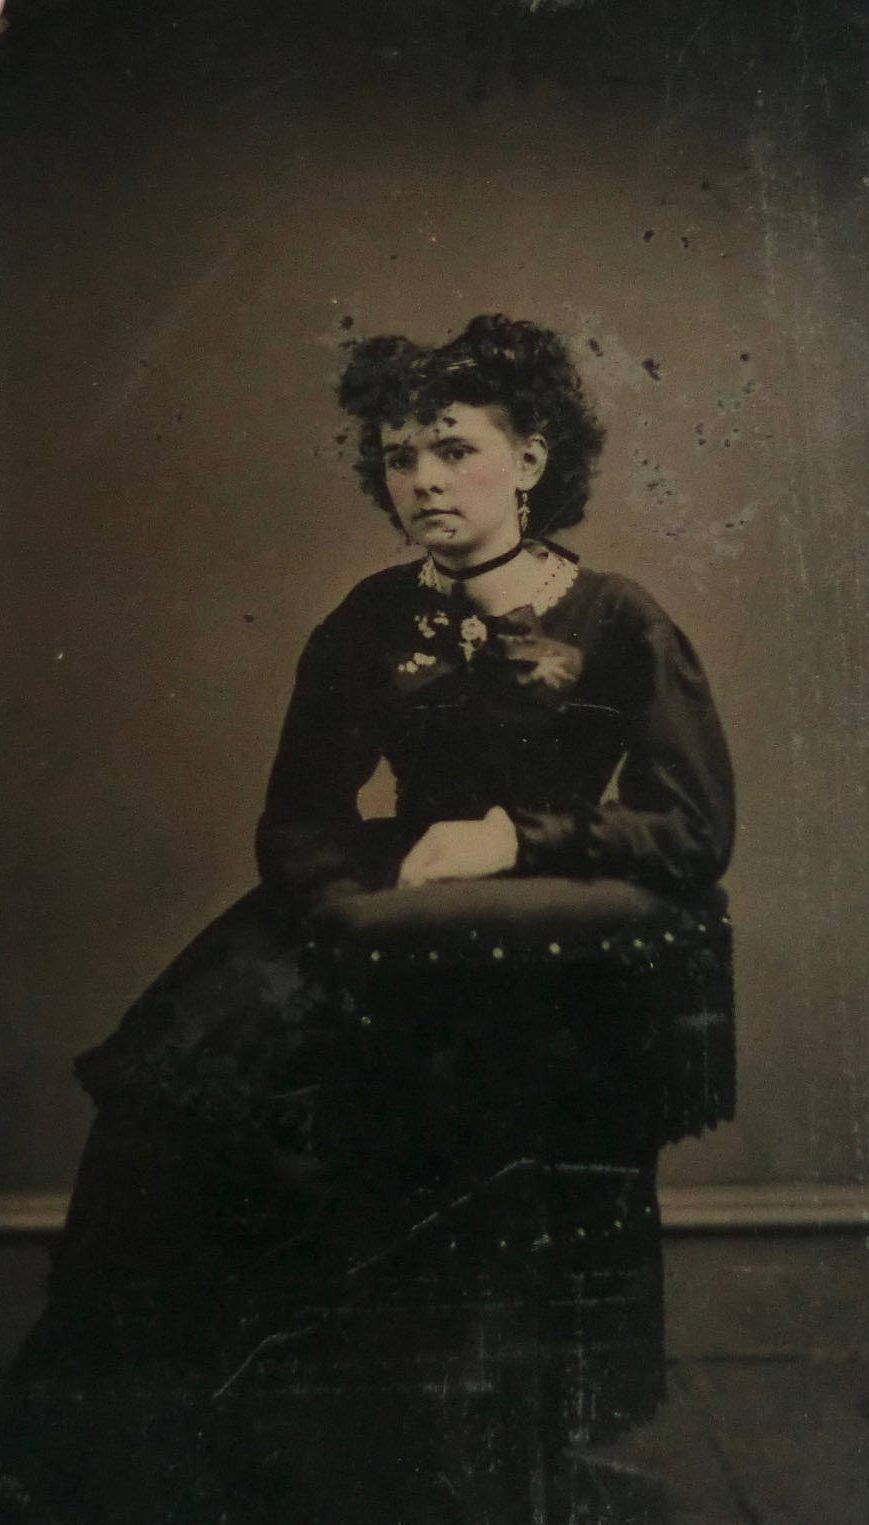
How do you like that bearded man's side eye? And that girl's mischievous look? Pretty much any daguerreotype is perfect for Halloween decor by the nature of it.
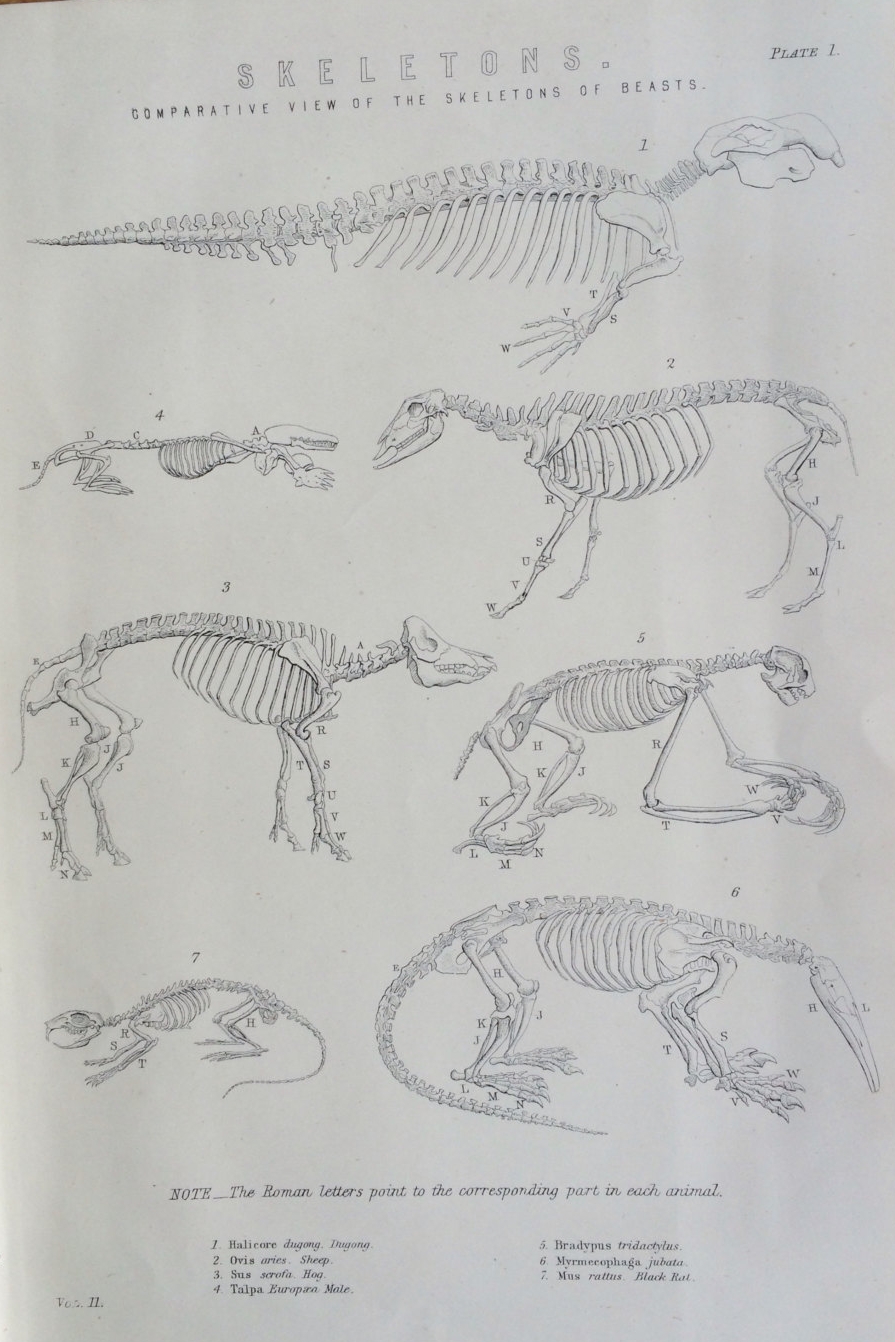
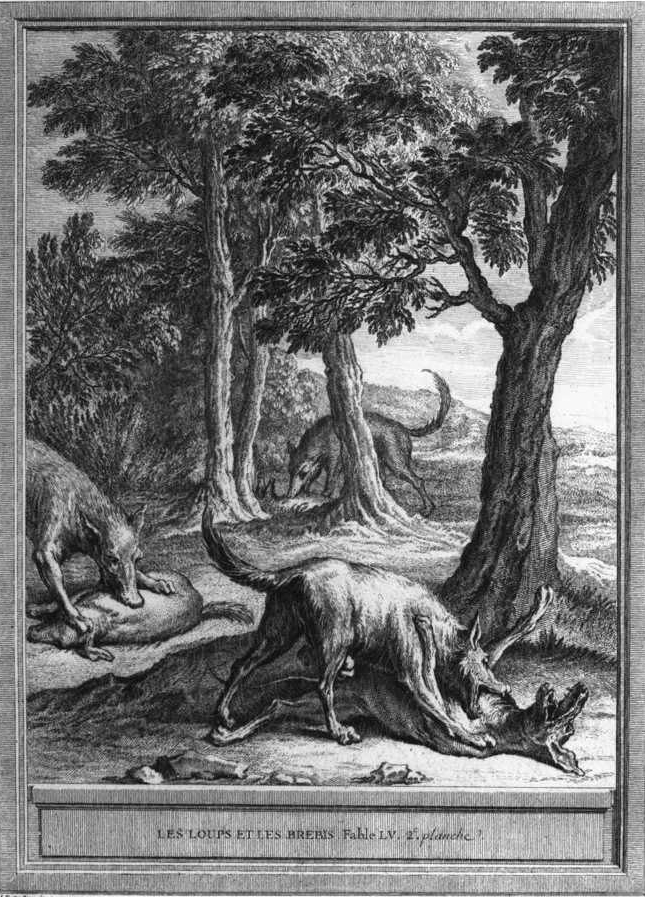
Flora/Fauna

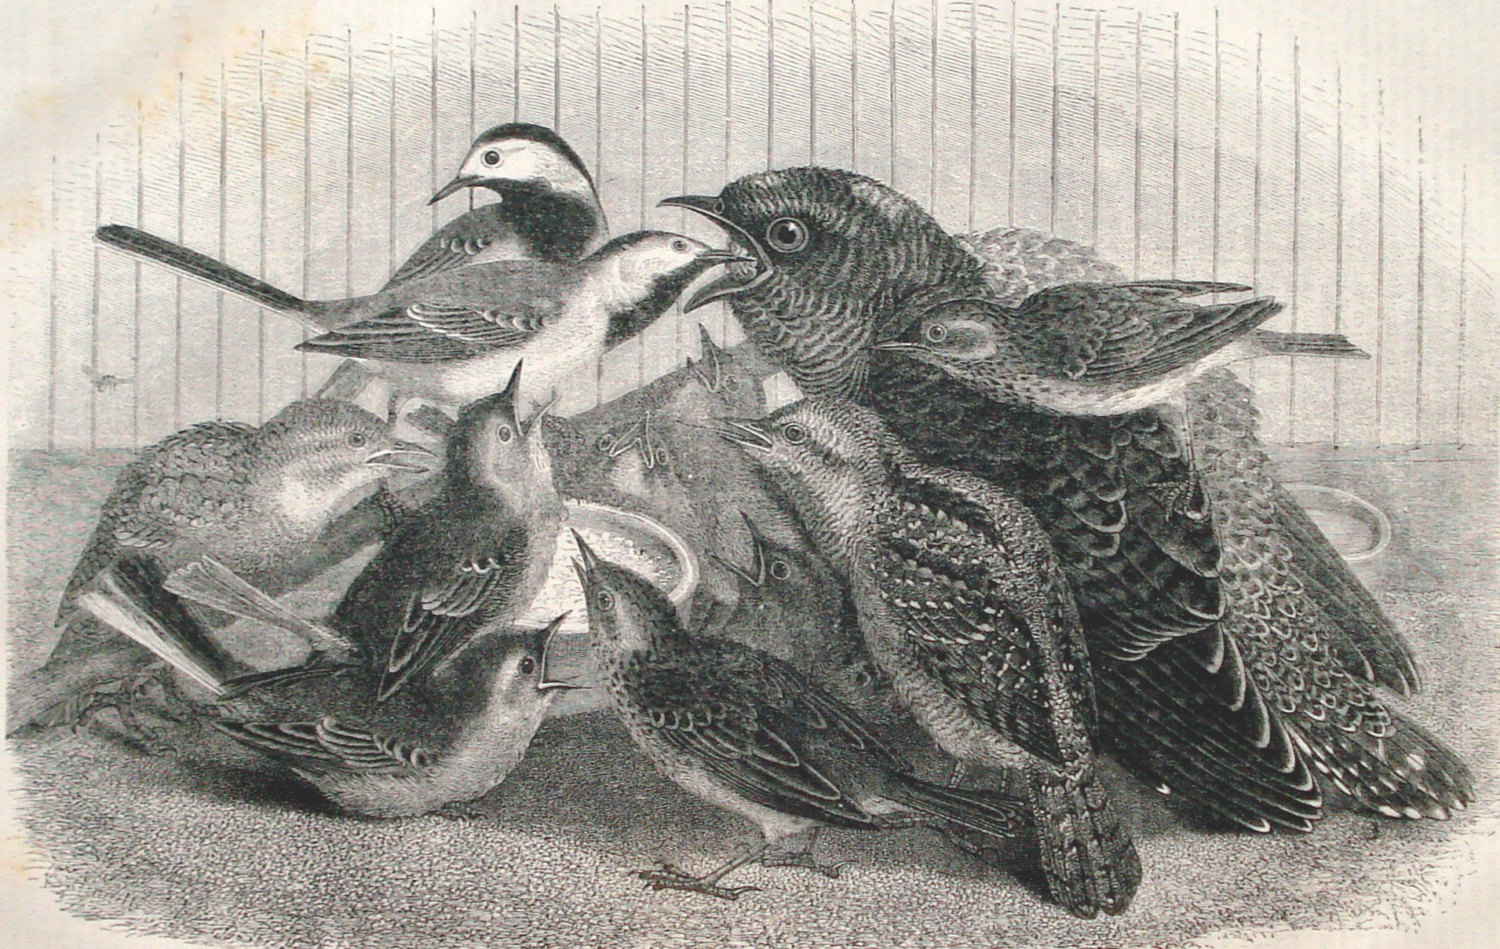
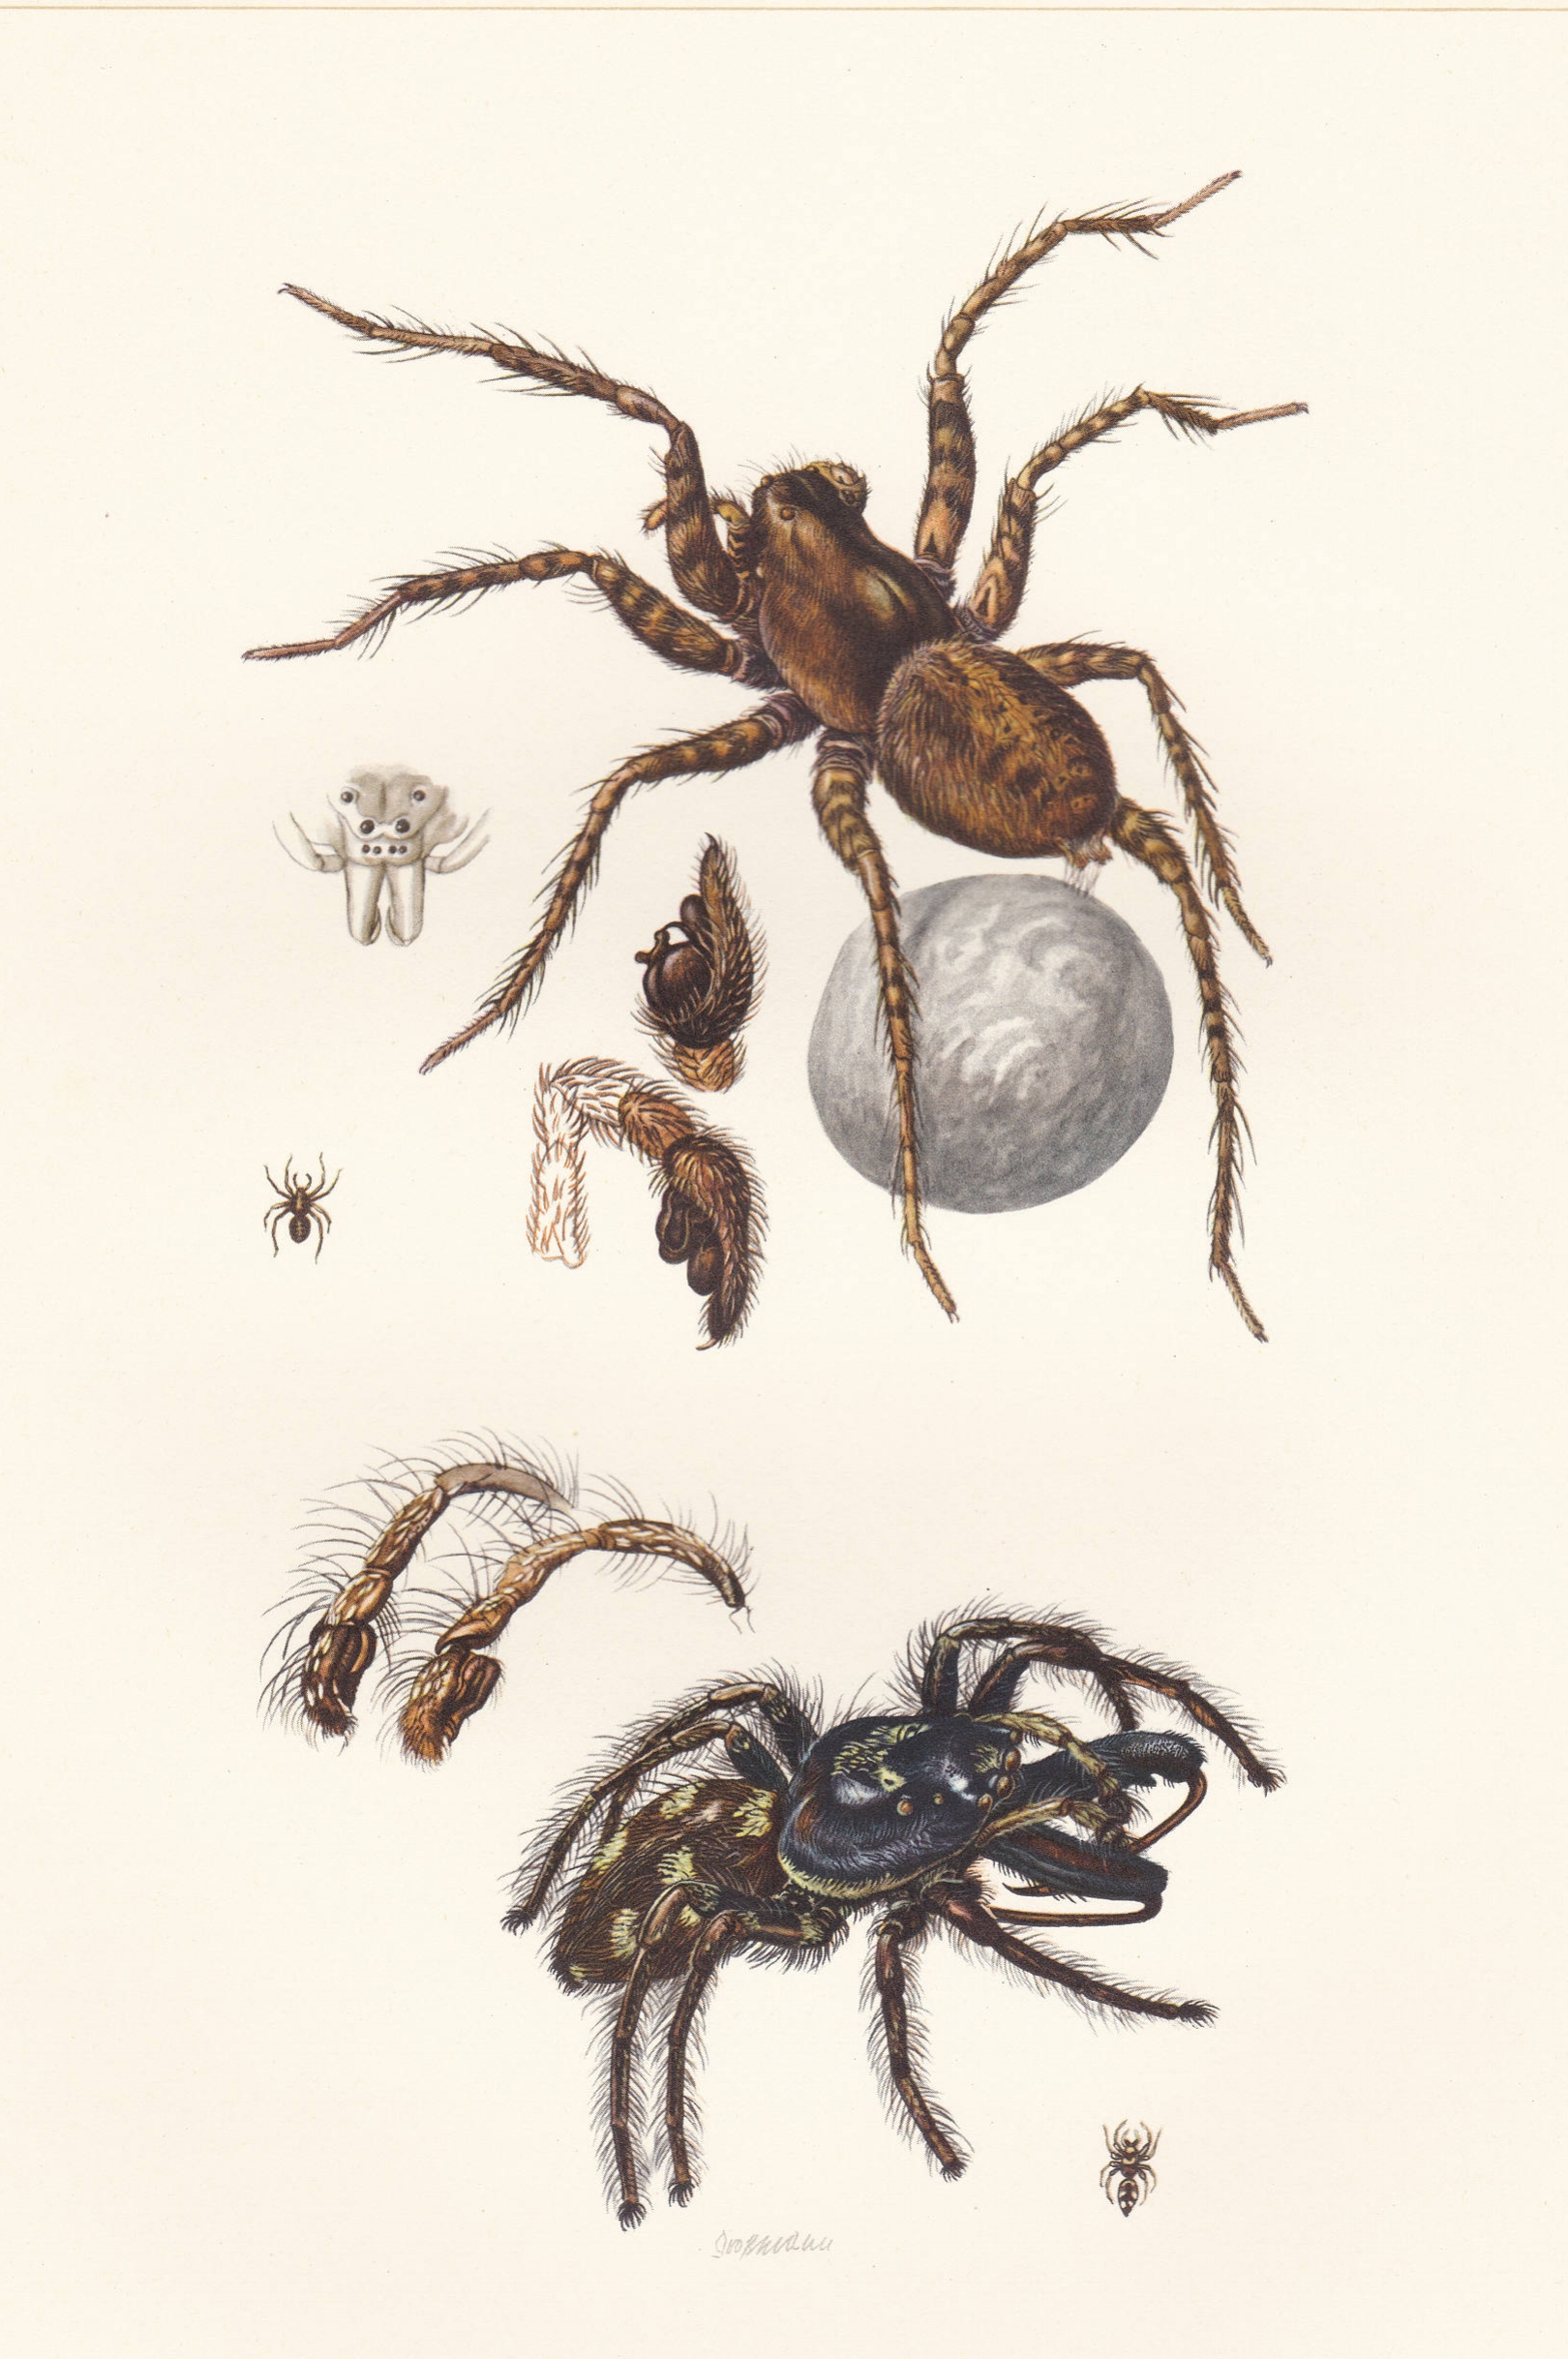
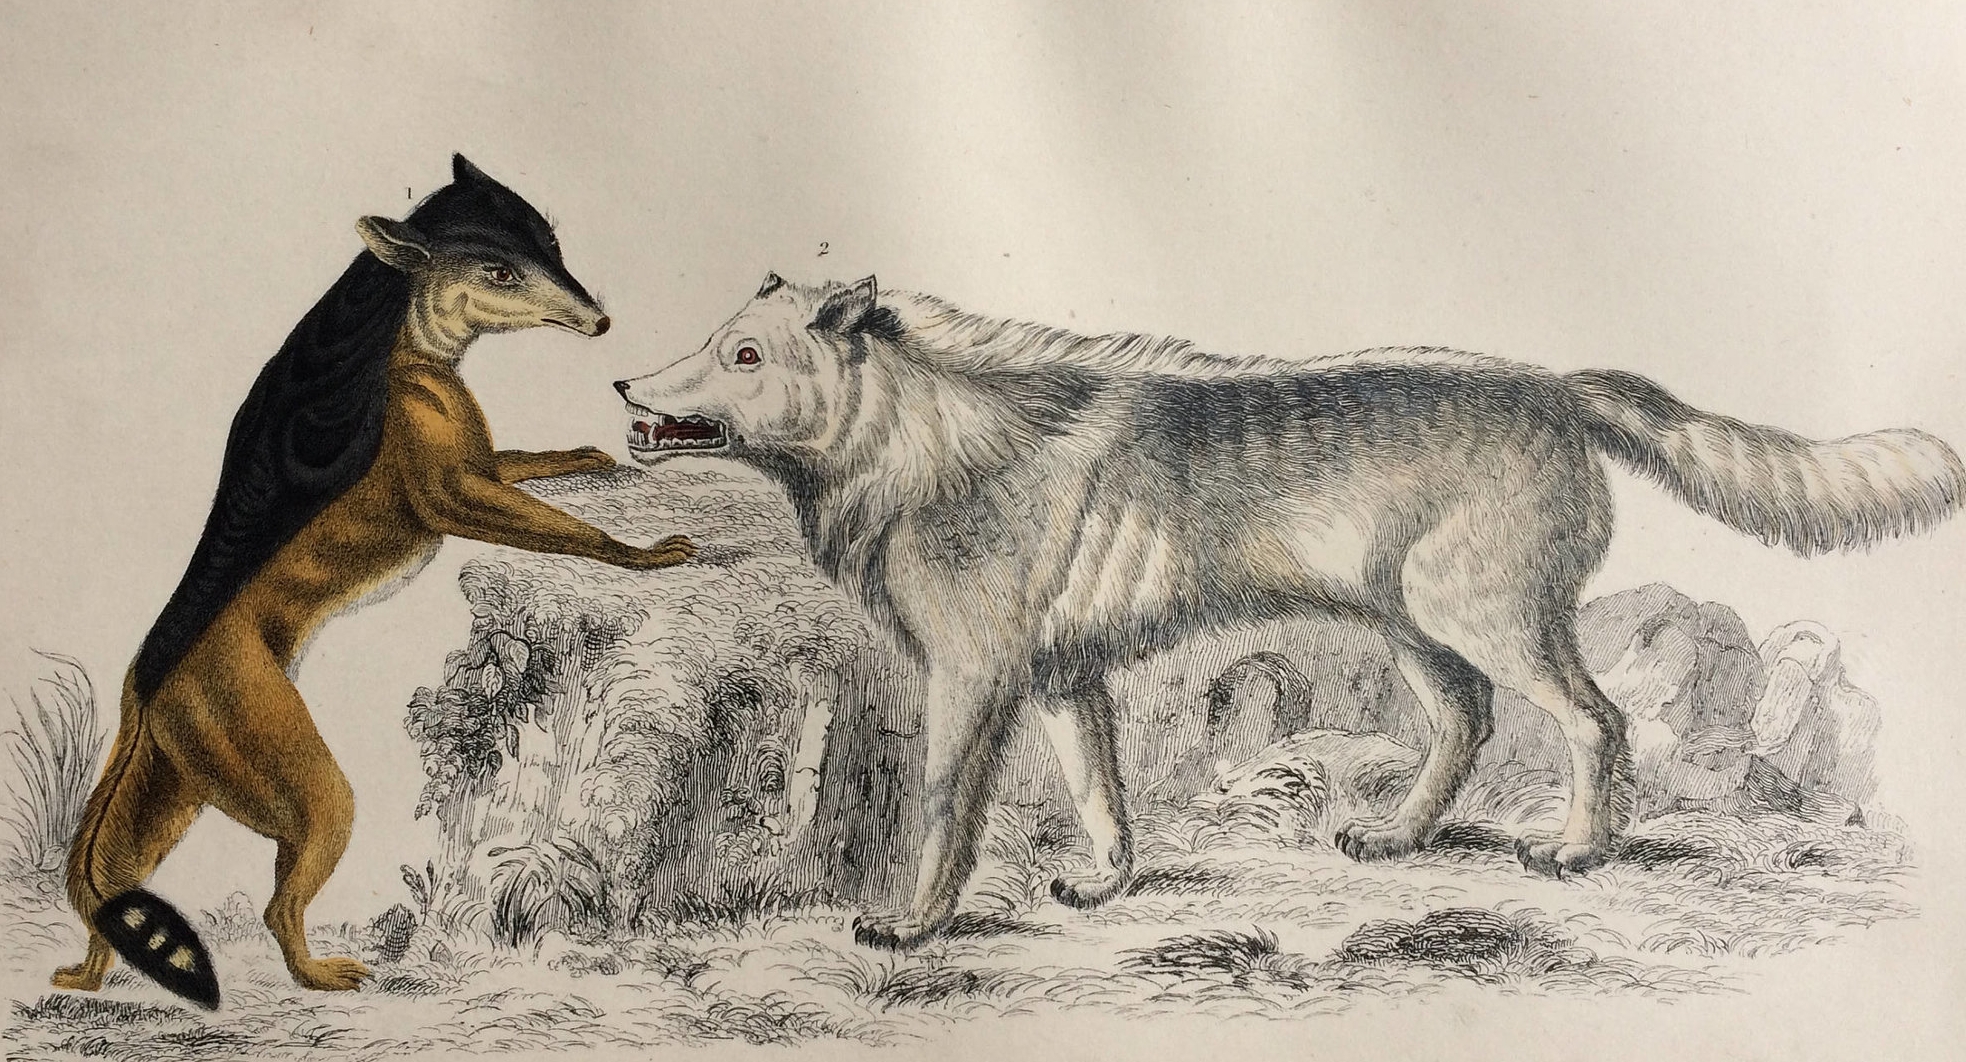
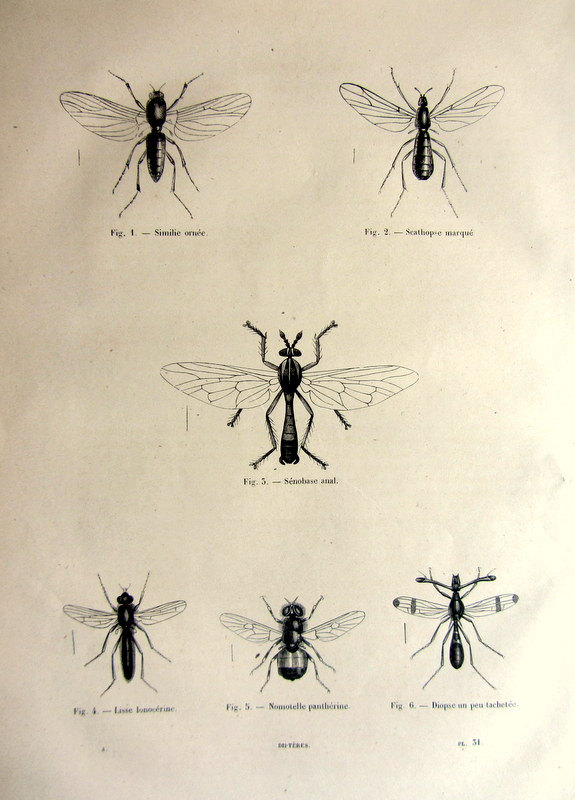
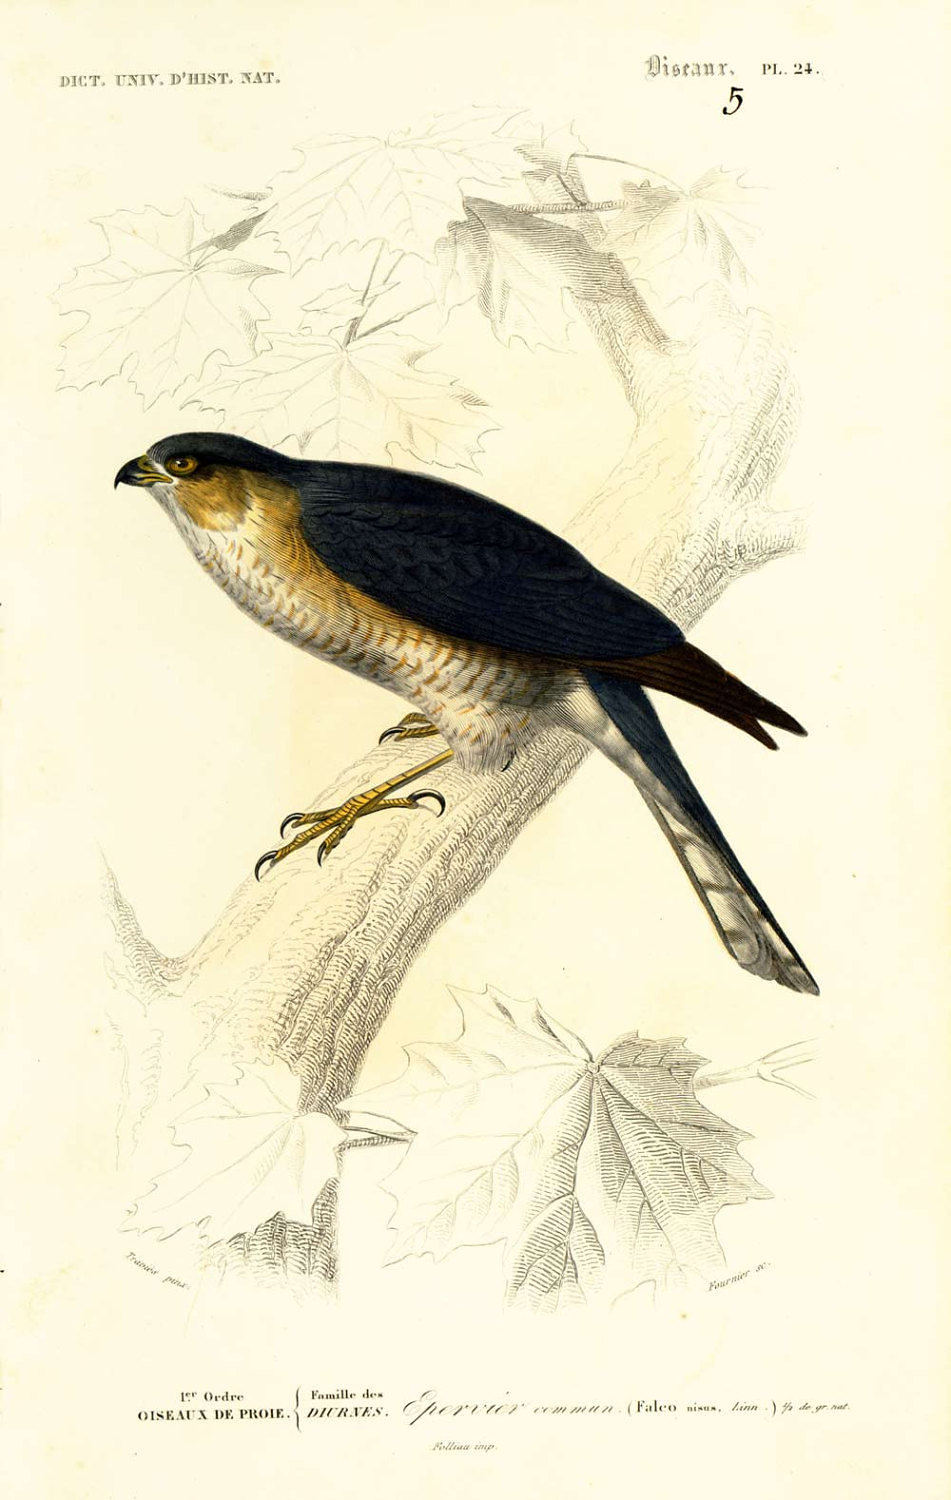
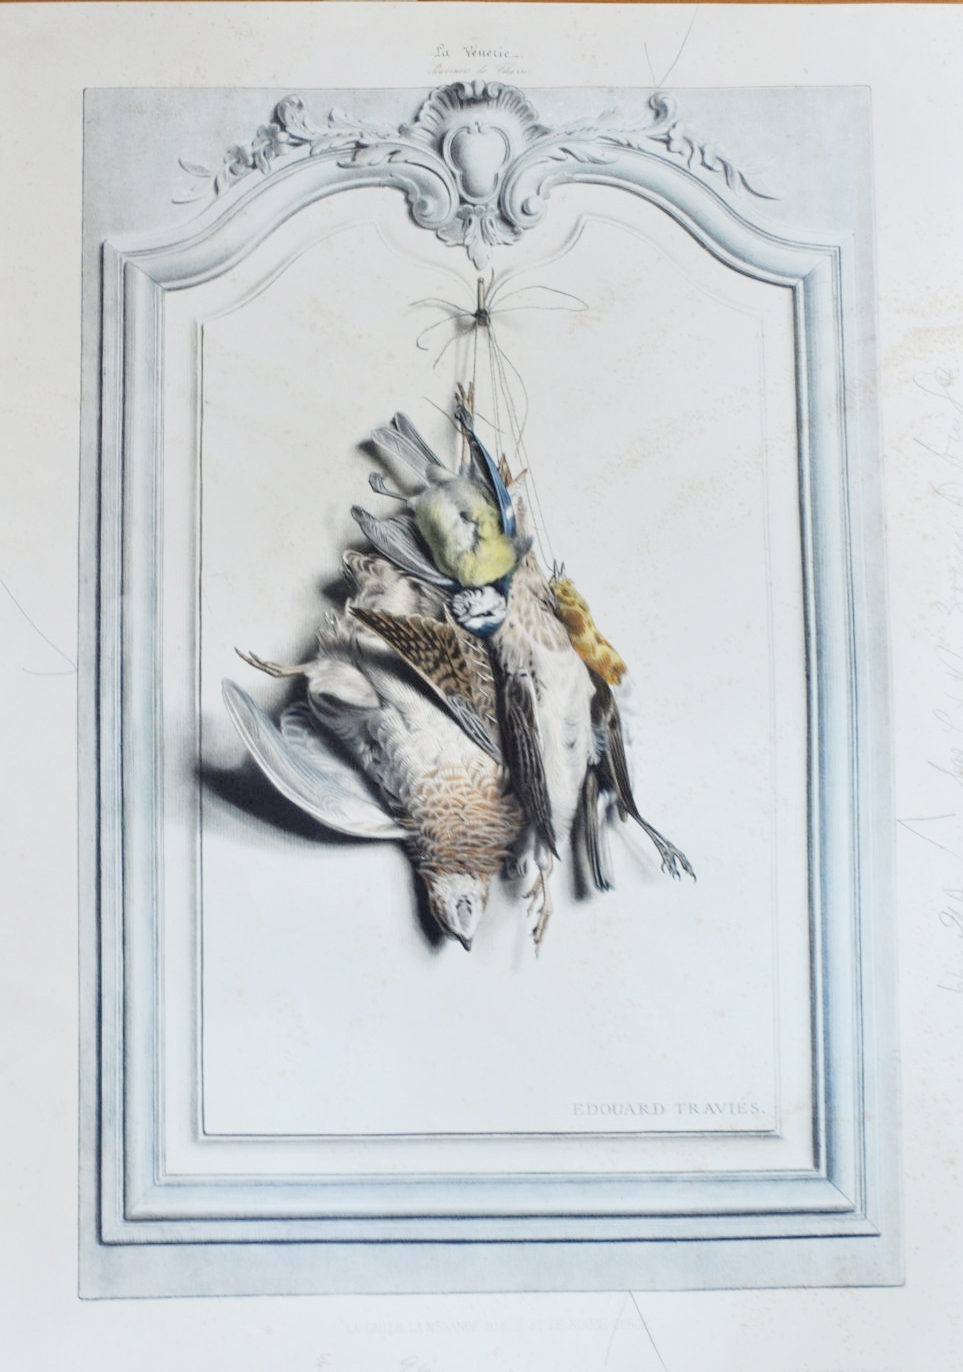
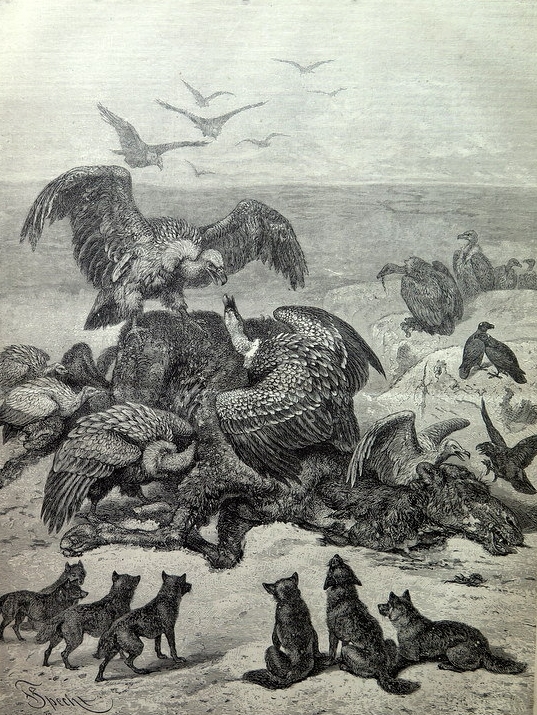
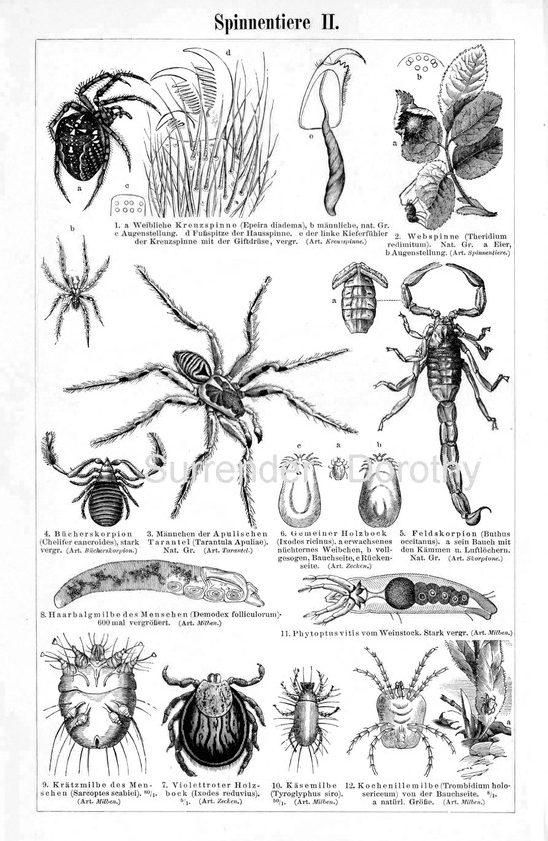
Sorry to any of you that don't like creepy crawlies. Can I interest you in some bones?

Anatomy

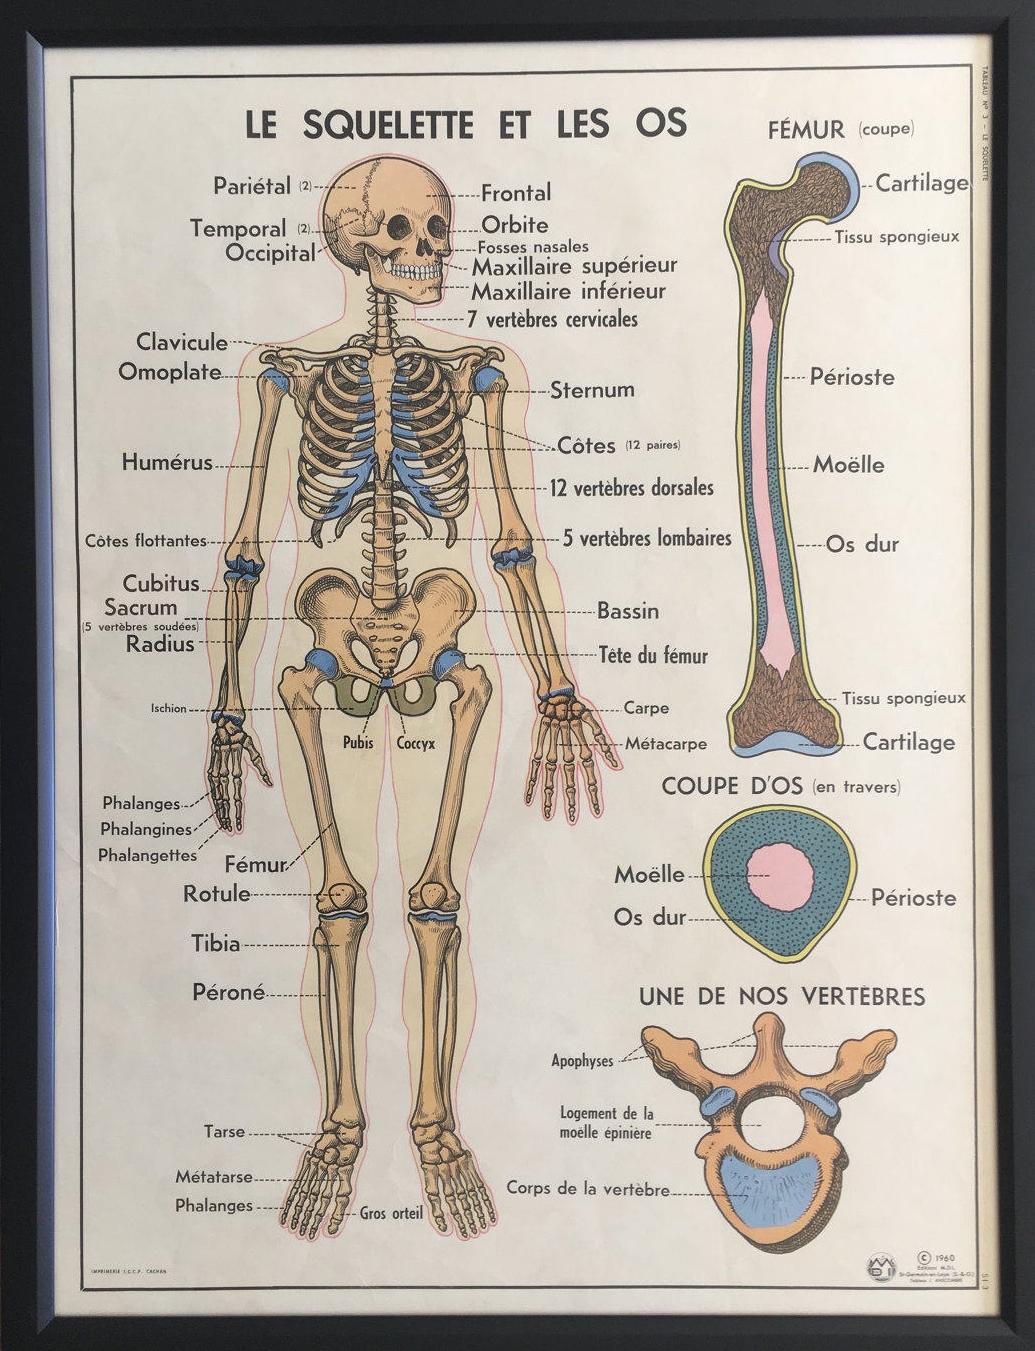
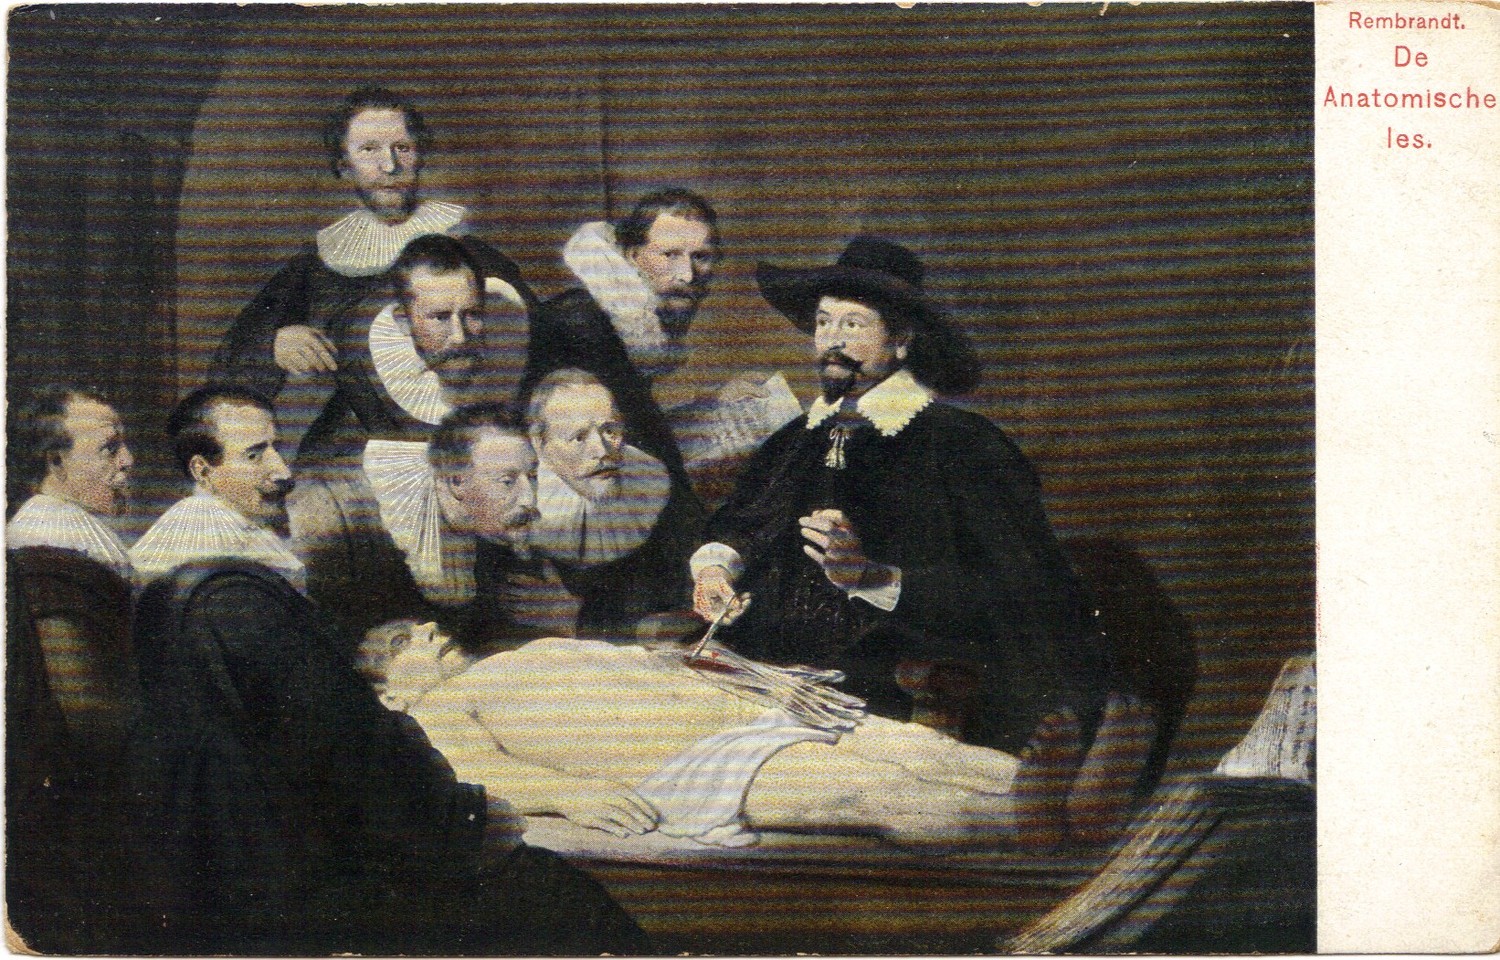
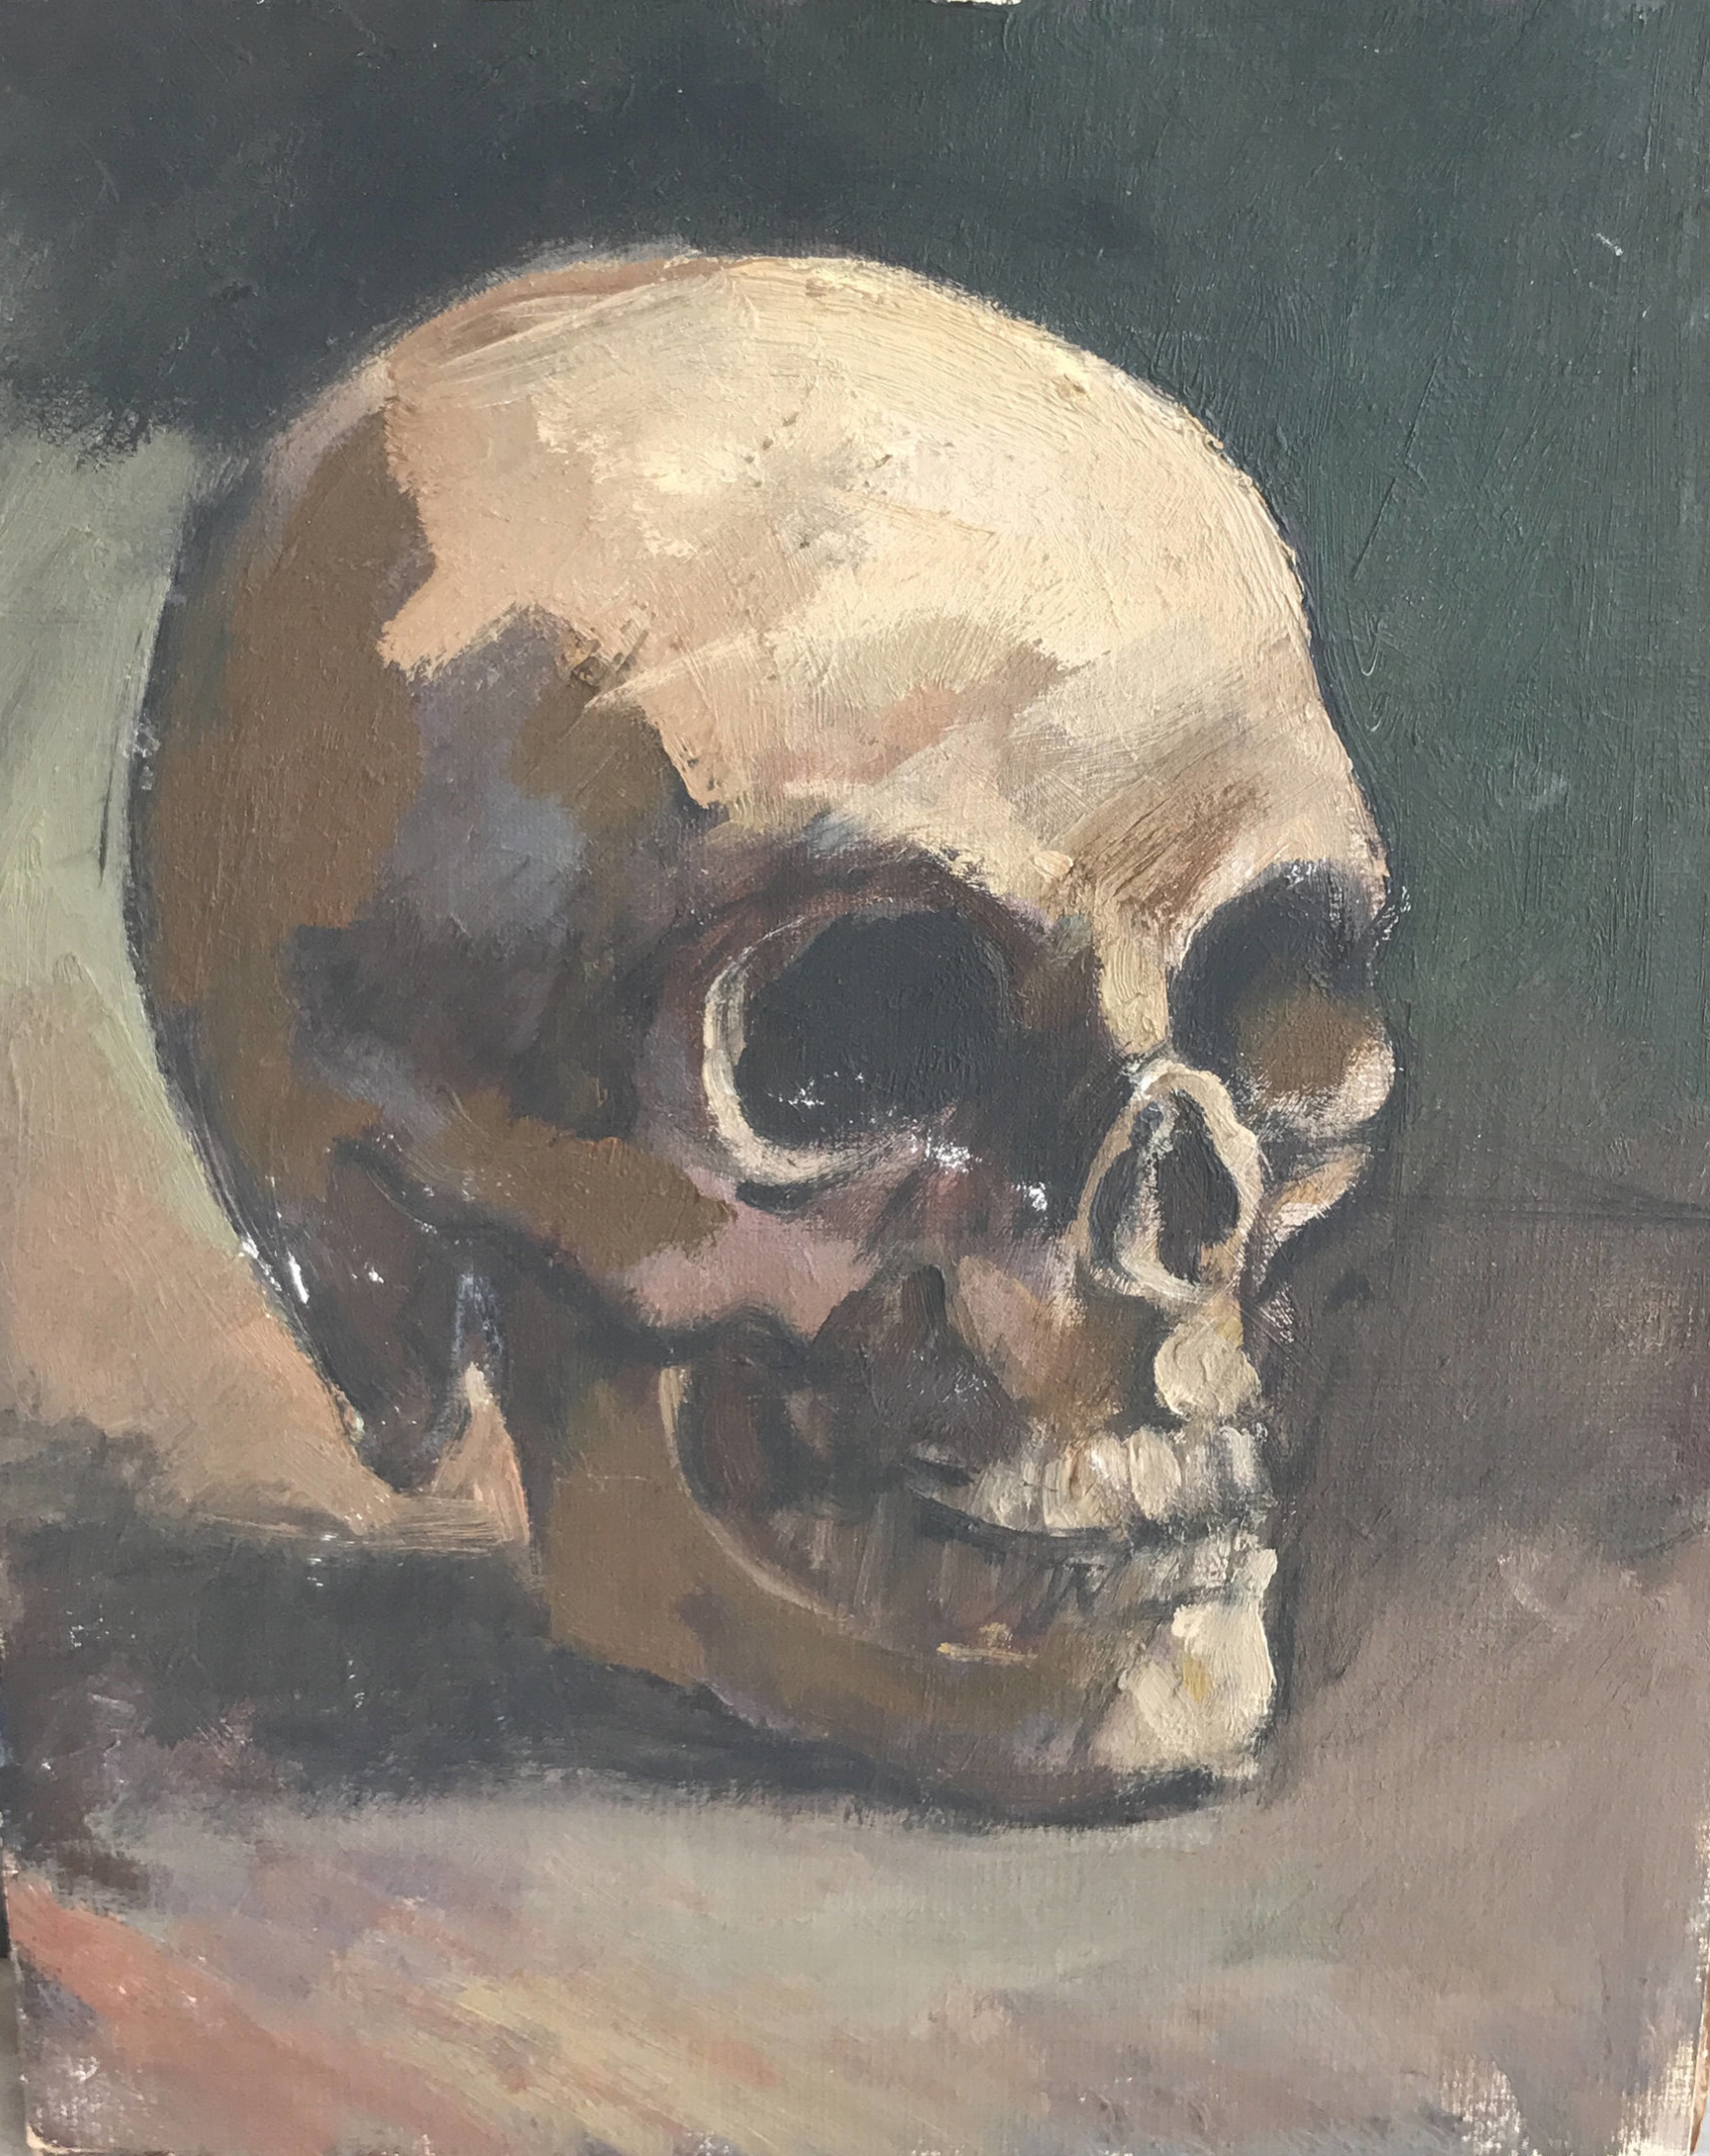
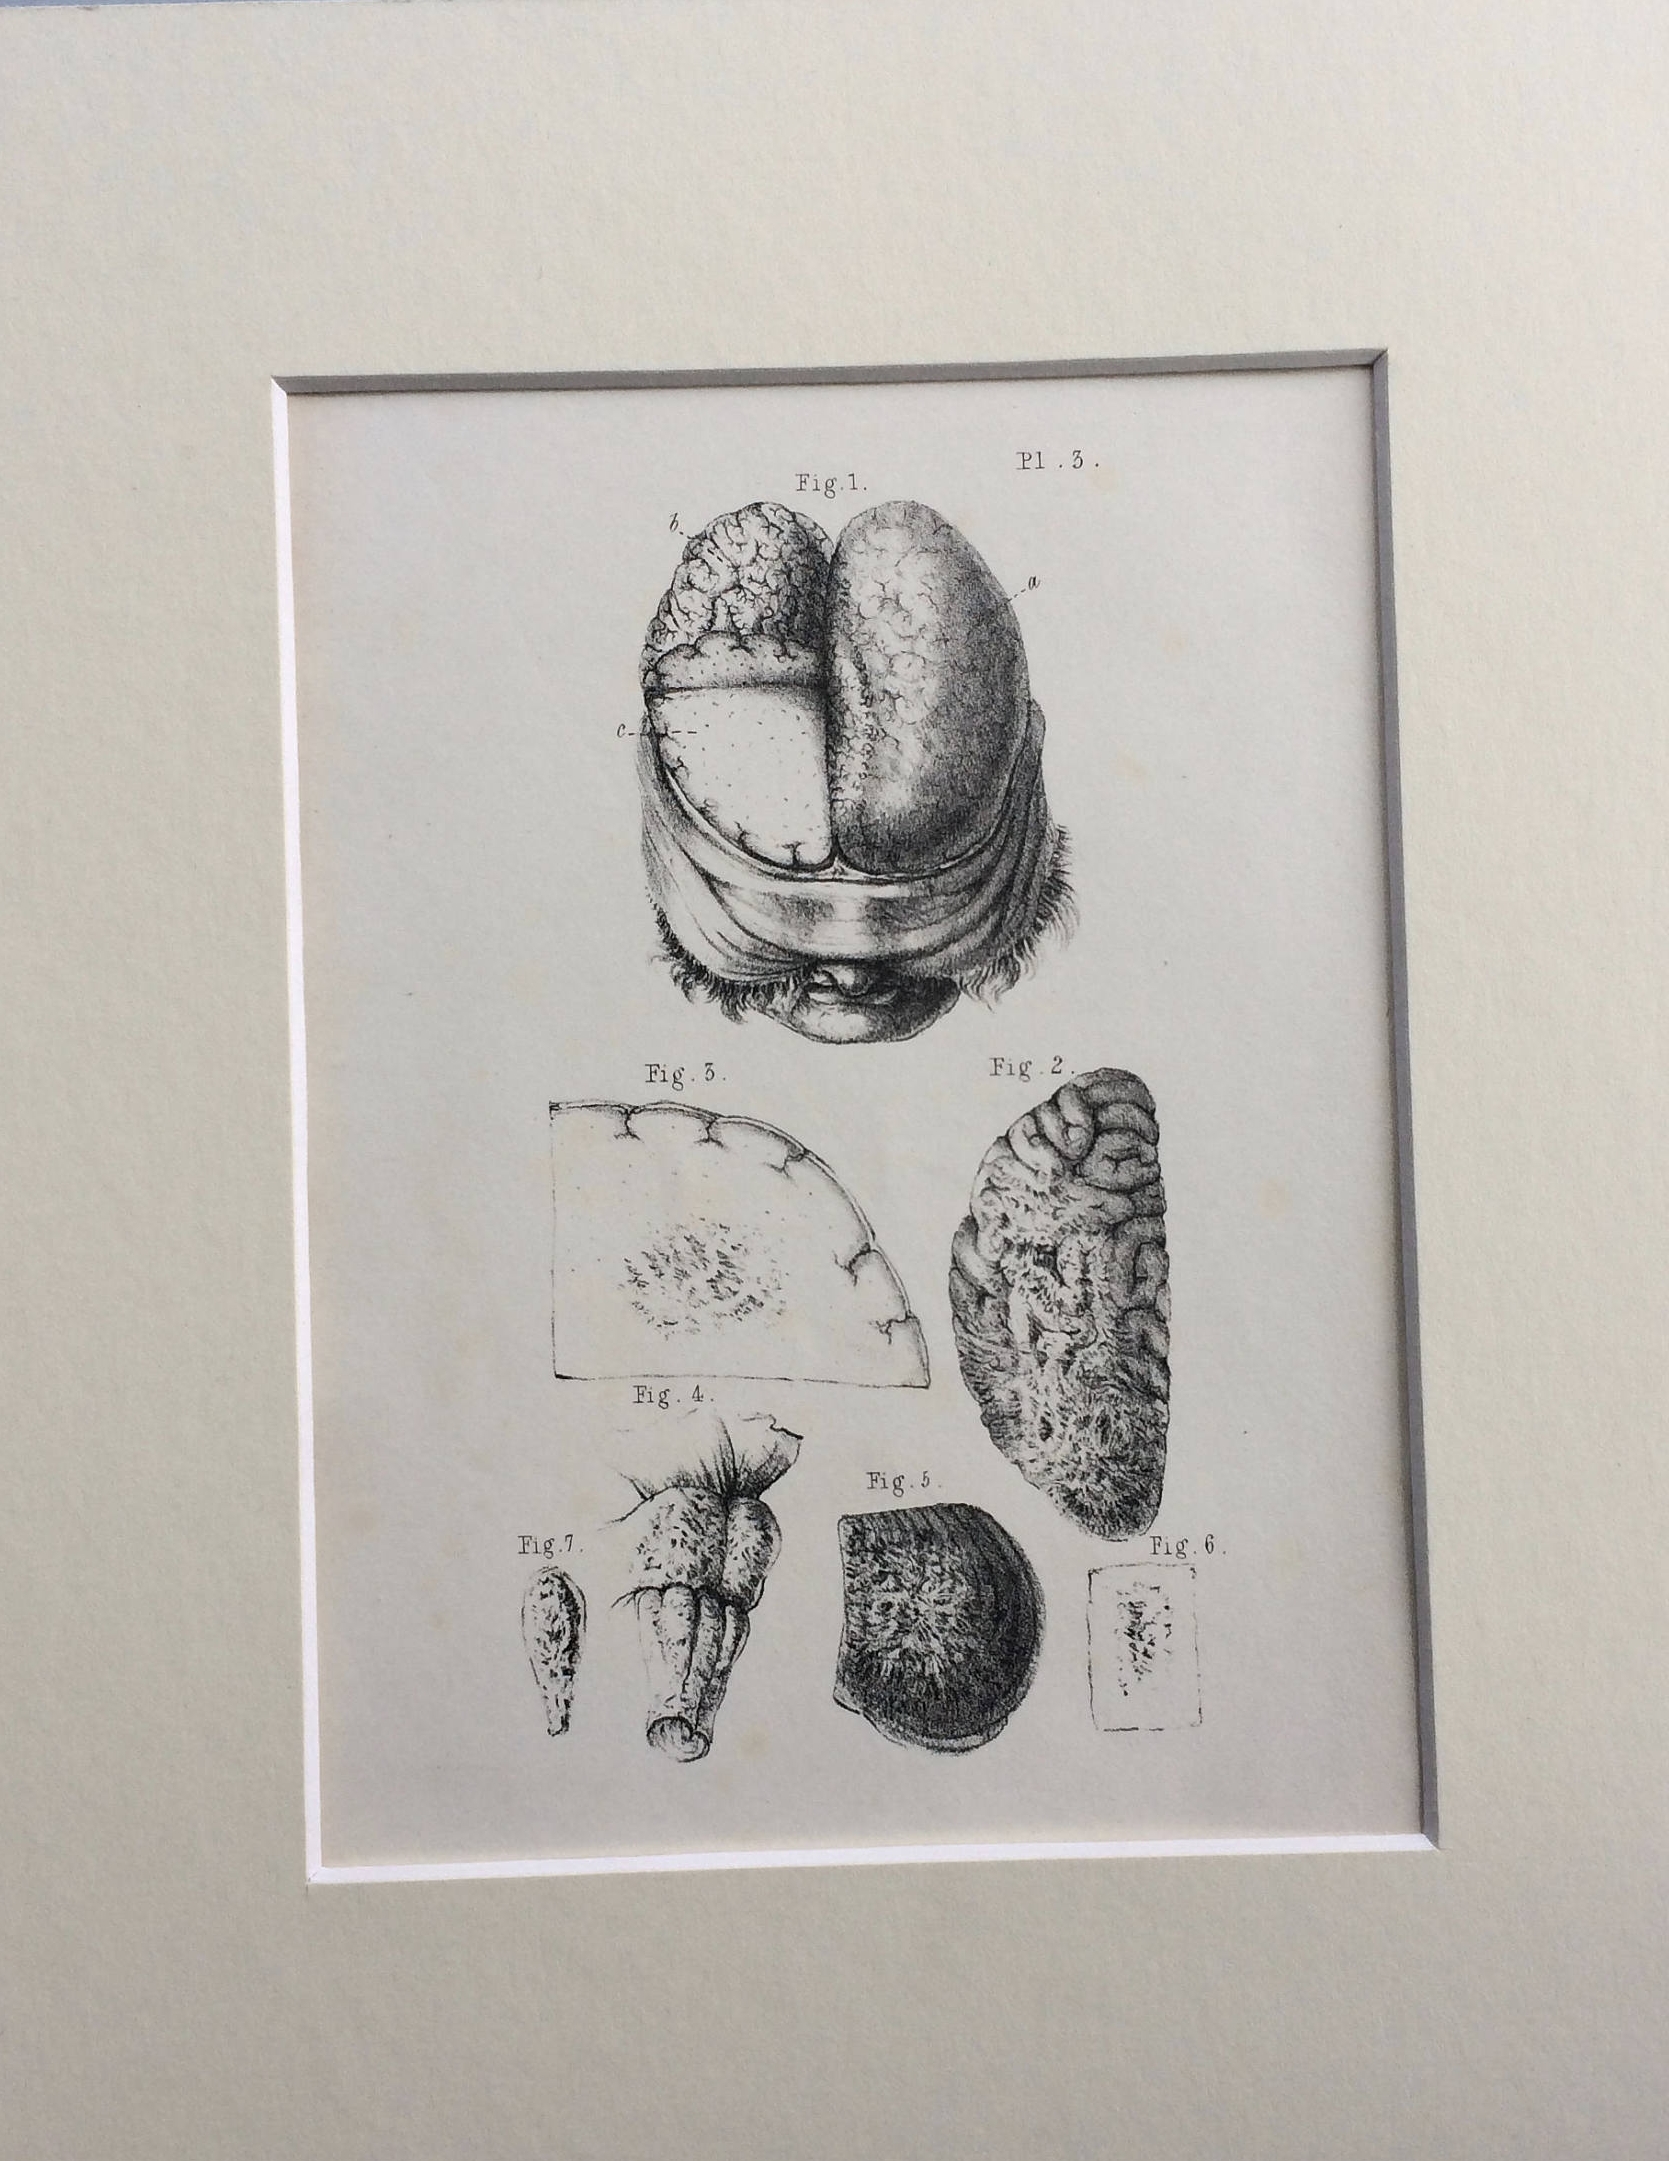
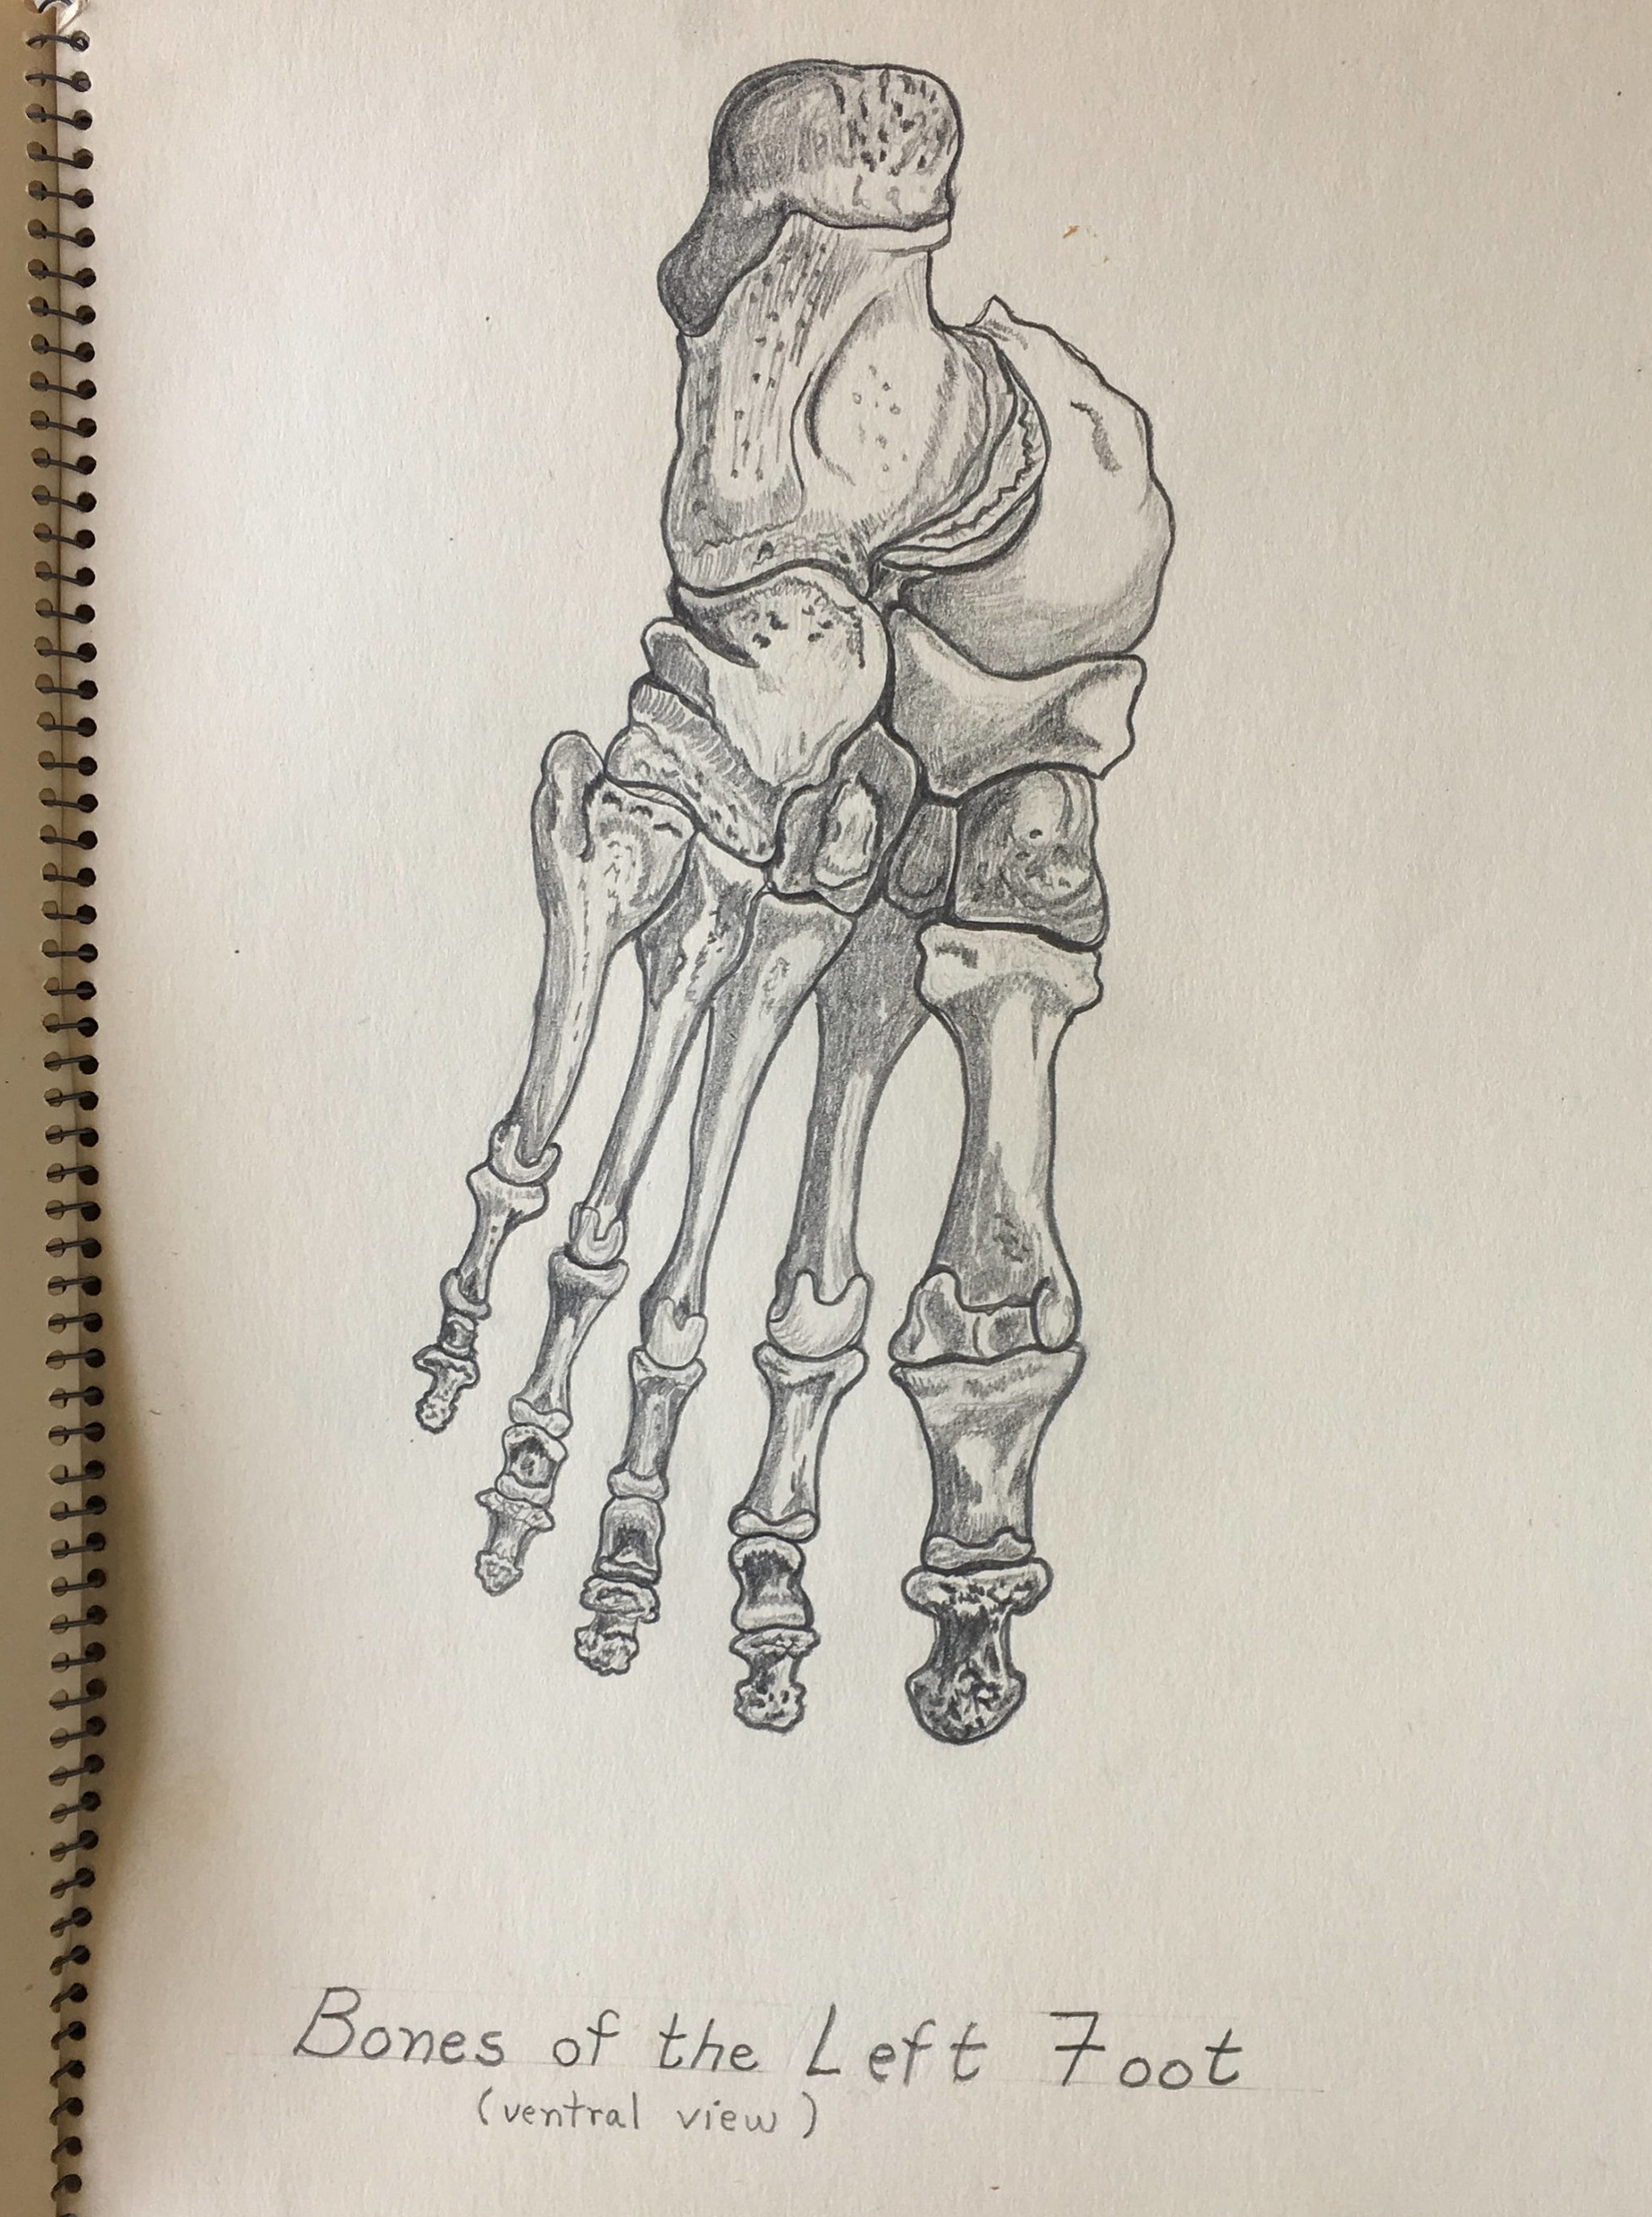
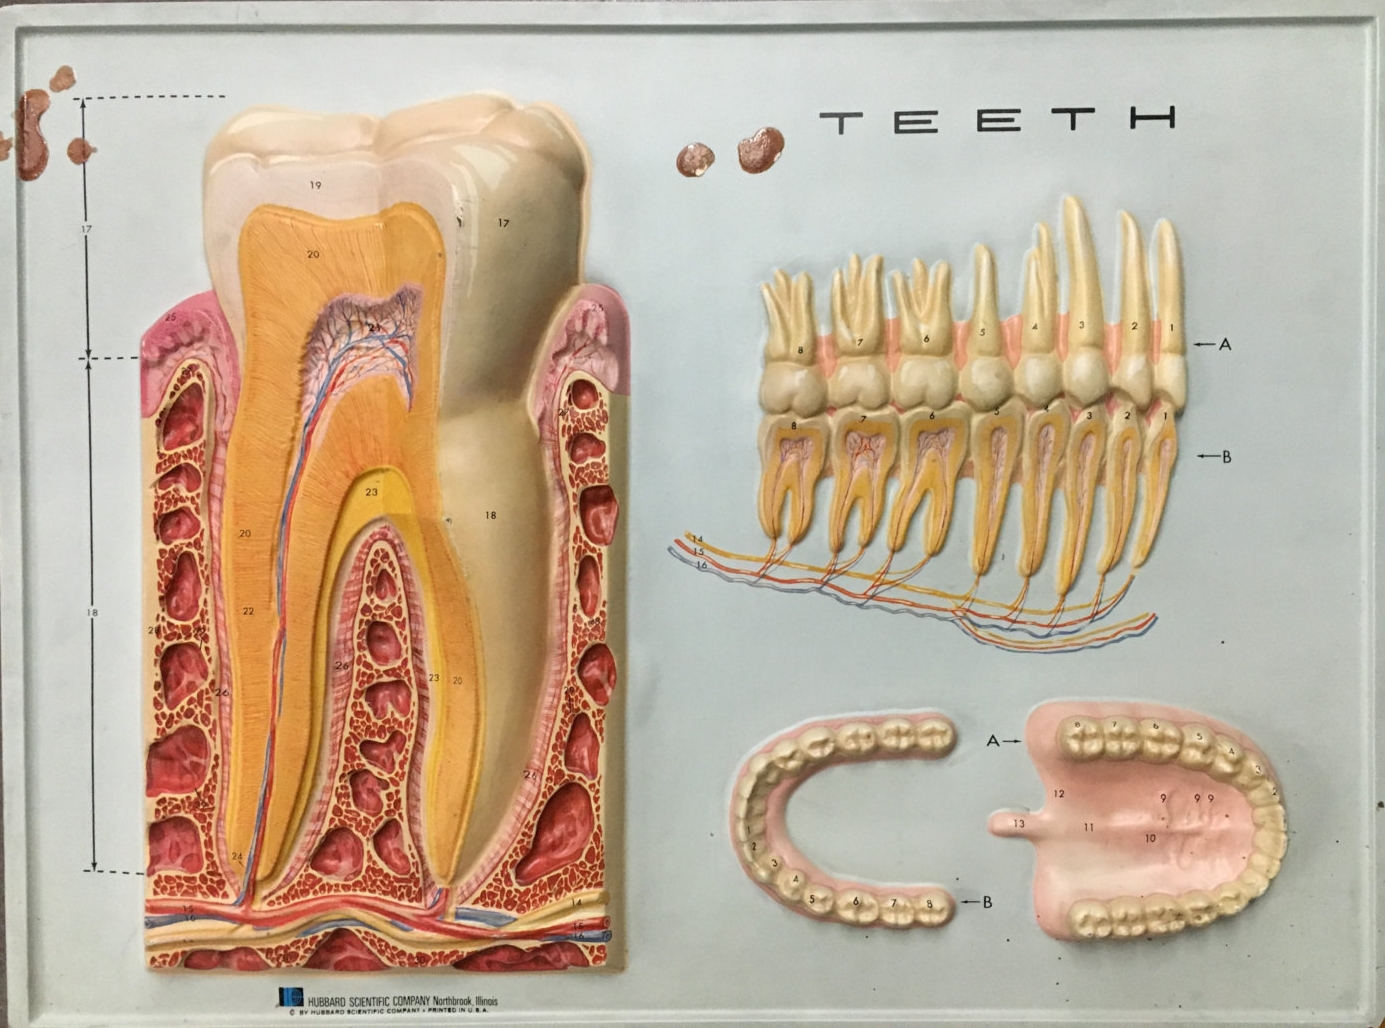
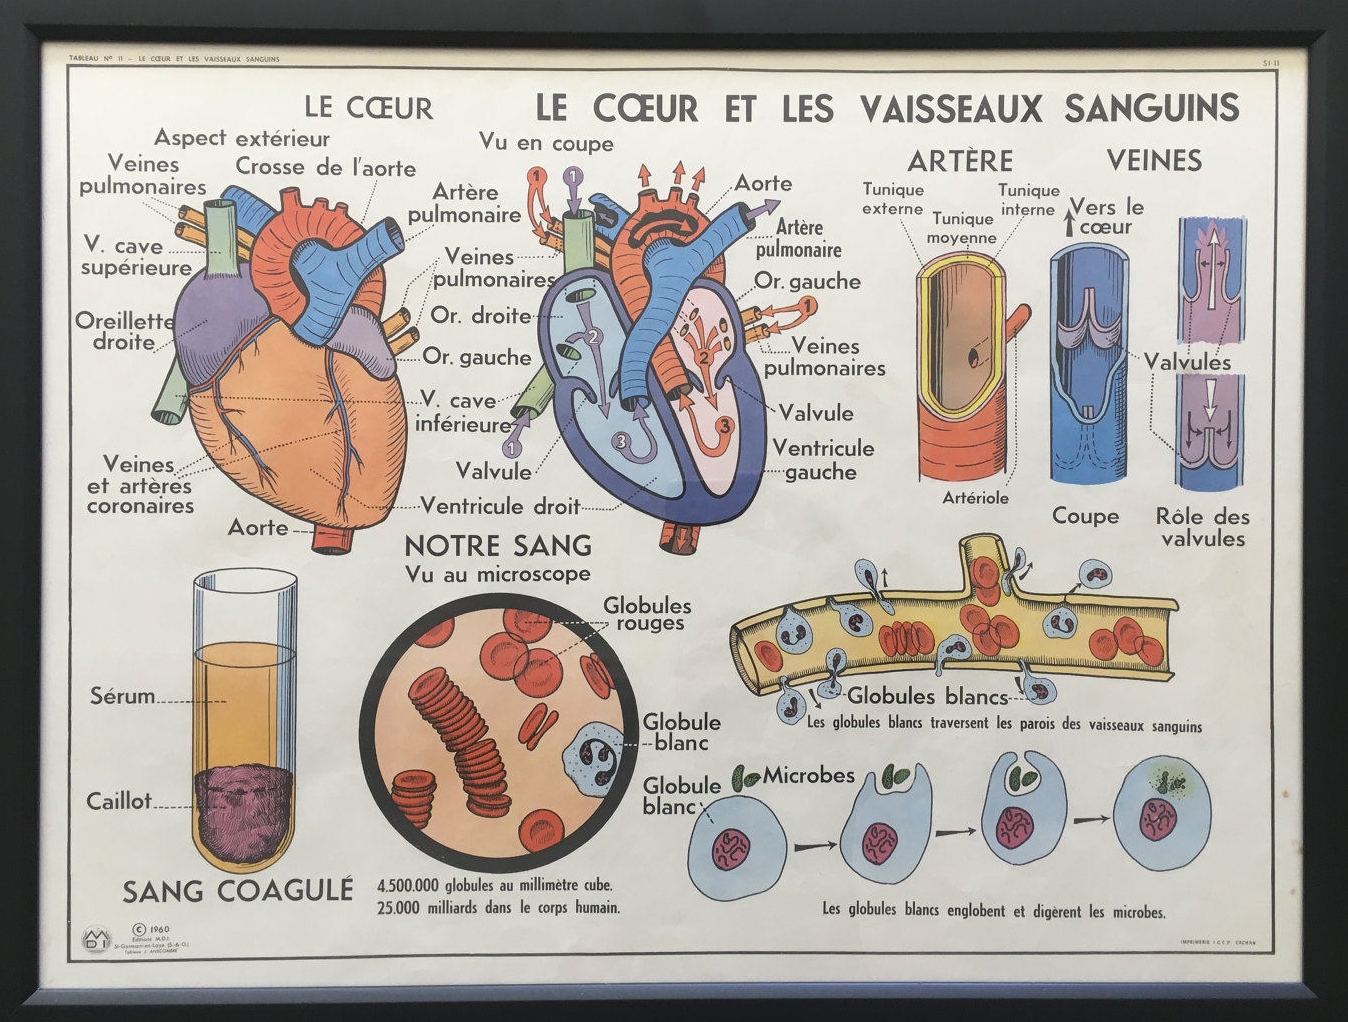
Those retro anatomy prints are so cool. They are available on Etsy, but are also sold in an awesome brick & mortar shop in Joshua Tree. It's a must stop if you're in the Palm Springs area!
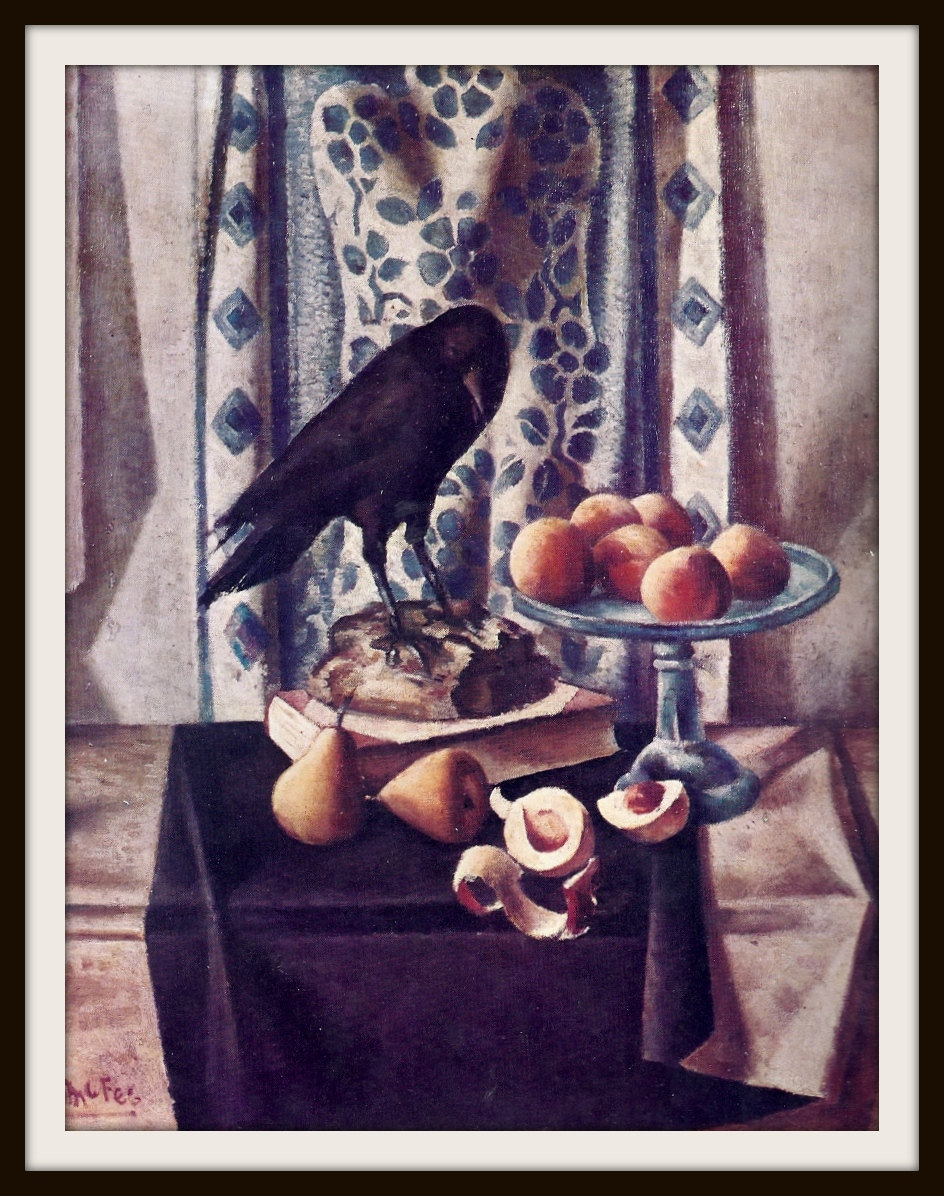
Still Lifes

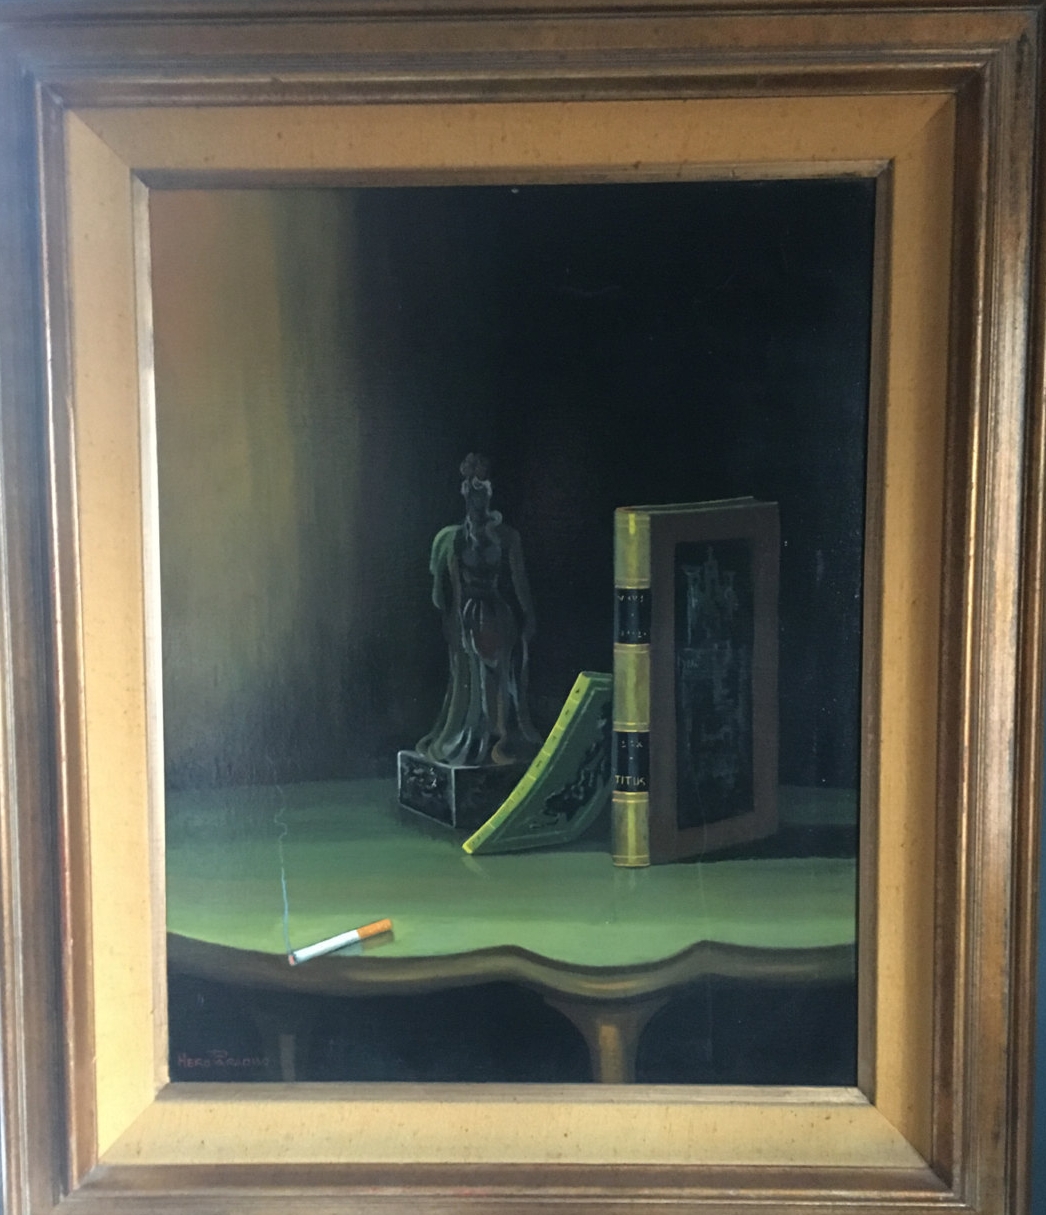
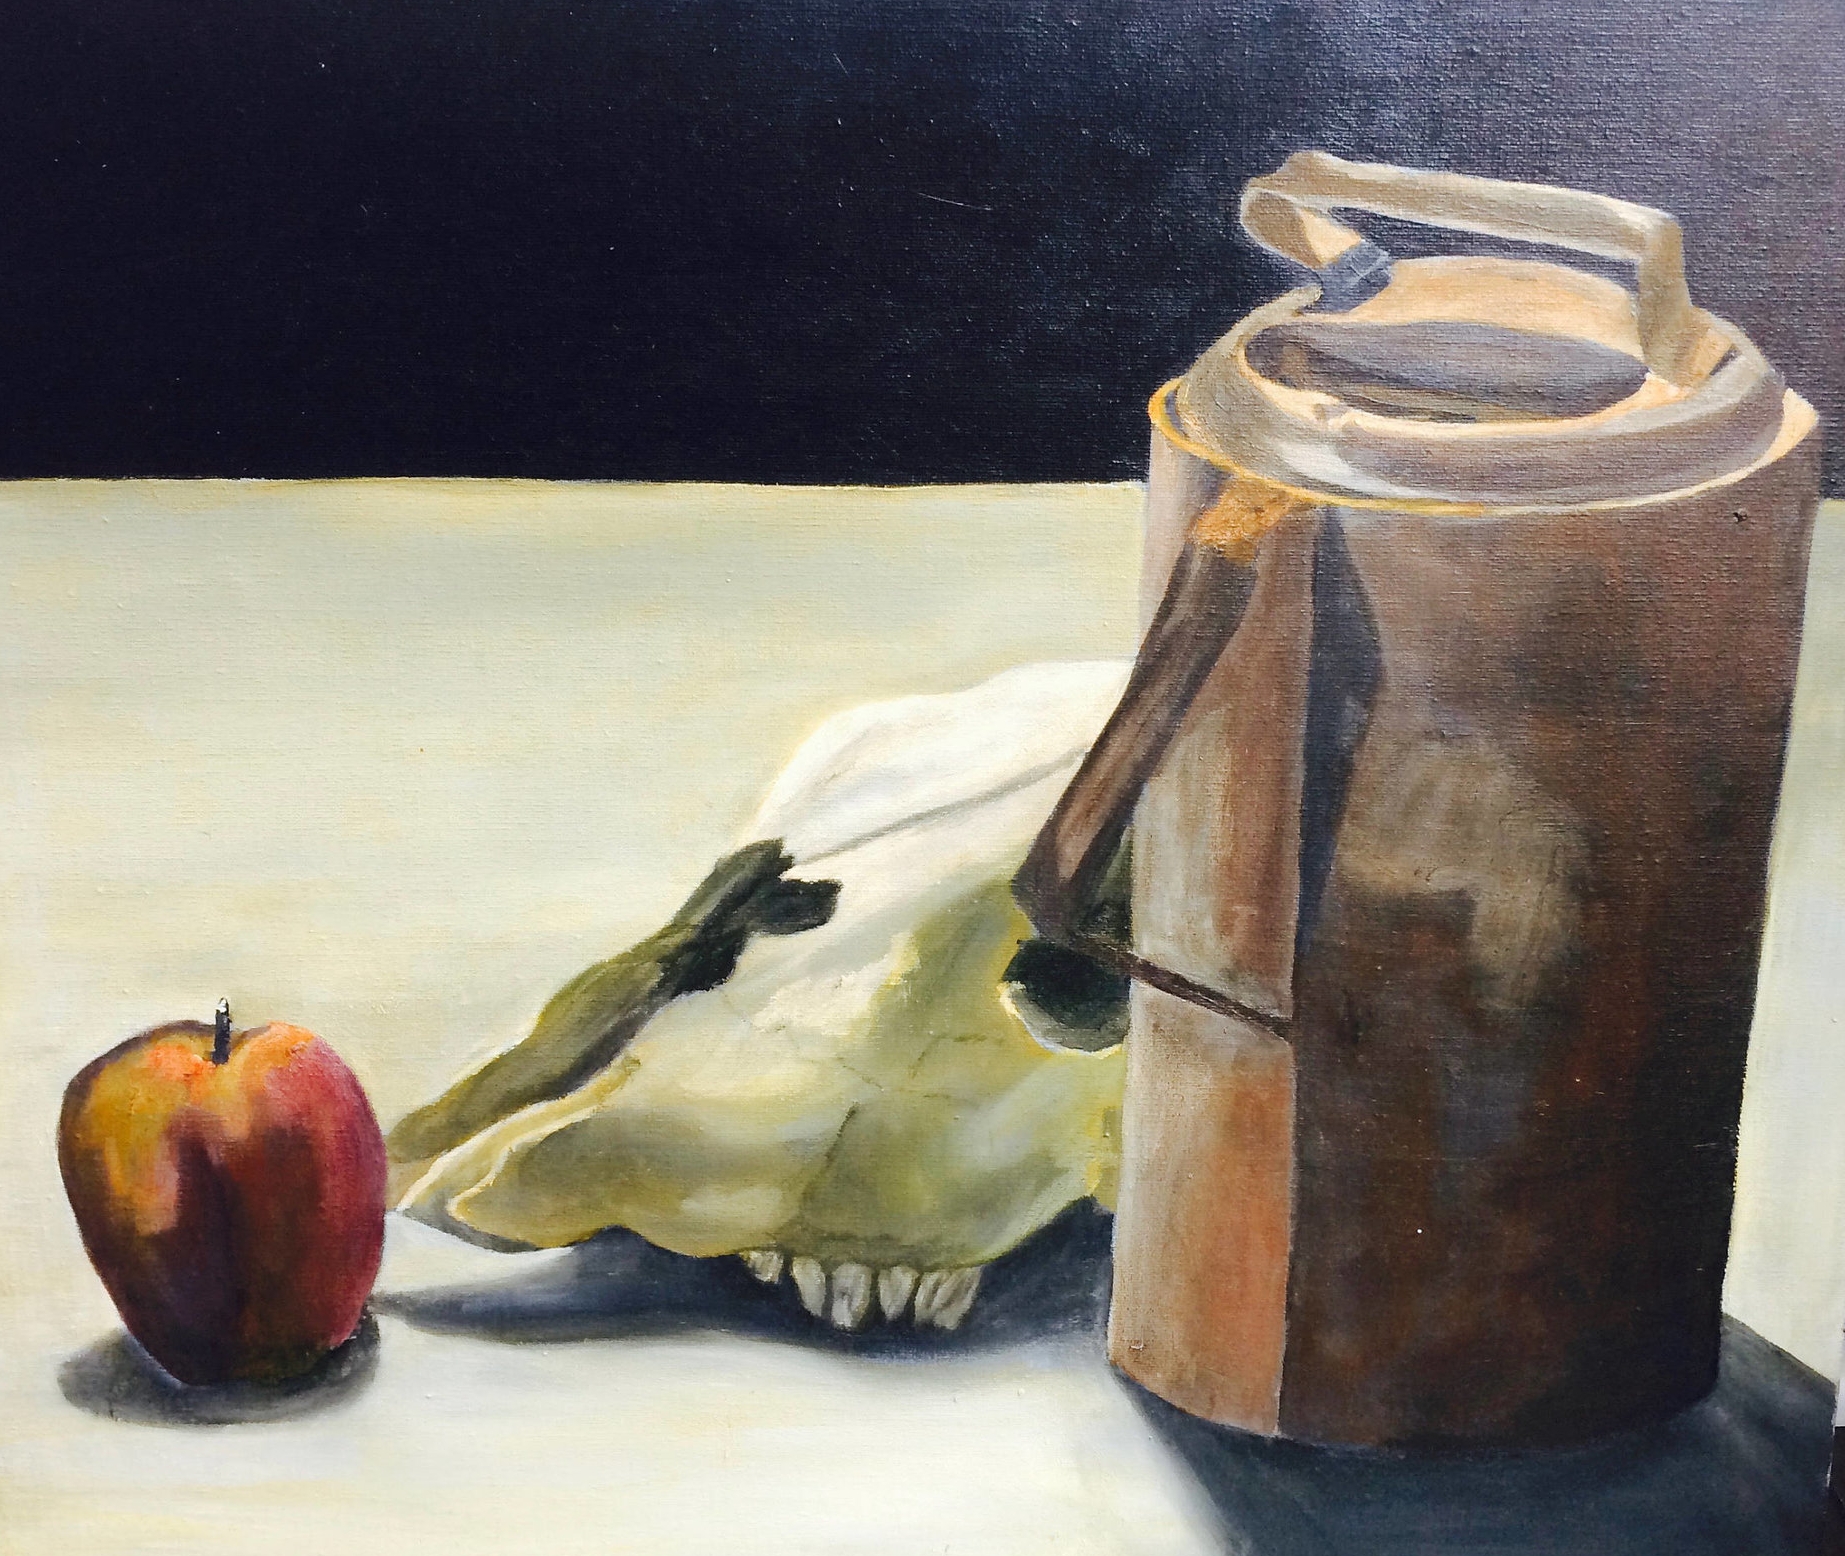
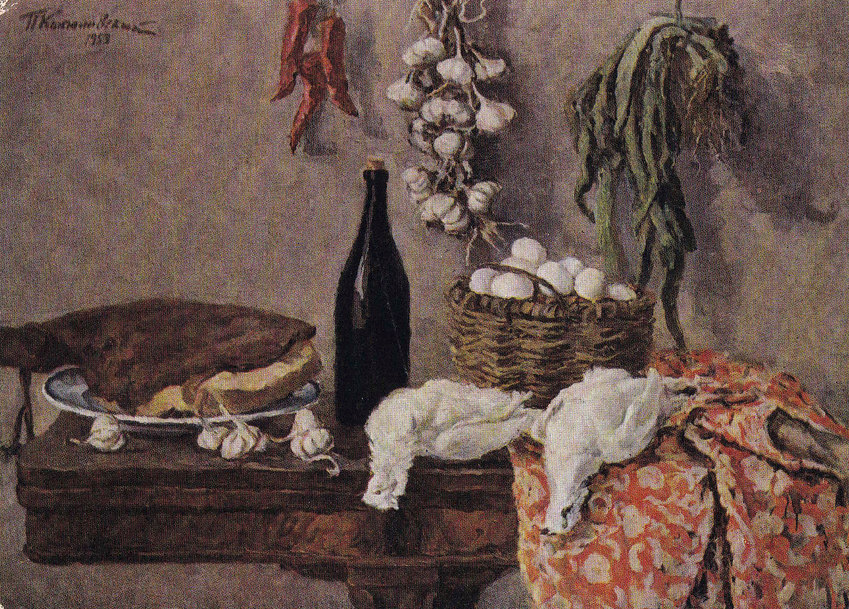
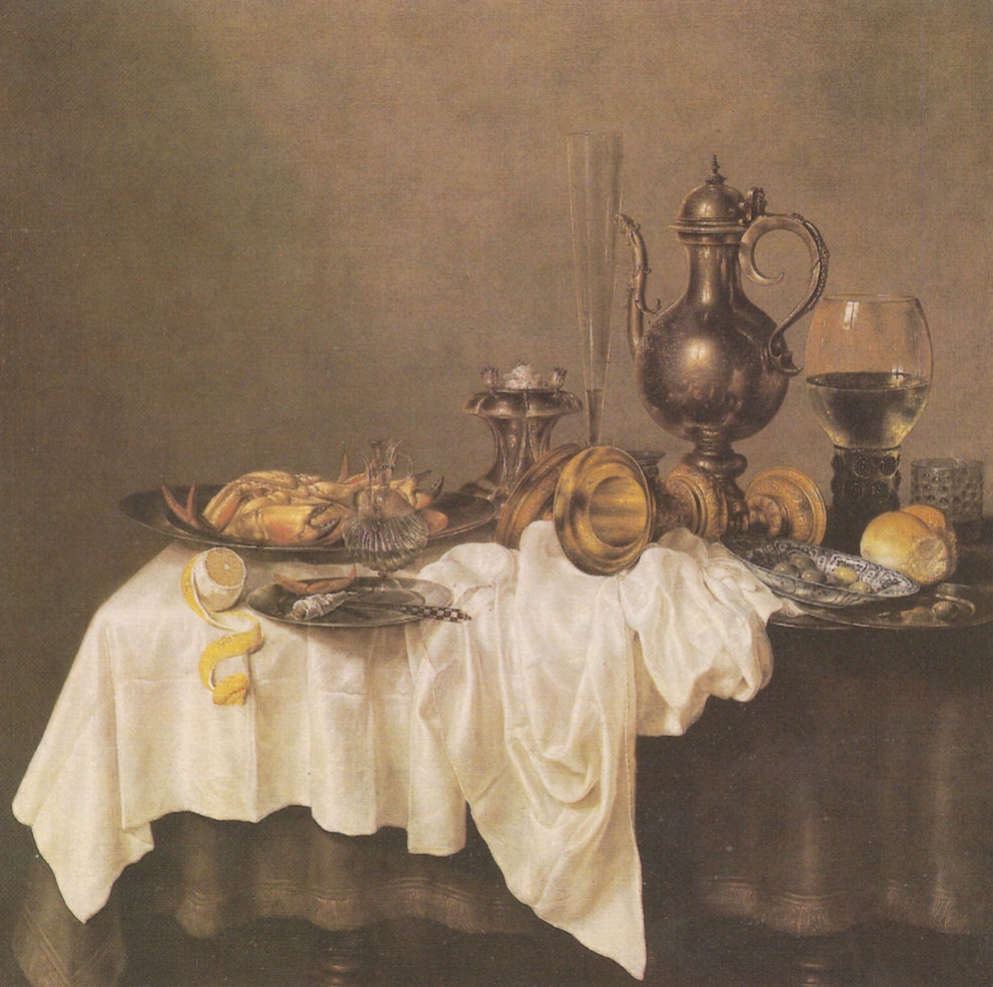
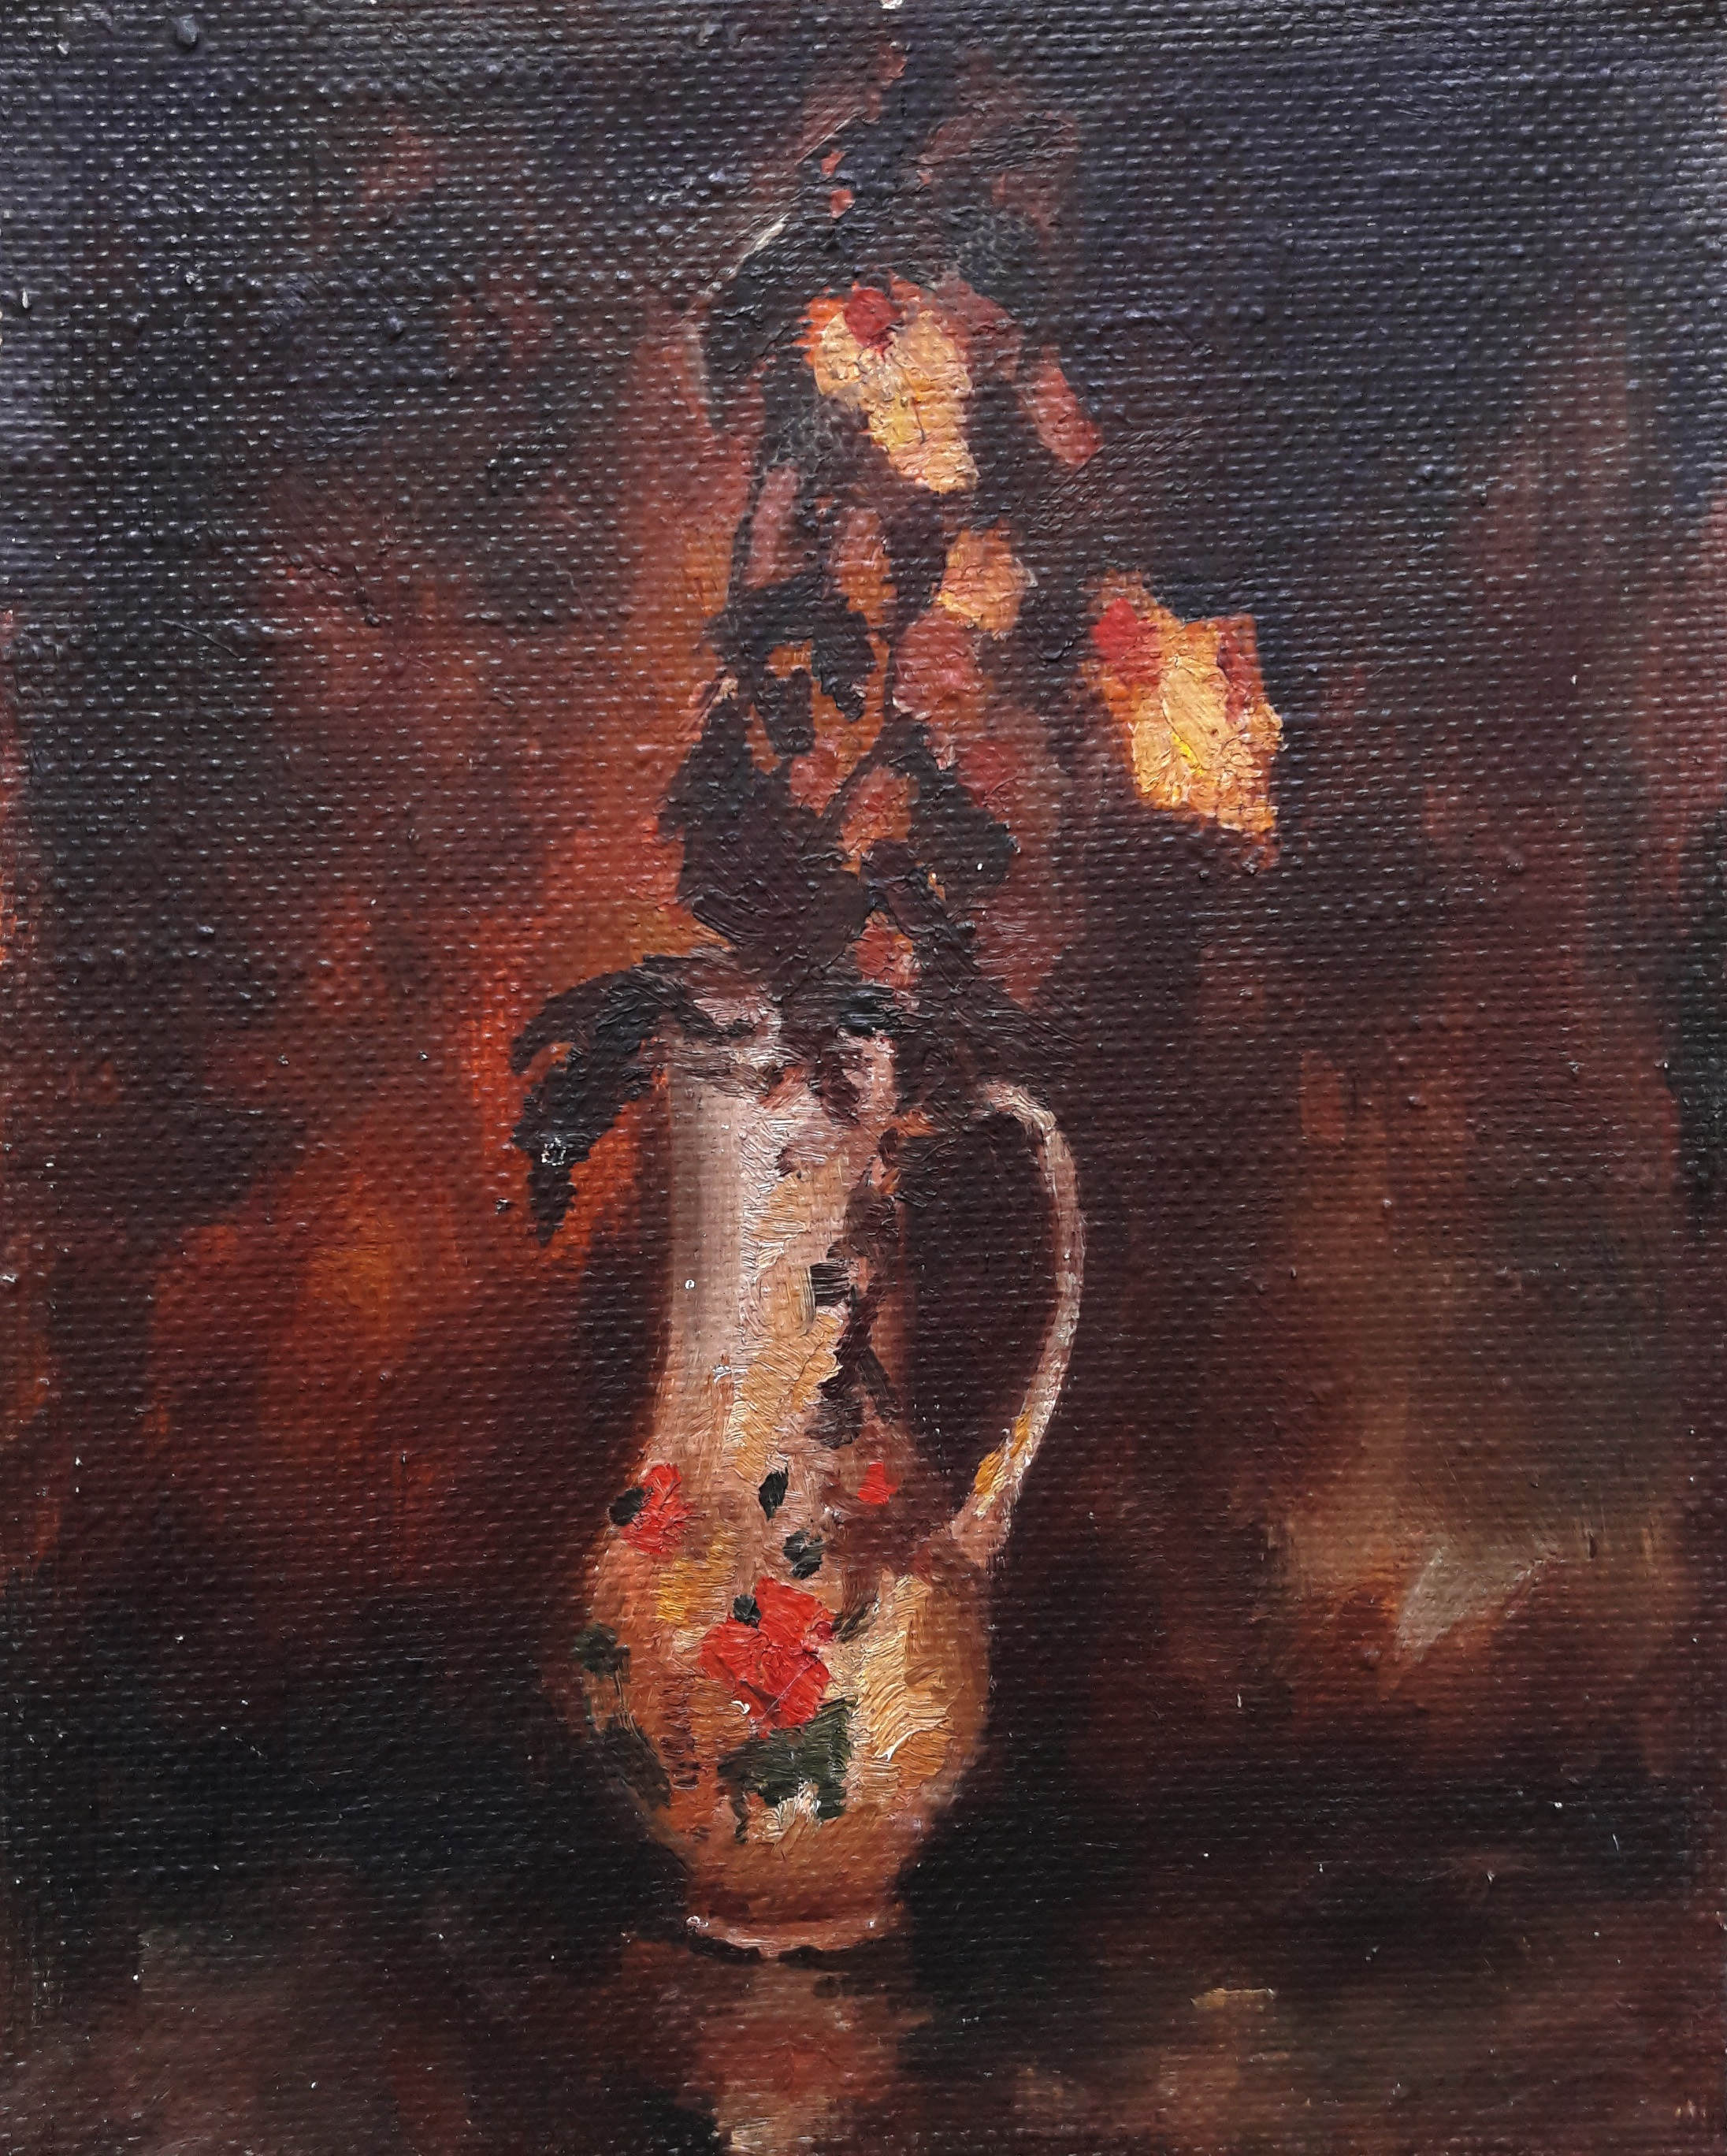
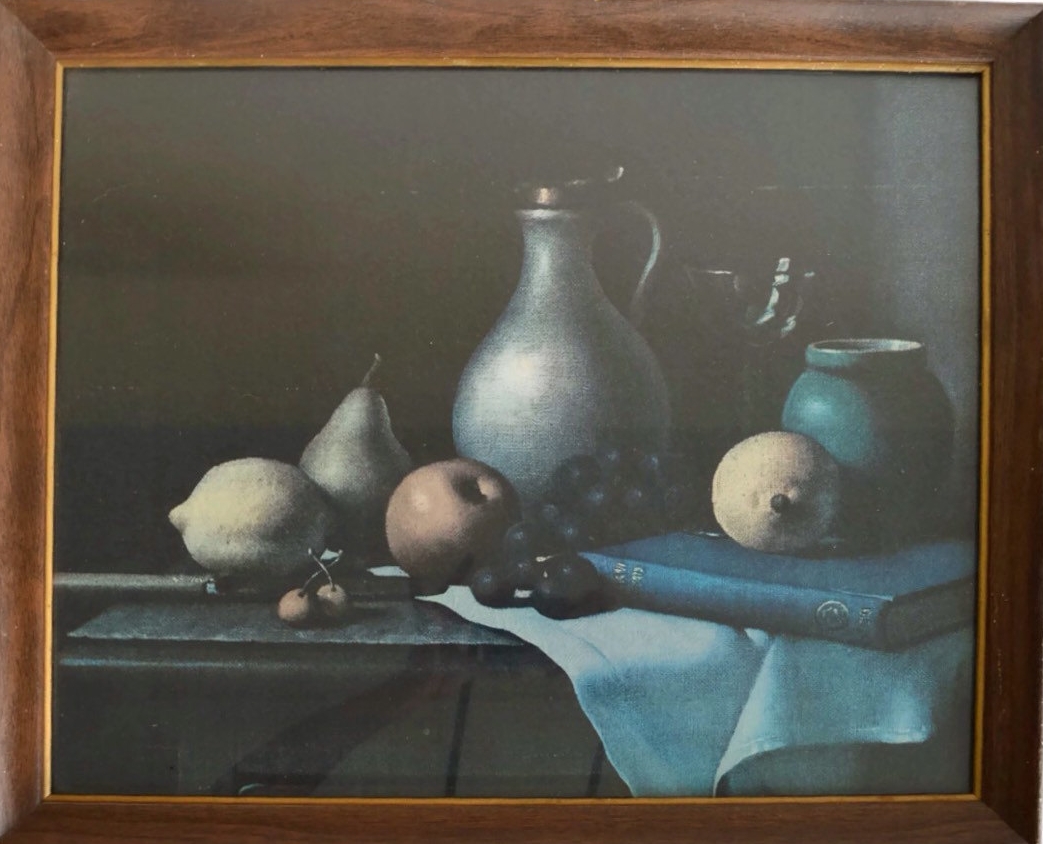
These still lifes are anything but lively.

Landscapes

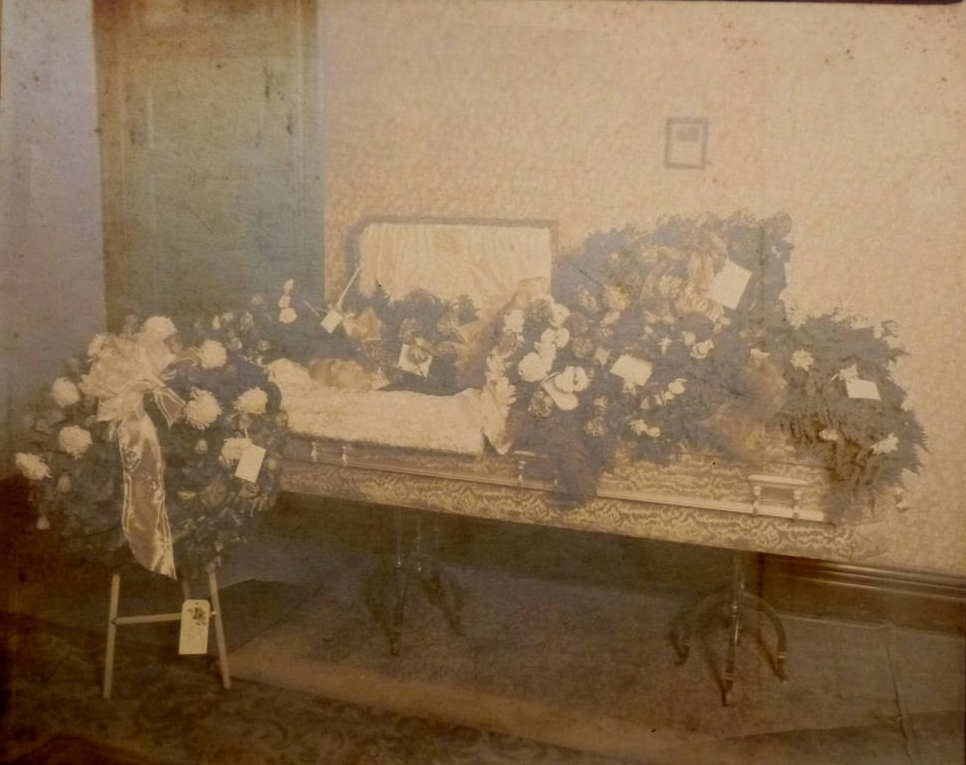
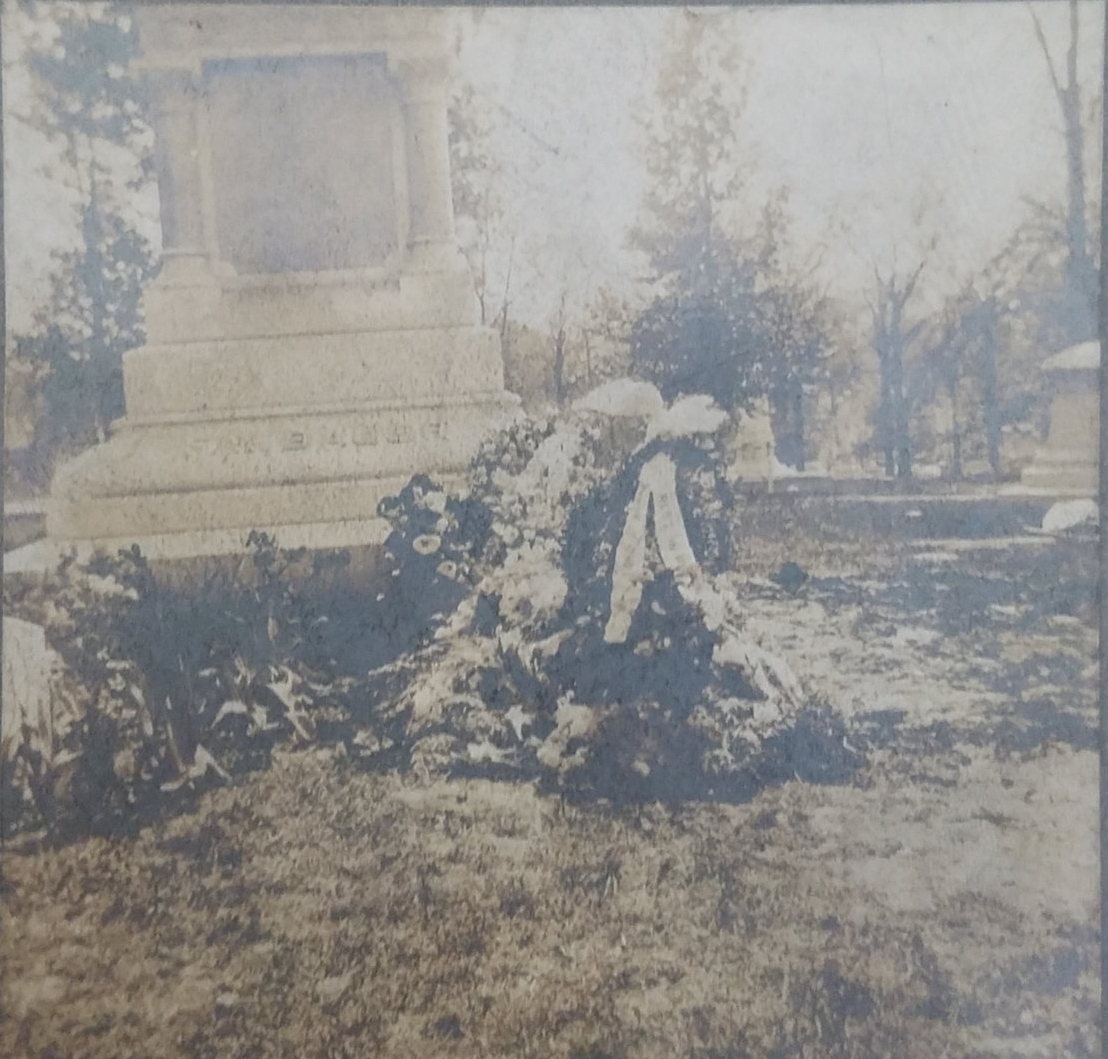
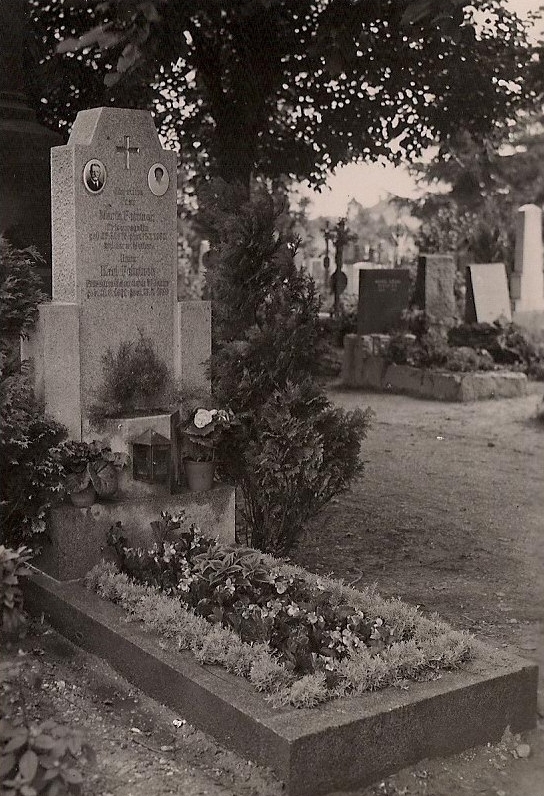
I genuinely find cemeteries to be beautiful. Anyone else with me?

Happy (almost) Halloween!
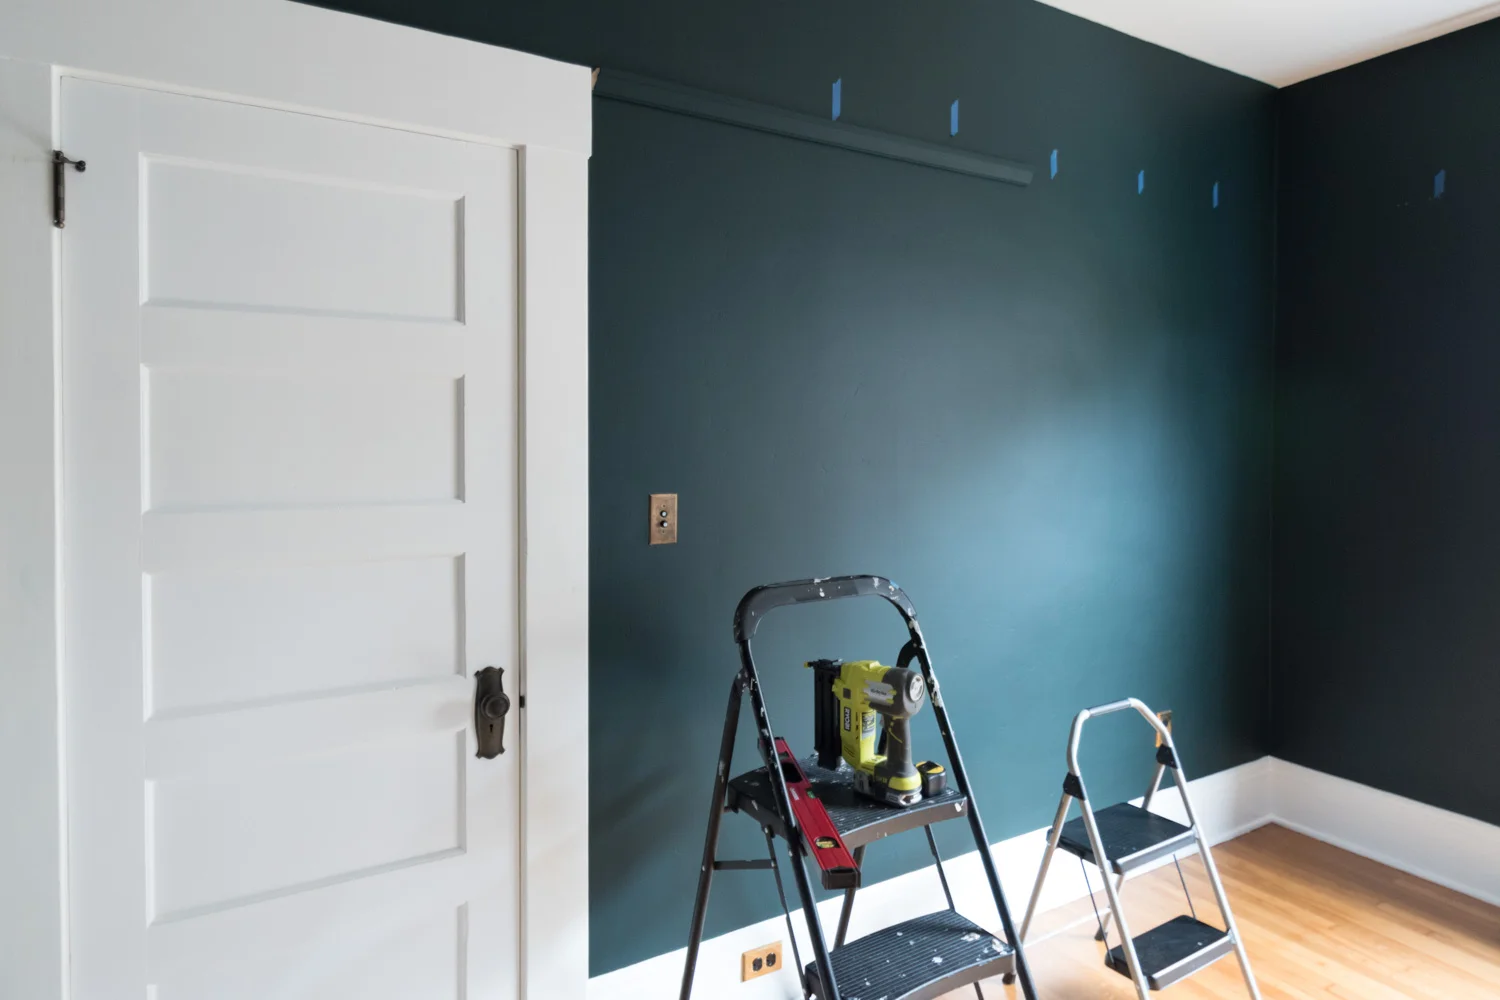
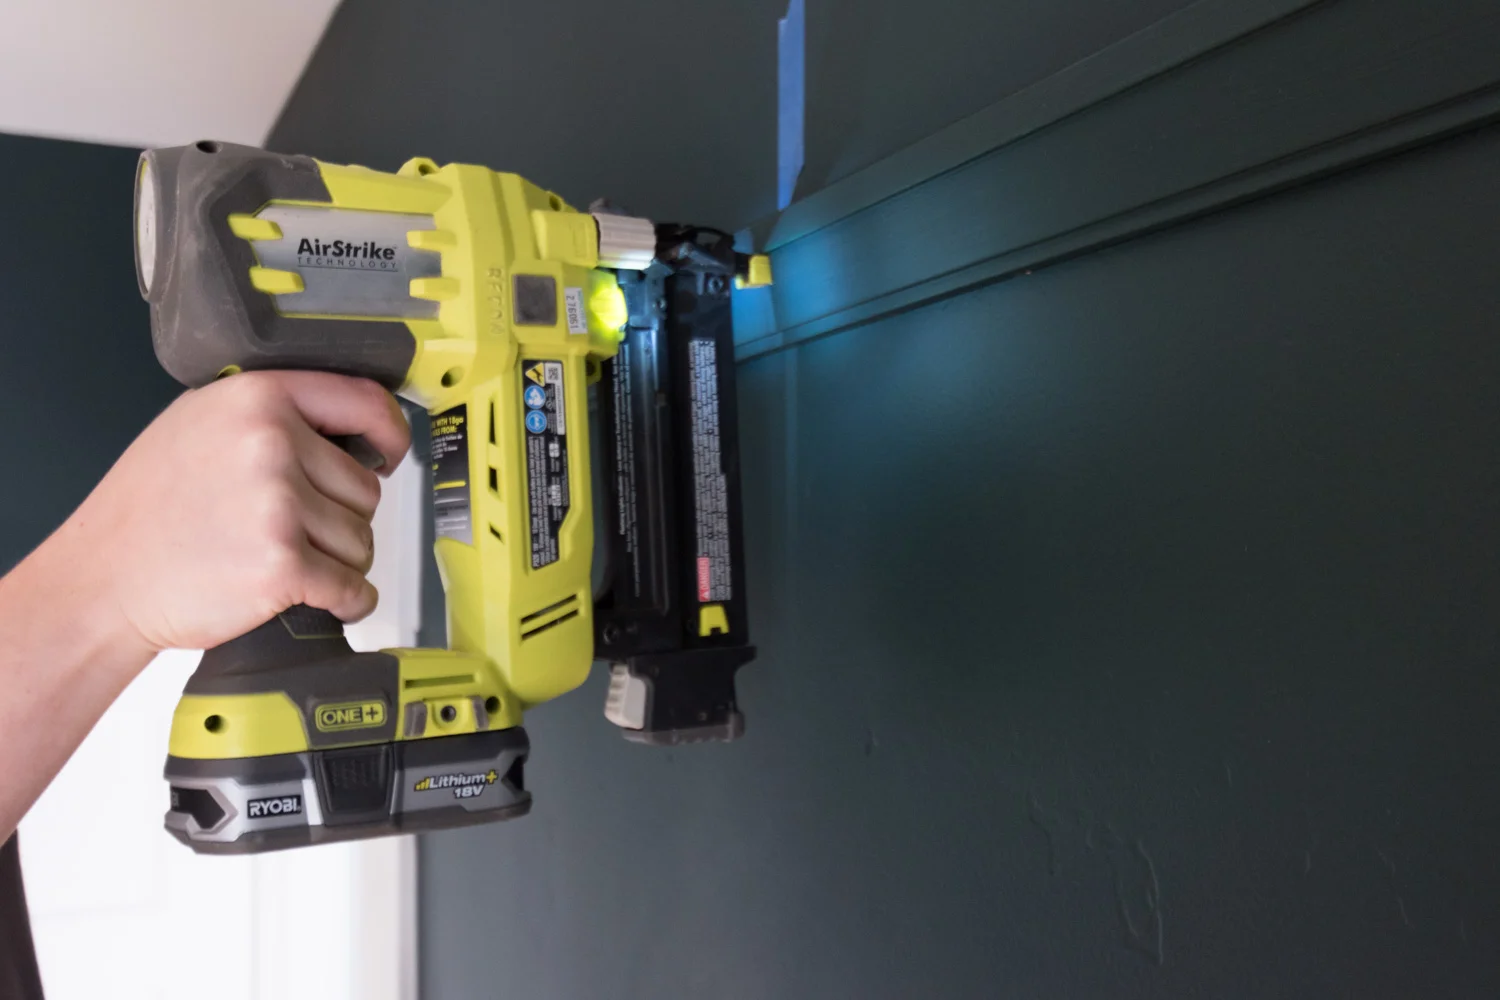
Selecting Paired Art for the Bathroom

There's no doubt that the artwork you pick for your home can make a big difference in the feeling of your space. Choosing the right combination of pieces can be difficult, but luckily there's help!

This post is in partnership with Minted!

Minted sourcing artwork from designers

Even the design-blogger-and-art-school-graduate can have a hard time finding just the right pieces. I struggled for months with sourcing the art for the bathroom walls.

Here's what I was working with:

1. The all-white space with oodles of tile can come off as sterile and cold. The room yearned for artwork that would add some warmth but would maintain the dark moody vibe of the wall's paint color.

2. Since I had two adjacent walls to fill, the art needed to complement each other without being too matchy matchy.

3. We wanted pieces that felt special but not so in-your-face-dramatic that we'd grow tired of them.

I played with some dark landscapes, several abstract shapes, and a few portraits but wasn't in love with any combos. Luckily, my friends at Minted stepped in to help me out. And they can help you, too!

In addition to selling beautiful printed and custom art, Minted has a great team of designers that listen to all of your needs and wishes, and then translate the vision into proposed artwork and a mockup of your space. Their styling services were particularly helpful for me when I was looking for two pieces that would work well together on adjacent walls.

Here's what they proposed for our bathroom after I outlined my wishes:

Minted Gallery Art Option How to Choose Artwork

OPTION 1: Edgy

1. Embrace by R studio
standard format in rich black wood frame

2. Sitting Still by Jennifer Daily
standard format in matte brass frame

Minted Gallery Art Option How to Choose Artwork

OPTION 2: Moody

1. Melting Glacier by Caryn Owen
white border in rich black wood frame

2. Bath by Sue Prue
matted in matte copper frame

Minted Gallery Art Option How to Choose Artwork

OPTION 3: Classic

1. Tahitian Pearl No. 3 by Julia Contacessi
white border in matte brass frame

2. Arches by Ilze Lucero
float mounted in matte brass frame

Minted Gallery Art Option How to Choose Artwork

OPTION 4: Contemporary

1. Imbue by Lindsay Megahed
matted in matte brass frame

2. Black 03 by Catilustre
standard format in matte black frame

Minted Gallery Art Option How to Choose Artwork

OPTION 5: VINTAGE

1. Untitled 2 by Jaime Derringer
float mounted in matte copper frame

2. Human One: Anton by Colin Stuart
standard format in matte black frame

Aren't those combos great? I narrowed the options down to #1, #2, and #5 pretty quickly, but got hung up on the decision for a few days. Sitting Still, in #1 is just so perfectly dark and Human One: Anton in #5 is so striking! I think I need to find a spot for Anton somewhere else in my house.

Minted how to pick artwork

We ultimately went with option 3: moody. I am just so tickled with Bath by Sue Prue! I already love pretty lady artwork so this nude was the perfect addition to the collection. The background feels like it was made for my walls.

Minted art how to pick artwork frames

And that frame! I really don't think I would have ever selected the copper frame, but I'm so glad Minted did the decision making for me. I'm smitten with the warmth it adds to the room and how it brings out the skin tones in the painting.

Minted frames and artwork selection help

It also magically matches my copper tin that I previously planned to replace with a wooden one. Not anymore!

Minted how to pick artwork and work with a designer

Speaking of matching elements, both the warm tones in the frame and deep blues of Bath are seen in Melting Glacier by Caryn Owen. Again, aren't those blue-green-greys perfect for the walls? Minted really knows what they're doing.

Minted how to select paired artwork

The view from the shower is the best for admiring the two prints at the same time. They are different subject matters, by different artists, and in different frames, yet they feel like they are friends.

Minted artwork getting help from a designer

I scanned Minted's website for hours but never would have come up with this art print and frame combo. If you want help from a professional designer, I highly recommend you check out Minted's styling services that start at $75. It includes not only a design plan but also a discount on your art order!

Are you an indecisive design professional, stylist, or home renovation professional like me? The art trade program is a great resource for complimentary design help and discounts on art products for your professional projects.

Minted getting help picking artwork

Happy art hunting! And, don't forget this important art hanging PSA from Emily Henderson.

One Room Challenge Week 4 - Sourcing The Artwork

It's already week four of the One Room Challenge! We're over halfway there and the room has earned dark green paint and picture rail molding. This week, I got to hang the artwork!

This image of a man pulling a girl out of a hole is my favorite piece in the whole room. I'm obsessed with all of the collage pieces by this artist, Richard Vergez. I got this piece and (and all of the others in this post) from Society6, which is such a great resource for framed art by independent artists. The beauty of it is you can get your favorite design printed as a framed print, mug, duvet, tote, or pillow, like this one!

I can't have a room without florals! This print as a pillow does the job.

There's so much beautiful artwork (and bad artwork!) out there so deciding is such a feat. I've rounded up a few more of my favorite artworks from Society6. You can also find more of my curated pieces that I'm crushing on here.

Sources from top left: Rainier Eunice Lake The Dreamer / Colors / D24 Mountain Trees C16 / By the Hills, revisited Crown Into Abyss / El Matador Close Noir / Glacial

While I ultimately bought my prints from Society6, Minted is another great source for art. Here are some swoon-worthy pieces.

The Gold Hive Favorite Art from Minted

Sources from top left: Spiced Cider/ Blue HIlls / Road Trip 2 Torched / Dance Abstract Watercolor A Slight Chance / Conversation II / Broken Clouds Whispered Rain Reflections III / The Forest

I shared last week how much I love picture rail molding and how to install it. Well, here's how to use it! Simple dimple.

The Gold Hive Installing frames on picture rail molding

You can find picture rail hooks in a variety of finishes, shapes, and sizes, so pick whatever works for your home's style and your decor. I got these from House of Antique Hardware for their simplicity and the way the brass matches the aged brass of the switch plates.

Attaching the hook to the frame is as simple as twisting on a wire. The key is to select a wire that can withstand the weight of your frame. The Society6 prints are quite lightweight so I was able to go with a thinner gauge wire, but this same wire previously snapped when I tried using it to hang a mirror. Oops. If you don't want to use wire, rope or chain are great alternatives. I prefer how subtle the thin wire is because it doesn't take attention away from the main attraction, yet you still see a glimmer of it when the light hits just right.

The Gold Hive Installing frames on picture rail molding

I like to start by twisting the wire on to the hook so I can focus on making the twist as clean as possible, since you'll see it. After measuring how high the image will hang, cut the wire to length, leaving several inches to twist into the back of the frame. For a strong hold I like to twist the wire on, then double twist over it again.

The Gold Hive Installing frames on picture rail molding

After a bit of finessing, you have a photo hung on the wall without any holes! While I adore these new prints, and plan on enjoying them in this room for the long haul, I love having the flexibility to move them around the house without having to patch nail holes. 

The Gold Hive Installing frames on picture rail molding

The two large prints over the couch are by Lucie Birant. Deciding on a diptych is tricky because you want them to go together, but not too much. The key is for them to be sisters, not twins. Rather than picking two pieces that are nearly them same, but slightly different, I opted for two very different images, but by the same artist. They aren't matchy matchy, but they go together because they still have the same pencil work and overall style. Emily Henderson has a great PSA on avoiding generic art and how to make diptychs look grand.

The Gold Hive Sourcing Artwork

While all of the new artwork for the room was sourced from Society6, I searched high and low on lots of other websites such as Minted, Artfully Walls, and 20x200. Society6 had the best prices and the quickest turnaround for a room makeover on a tight timeline, but I really had to sort through the artwork, because I didn't love it all (remember, bad art good walls). I like Artfully Walls for the easy search features that help you curate based on themes and colors. 20x200 sells limited edition art prints that are really unique (I'm still waiting for this one and this one to arrive in the mail). Minted has a lot of great pieces that are easy to love. They aren't generic, nor too quirky like the painting of the Denny's Parking Lot I ordered from 20x200. Check 'em all out! Or, if you have your own artwork or an existing piece you want to frame, take a look at Framebridge for custom framing options at great prices.

To recap, the prints I chose for the room are Minimal and Palm by Lucie Birant, Let Me Go Or Squeeze Me Tighter by Richard Vergez, The Path by Carlos ARL, and Mount Cook Lily (Night) by Andrea Stark.

If you're here because of the One Room Challenge, I hope you'll subscribe to the blog to get future blog posts in your email! Be sure to follow along on Instagram, too!

One Room Challenge progress:One Room Challenge progress:
Week 1 - the before, the inspiration, and the plan
Week 2 - paint, paint, paint
Week 3 - how to install picture rail molding
Week 4 - sourcing the artwork
Week 5 - refreshing a chair
Week 6 - the reveal!

Be sure to admire the other rooms that are four weeks into being completely transformed! So many featured and guest bloggers are doing big things!

One Room Challenge Week 3 - How To Install Picture Rail Molding

I'm back for week three of the One Room Challenge! If you're just tuning in, I'm mid-way through transforming an unloved spare bedroom into a cozy, moody space. Last week, the room underwent a metamorphosis with radically different paint in a deep green. This past week, we tackled installing the picture rail molding.

If you're unfamiliar with one of my all-time favorite old house features, picture rail molding is a narrow piece of trim that runs the perimeter of the room near the top of the walls. My house's picture rail molding sits atop the door and window frames. Some homes have the molding closer to the ceiling where crown molding would go. If you're in an old house with crown molding that doesn't quite touch the ceiling, then you may just have a picture rail! This lil' piece of wood trim has a notch at the top that allows you to put a small hook over it from which you can hang a frame from a wire. This is oh-so-handy because you never have to put holes in the wall to hang artwork. It saves me from patching holes whenever I want to change pieces - which is a big deal for someone that has major art indecision. It's also great for an old house because you don't risk damaging the plaster (that we all know I'm a fan of) by pounding a nail into the wall. (Side note, hammering plaster walls can really damage them so I always use screws rather than hammering a nail if I ever put anything into the wall). The living and dining room still have their original picture rail molding, but the rest of the house was stripped of their decorative trim at some point over the years. It's my job to put it back!

Enough about why I love this molding, let's get into how to install it.

Supplies:

The first step is to find molding that fits with your home. The profile we bought was the closest we could find to the existing molding that is still intact in select rooms. If your home never had the molding originally, or you don't know what it looked like, you can research profiles for colonials, victorians, etc. to find what would have likely been in your home. If you have a unique profile and can’t find it at any salvage shops, online retailers, or specialty wood retailers, you can have a blade custom made so wood can be milled to match your existing profile. Finding someone local that does millwork can help you to either make a custom blade to cut your profile or even see if they have one already made.

The Gold Hive How To Picture Rail Molding

The brand new molding has such crisp edges, but the existing trim in the house has a softer edge, so I took some sandpaper to each of the planks to give them a less brand-new look. The piece on the left is right out of the package, and the one on the right received a light sanding. Can you spot the mild difference?

After smoothing the edges a touch, I primed each plank with my go-to primer while Ross drafted up the plan of lengths and angles we would need.

The Gold Hive How To Picture Rail Molding

We measured each length needed, and noted the direction of the cut. Drawing it out on a floor plan helped us keep track of where each cut would go, then labeling the backside of each piece ensured we didn't get any mixed up.

The trim spans the perimeter of the room so it sits on top of the white doors as well as the green walls. I could have painted it all white to match the trim, but I decided to match the trim color to the surface color it would sit on. So, door and window pieces would be Simply White and the wall trim would be Salamander. Once we had a plan, Ross cut the pieces, while I gave them a couple of coats of their corresponding paint color.

The Gold Hive How To Picture Rail Molding

Once we cut all of the pieces, we did a dry fit. Using a level and several hands, we held up multiple pieces to see how each piece would fit against the next and how that would fit with the next and so on and so on. With old walls that aren't totally square, we had to sand down the edges a little, and we had to pull a few pieces from our spare cuttings.

The Gold Hive How To Picture Rail Molding

Since the molding would need to hold the weight of heavy frames, mirrors, or whatever I choose to dangle from the trim, it needed to be darn strong. The only way to do this is to nail the trim directly into the studs. Since plaster walls are constructed with wood throughout their backsides (learn more about old walls here), a traditional stud finder (the electronic ones that beep) won't work. THE best way to find studs in plaster walls is with this handy $10 tool. Seriously. It’s the best.

Once you find a stud, measure from that stud a distance that you think your studs may be spaced out. Common distances are 16" or 24." My house has studs 16" apart, so I used blue tape to mark each stud. You could repeat finding each studs with the handy tool, but this is more efficient. This is one of the few occasions when I actually use blue tape on walls.

The Gold Hive How To Picture Rail Molding

After we found the studs and dry-fit all of the molding, came my favorite part. We quadruple checked level before I nailed in each piece into the stud. We used this cordless electric nail gun that was such a beauty to have around because it was free of needing a noisy air compressor. Not having the buzzing compressor noise ongoing in the background made the cha-chunk sound of the nail gun so much more satisfying!

The Gold Hive How To Picture Rail Molding-0438.jpg

It felt great to finally cap the door with trim it always should have had. The doors are grateful to get their hats back.

The Gold Hive How To Picture Rail

After all of the trim found its home on the wall, I retraced our steps to fill in all of the nail holes with putty, and cleaned up the seams with caulk. Two walls had long stretches without interruption so they needed more length than the 8' trim piece, so we had to sister them together. My trusty putty,  caulking, and another coat of paint erased all of the blemishes.

The Gold Hive How To Picture Rail Molding

I'm still finalizing the artwork. Until then, the hooks will rest patiently on the trim.

The Gold Hive How To Picture Rail Molding-0158.jpg

And there you have it! That, my friends, is how you add oodles of charm with a few pieces of wood. Oh, and I jumped the gun and put the couch in the room already. I'm in love with these colors.

If you're here because of the One Room Challenge, I hope you'll subscribe to the blog to get future blog posts in your email! Be sure to follow along on Instagram, too!

One Room Challenge progress:
Week 1 - the before, the inspiration, and the plan
Week 2 - paint, paint, paint
Week 3 - how to install picture rail molding
Week 4 - sourcing the artwork
Week 5 - refreshing a chair
Week 6 - the reveal!

Make sure to check out the other room transformations that are coming along swimmingly! So many featured and guest bloggers are doing amazing things!