How The Kitchen Makeover DIY Projects are Doing Four Years Later

How The Kitchen Makeover DIY Projects are Doing Four Years Later

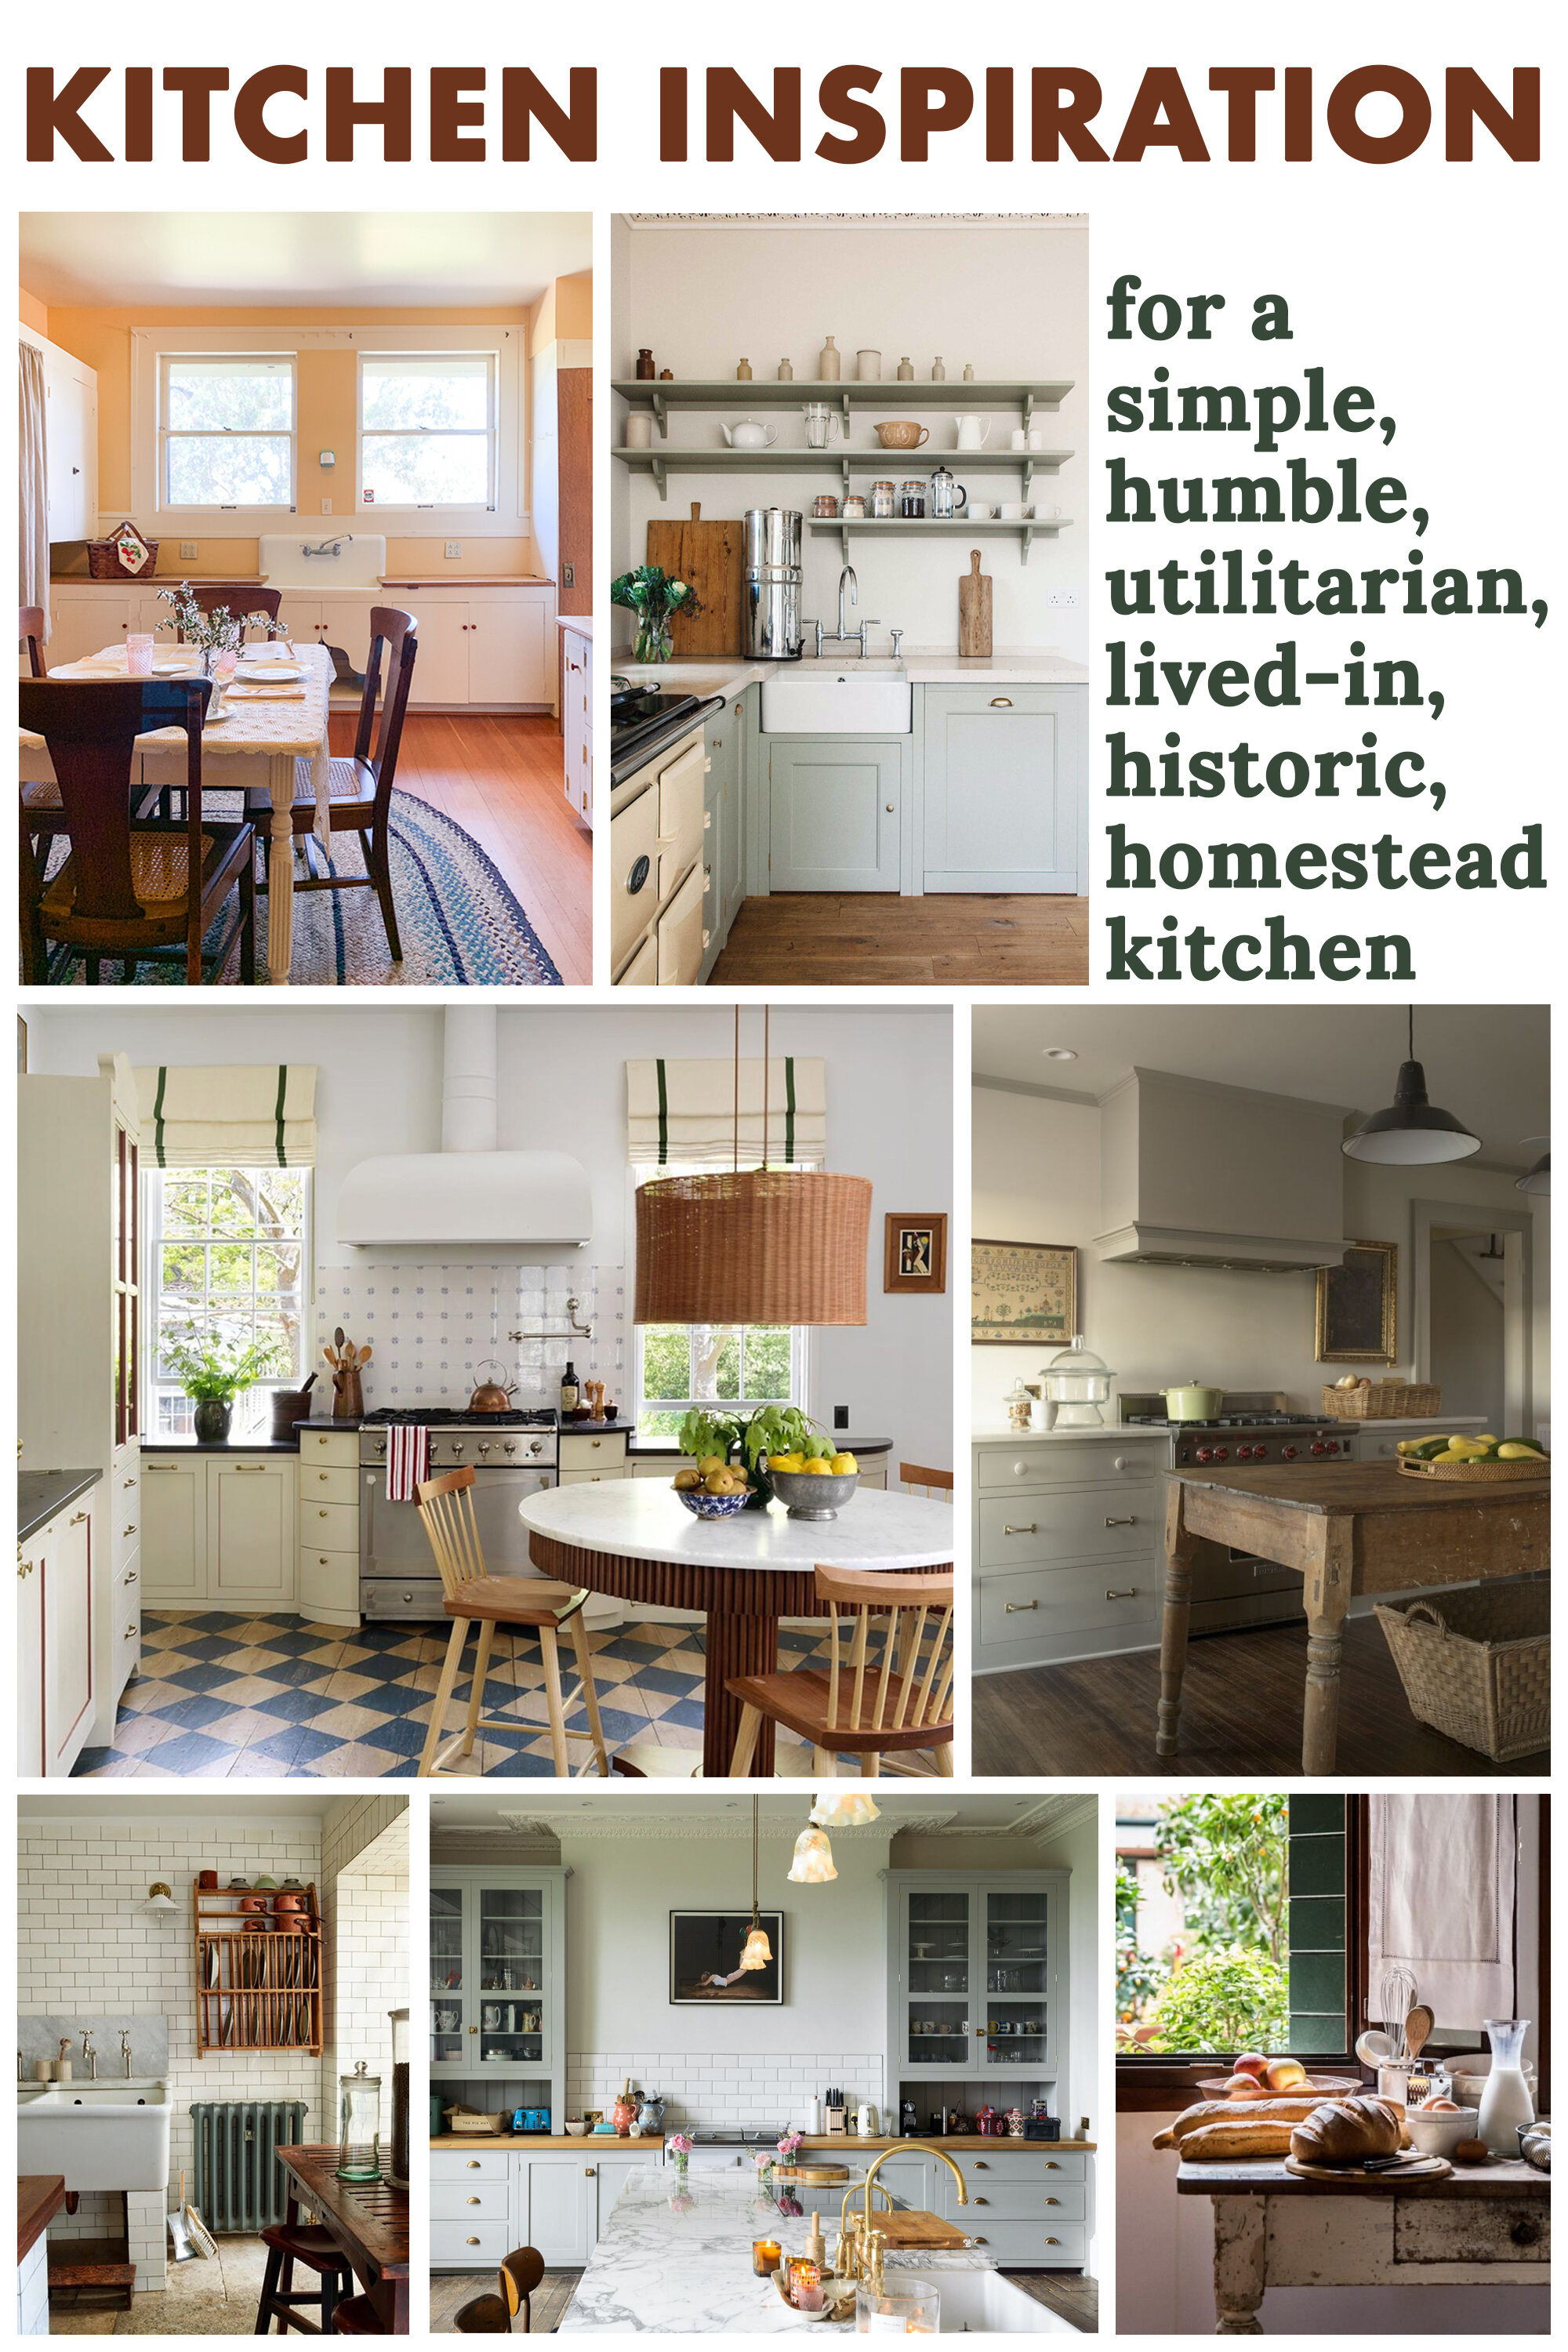
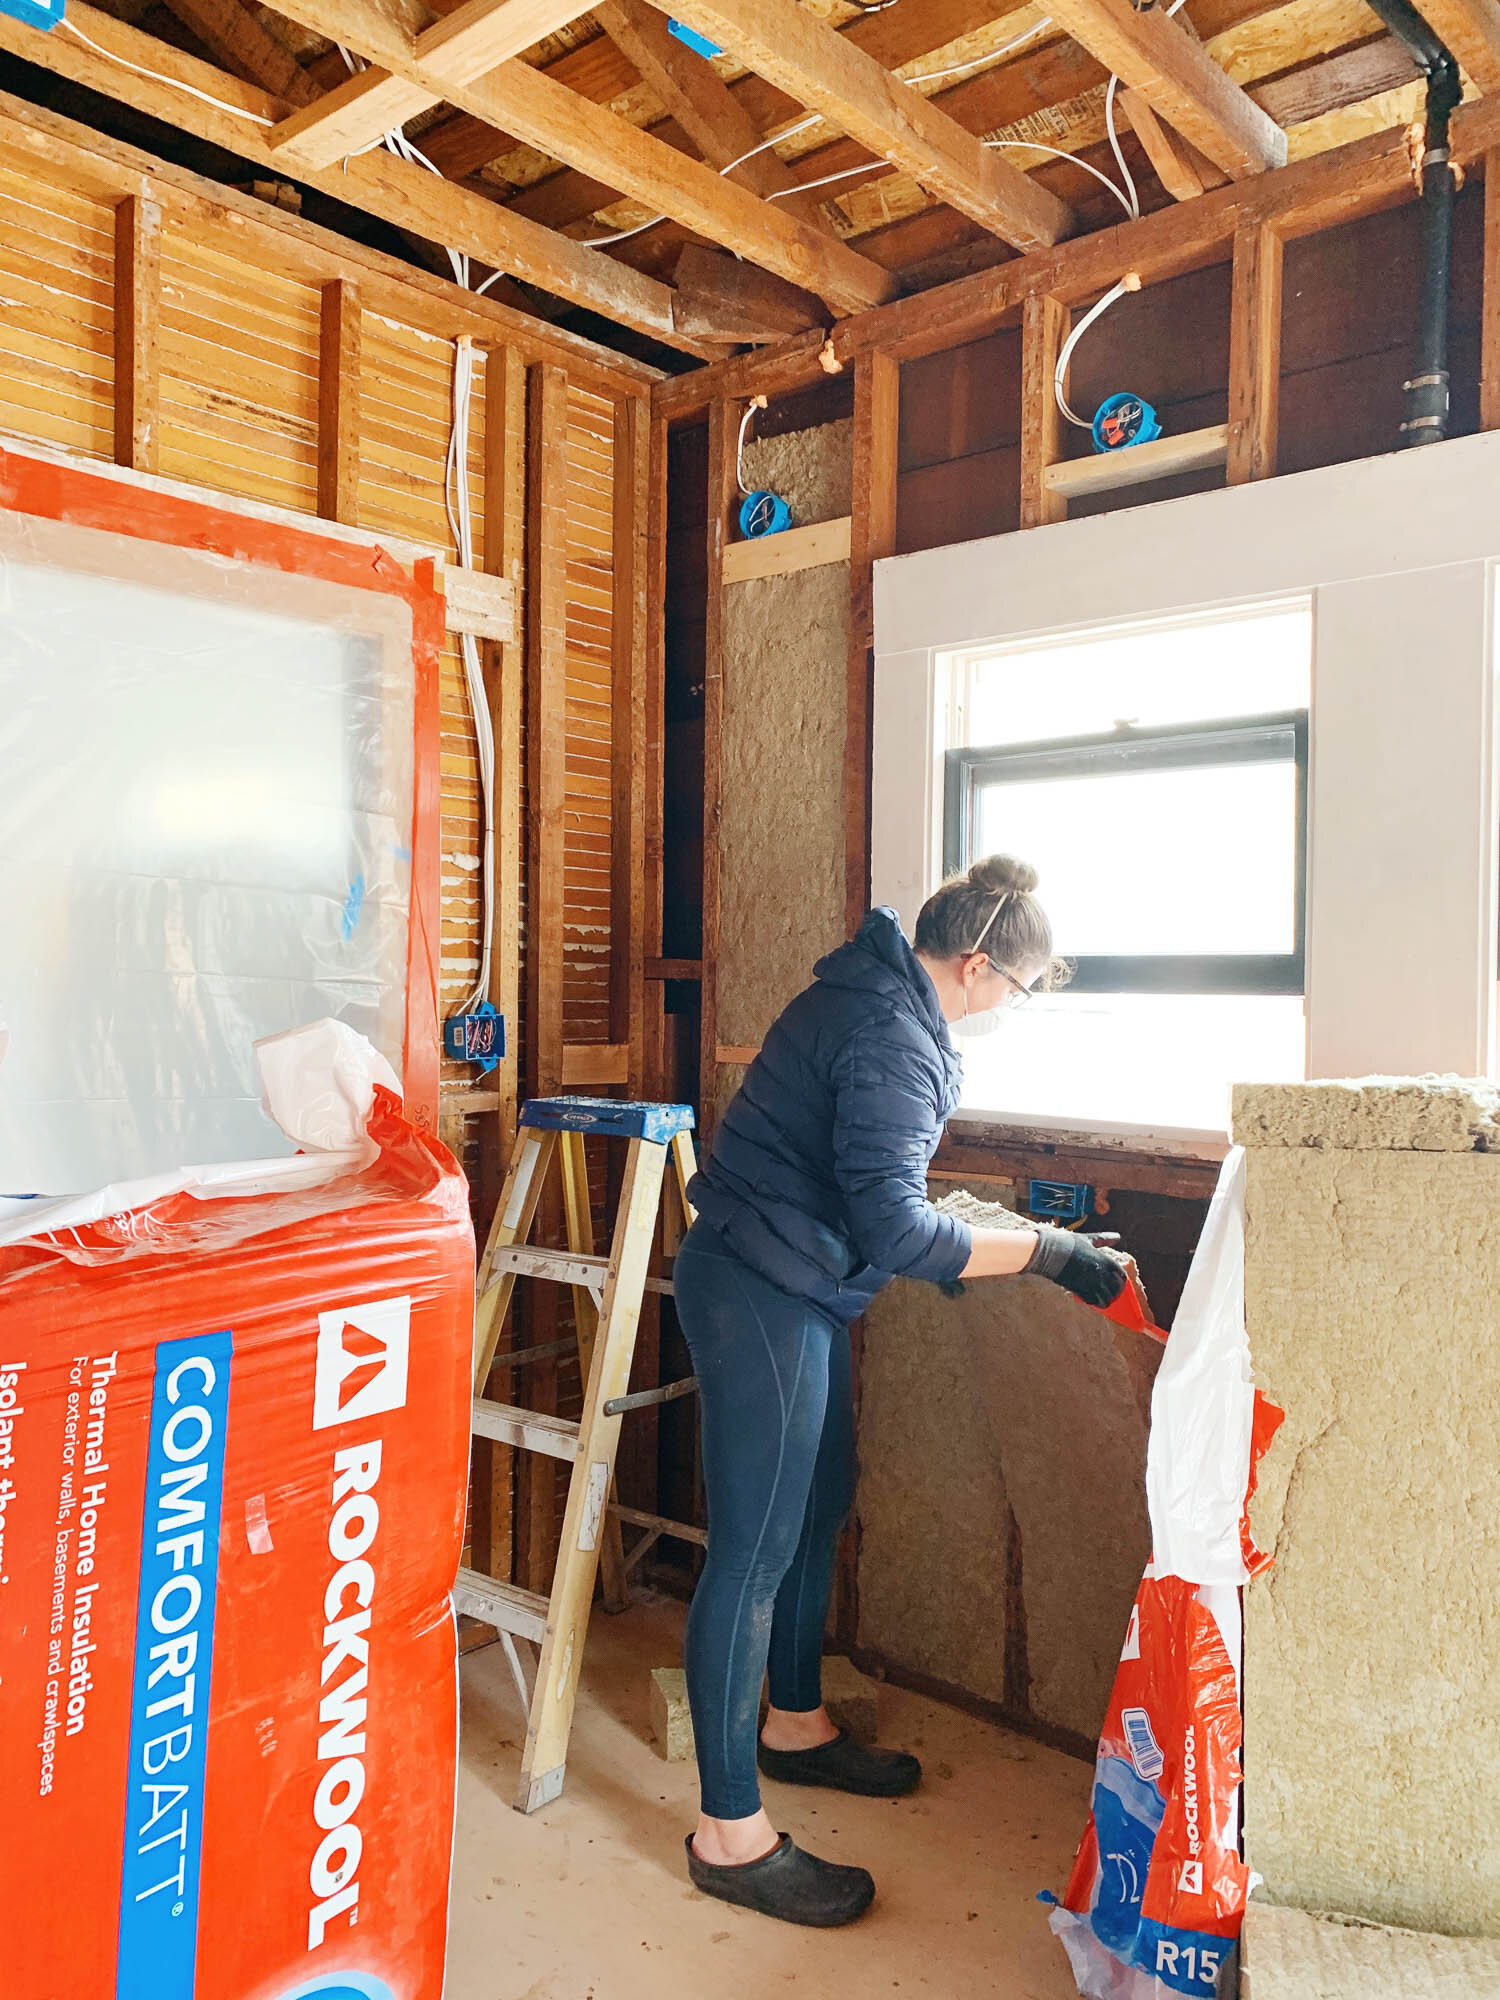
It’s almost time to start demo on my kitchen to make way for the new space, so this is my last chance to share whatever can be shared about the current iteration of the kitchen!

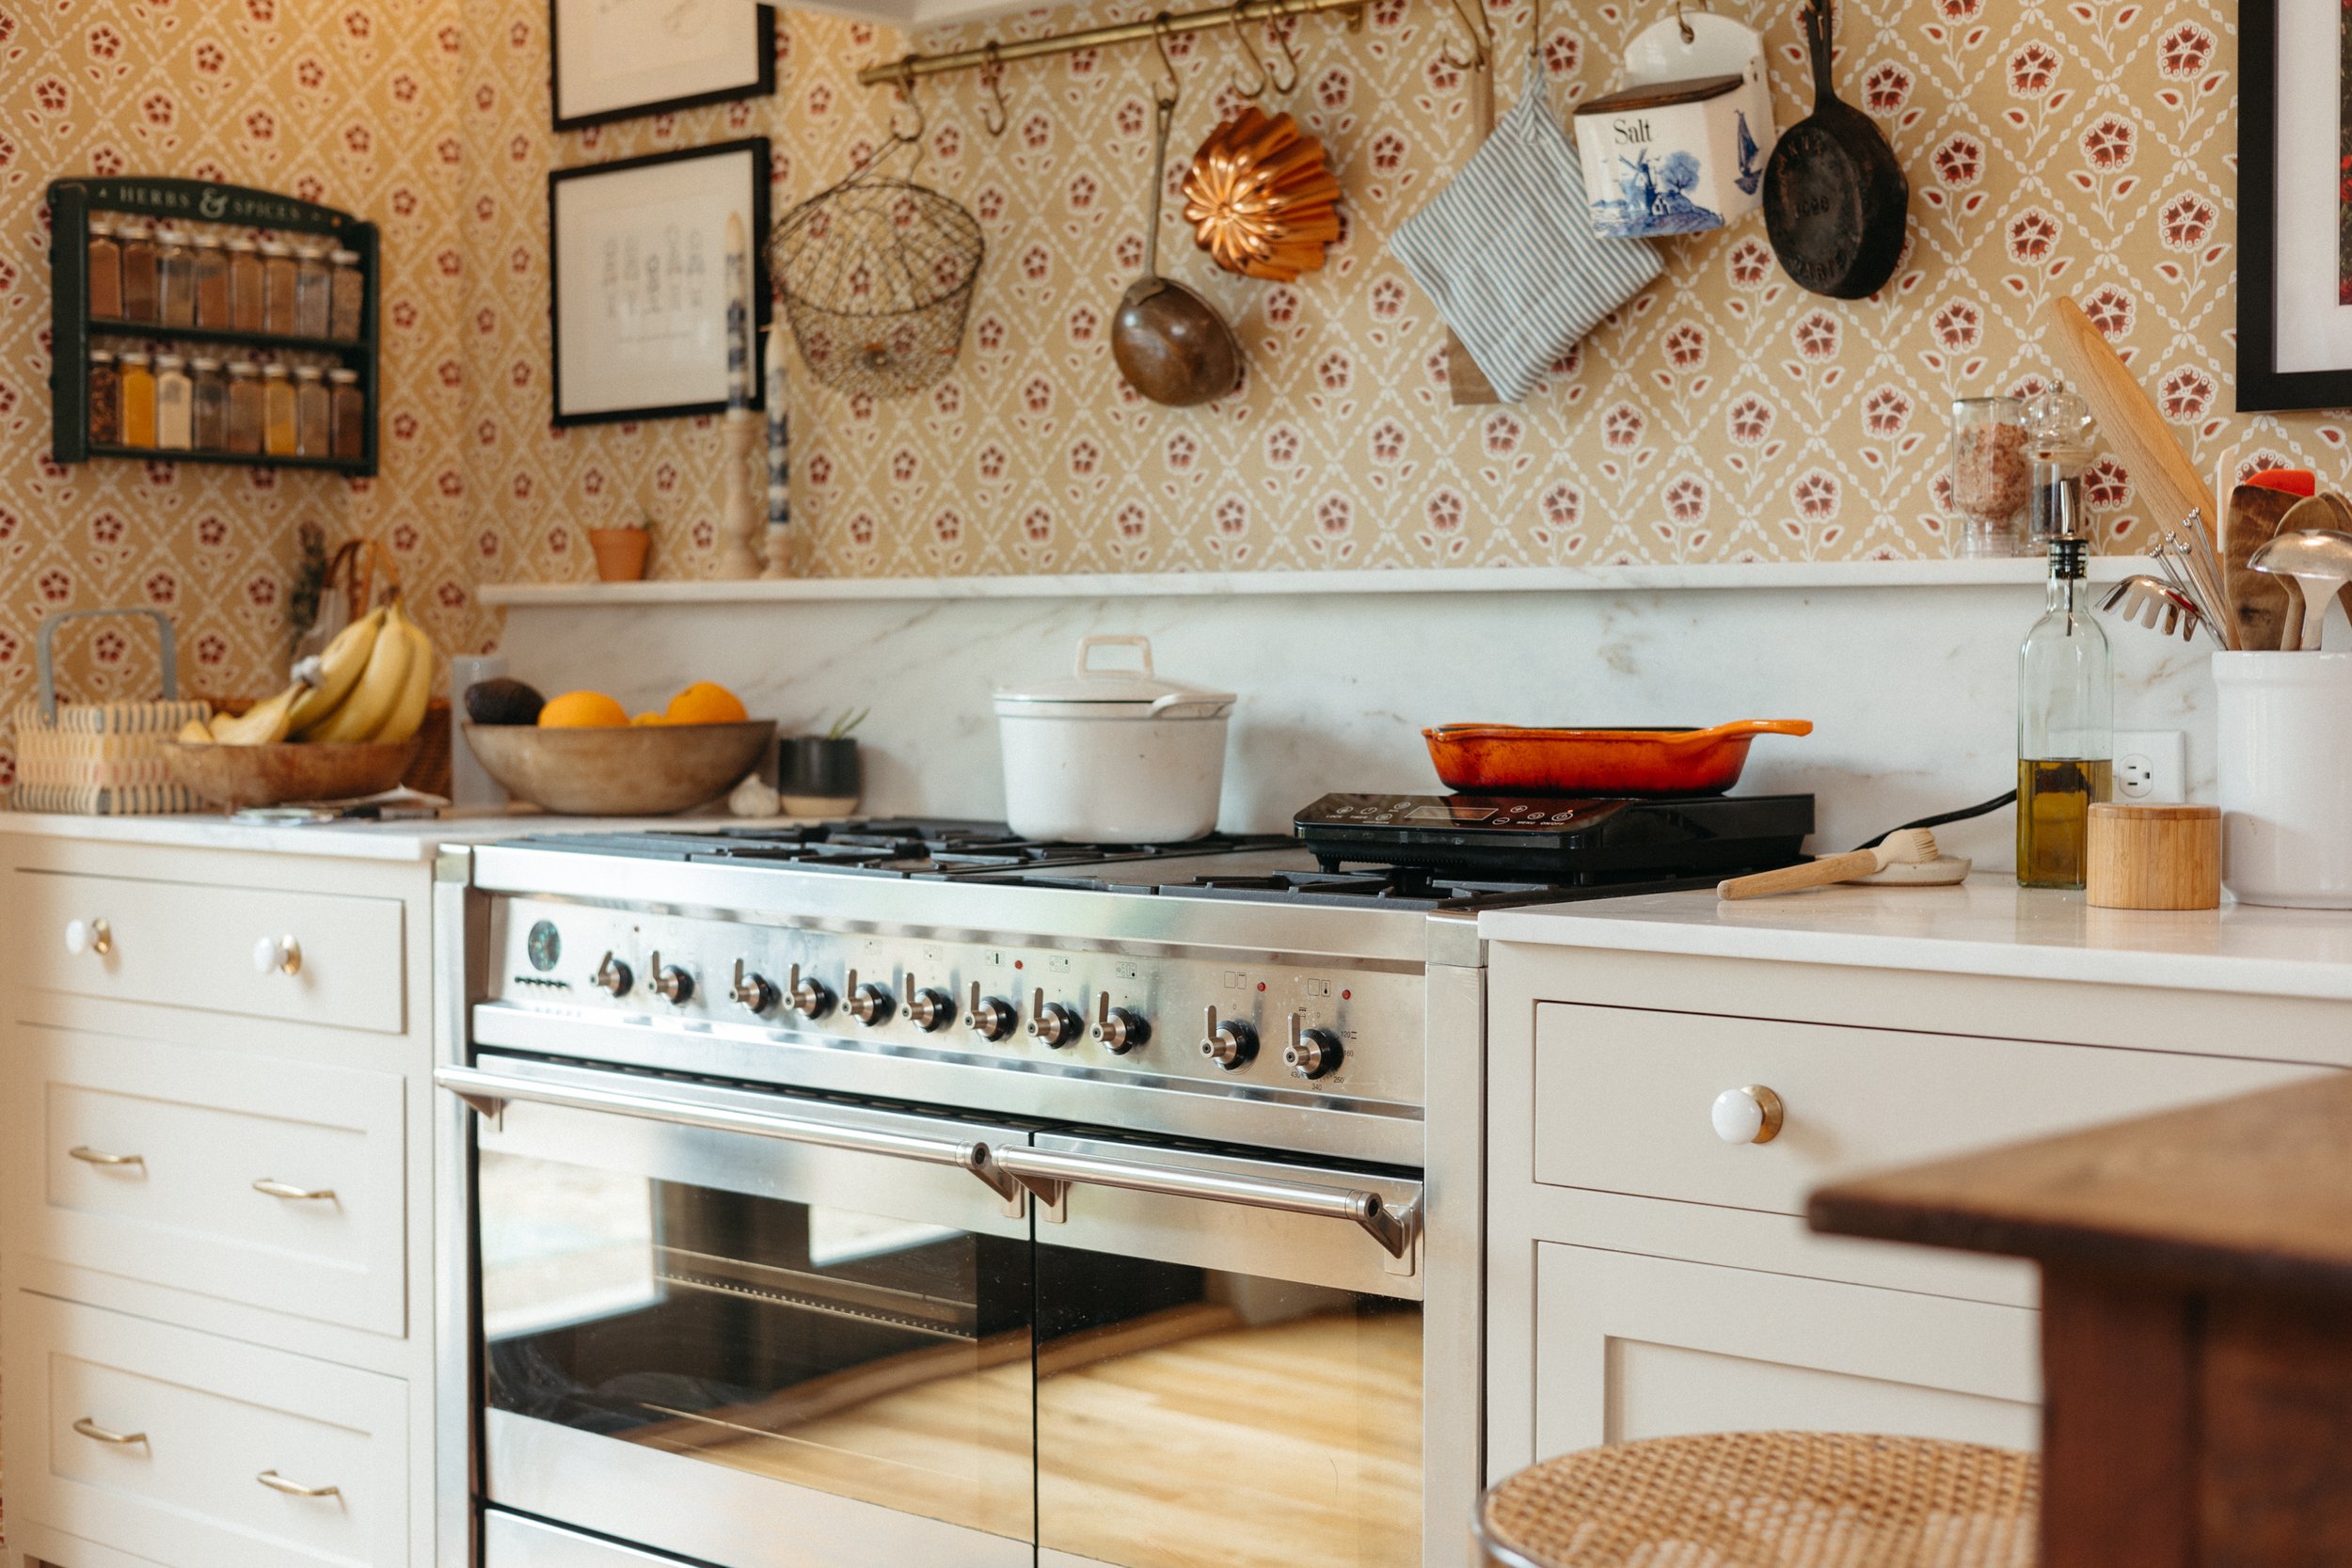
As you probably recall, the kitchen was just a phase 1 makeover to hold us over until our full remodel. I thought it would only be like this for 6 months, but it’s been over 4 years. Oops. Because I didn’t want to dump a bunch of money or time into the makeover, I did some quick cosmetic fixes. They weren’t designed to hold up for a long time, but some of them have. Here’s a full report.

Read More

A Video Tour of Our Home's Future Layout + Sneak Peek at The Kitchen Renovation

A Video Tour of Our Home's Future Layout + Sneak Peek at The Kitchen Renovation

I’ve been talking on the blog a lot about our home’s new layout as we approach the remodel of the kitchen. I’ve brought it up because first I wanted your opinion, then because you gave great advice, and then because I needed your help deciding, and then I teased my favorite layout, then I elaborated, and now I’m here to fully explain the new layout - in video form!

Read More

Clean With Me: Windows Edition - A Video and A Guide to My Waste-Free and Streak-Free Clean with A "Helpful" Puppy

Clean With Me: Windows Edition - A Video and A Guide to My Waste-Free and Streak-Free Clean with A "Helpful" Puppy

You know I love cleaning, and there’s nothing like squeaky clean windows! Now that summer is truly upon us, I know there’s no more rain in the forecast for several months, so I feels good to shine those windows up.

Window cleaning can be a struggle, they can turn out super full of streaks, and the process can create a lot of wasteful paper towels. But, as someone that ditched single-use towels years ago, I’ve found a technique that uses no waste and is 100% streak free! I also use this technique on my mirror, too.

Read More

A Video Tour of the Inside of My Kitchen Cabinets and a Shoppable List of Everything In The Kitchen

A Video Tour of the Inside of My Kitchen Cabinets and a Shoppable List of Everything In The Kitchen

I love looking at how people store things - especially in their kitchens. I like learning other people’s reasoning for things, I like snooping, and I always like to improve on my own spaces. So, I filmed one of my own kitchen! However, mine isn’t perfect. This whole kitchen was a stopgap solution until we could renovate the space (coming soon!) so there’s no fancy pull out drawers, no custom spice racks, no perfectly sized shelves, and certainly no perfect layout.

Read More

Clean With Me: Kitchen Edition - A Video and My Guide to Non-Toxic and Zero Waste Cleaning

Clean With Me: Kitchen Edition - A Video and My Guide to Non-Toxic and Zero Waste Cleaning

Among my top 10 hobbies is deep cleaning my house. Call me crazy, but it’s just my jam. I’ve spent ages perfecting my routine to be as efficient as possible, years finding my favorite non-toxic cleaners, and just a few months to learn how to do it all without any waste. I filmed a quick video of me doing a kitchen deep clean and wrote out my step-by-step cleaning process. Check it out!

Read More

Gift Guide for Entertainers

Gift Guide for Entertainers

I tend not to entertain as much as I’d like to - I prefer to sit at home by myself in my PJs, I suppose. But, since I’d like to host more, I rounded up a few items that would make entertaining more fun. I think all of them would be well appreciated by the person that’s always inviting you over.

Psst! Everything is plastic free, btw.

Read More

Changing the Floor Plan of the House! + I Want Your Feedback!

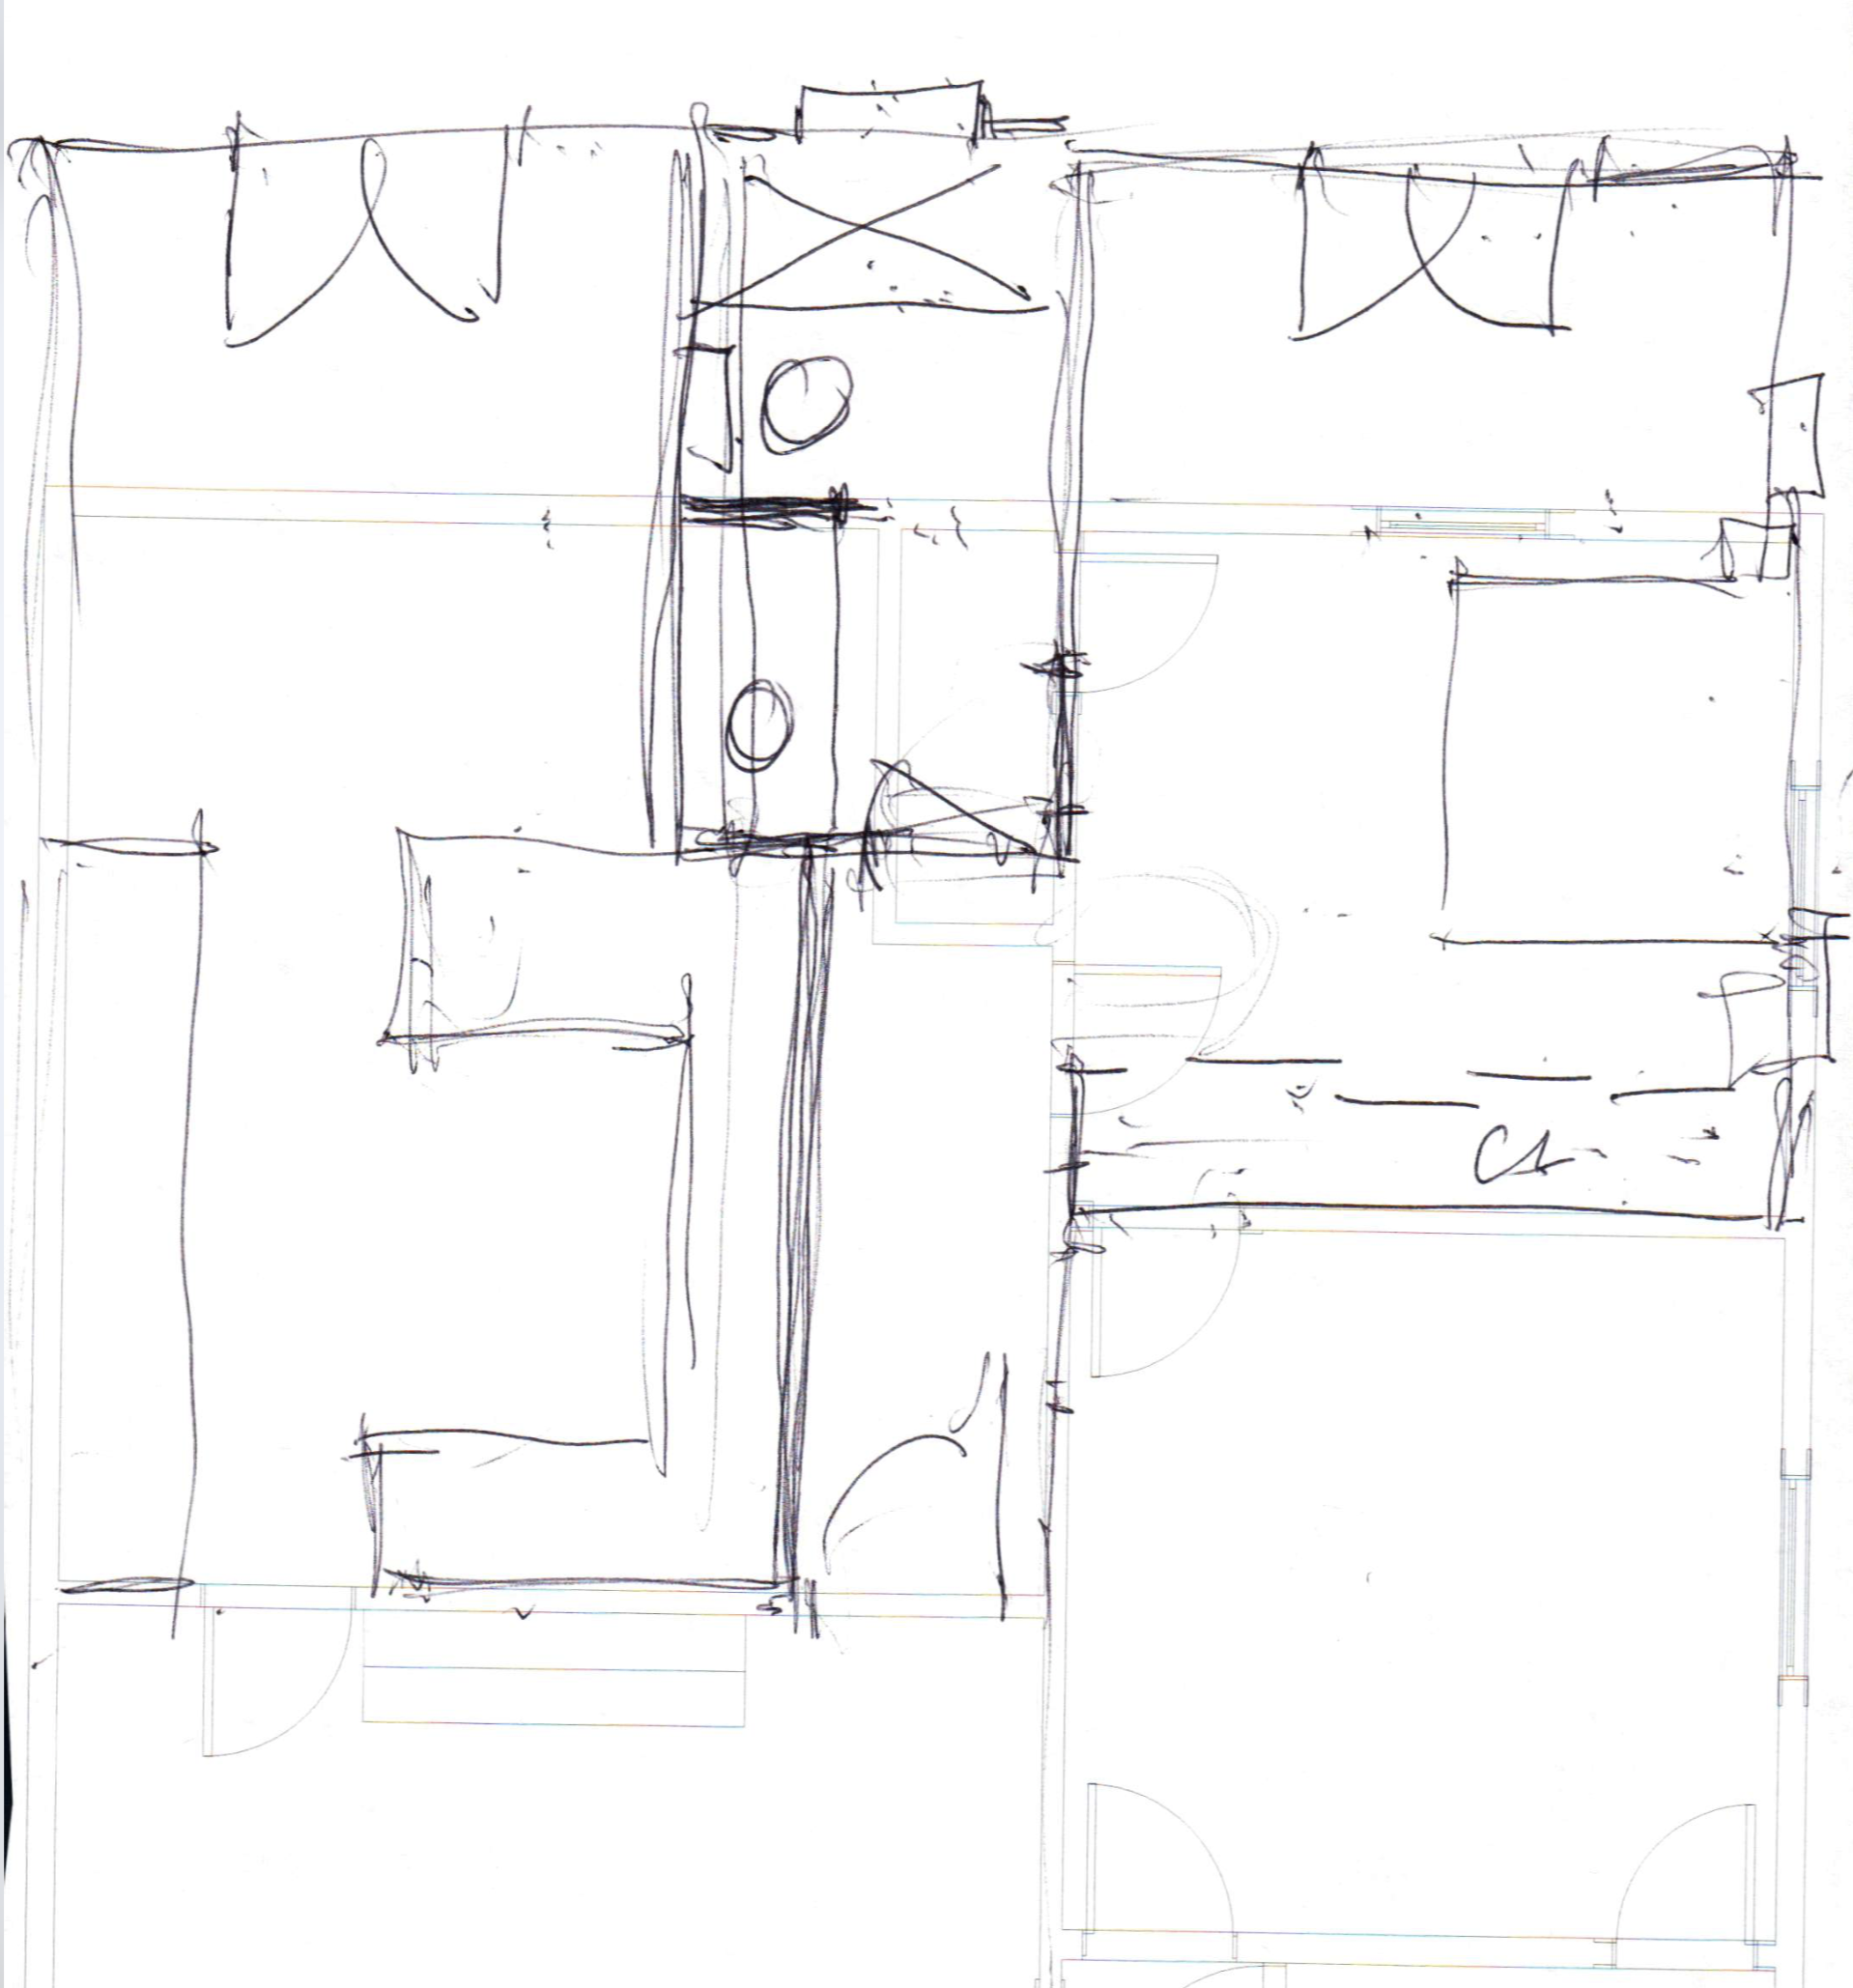
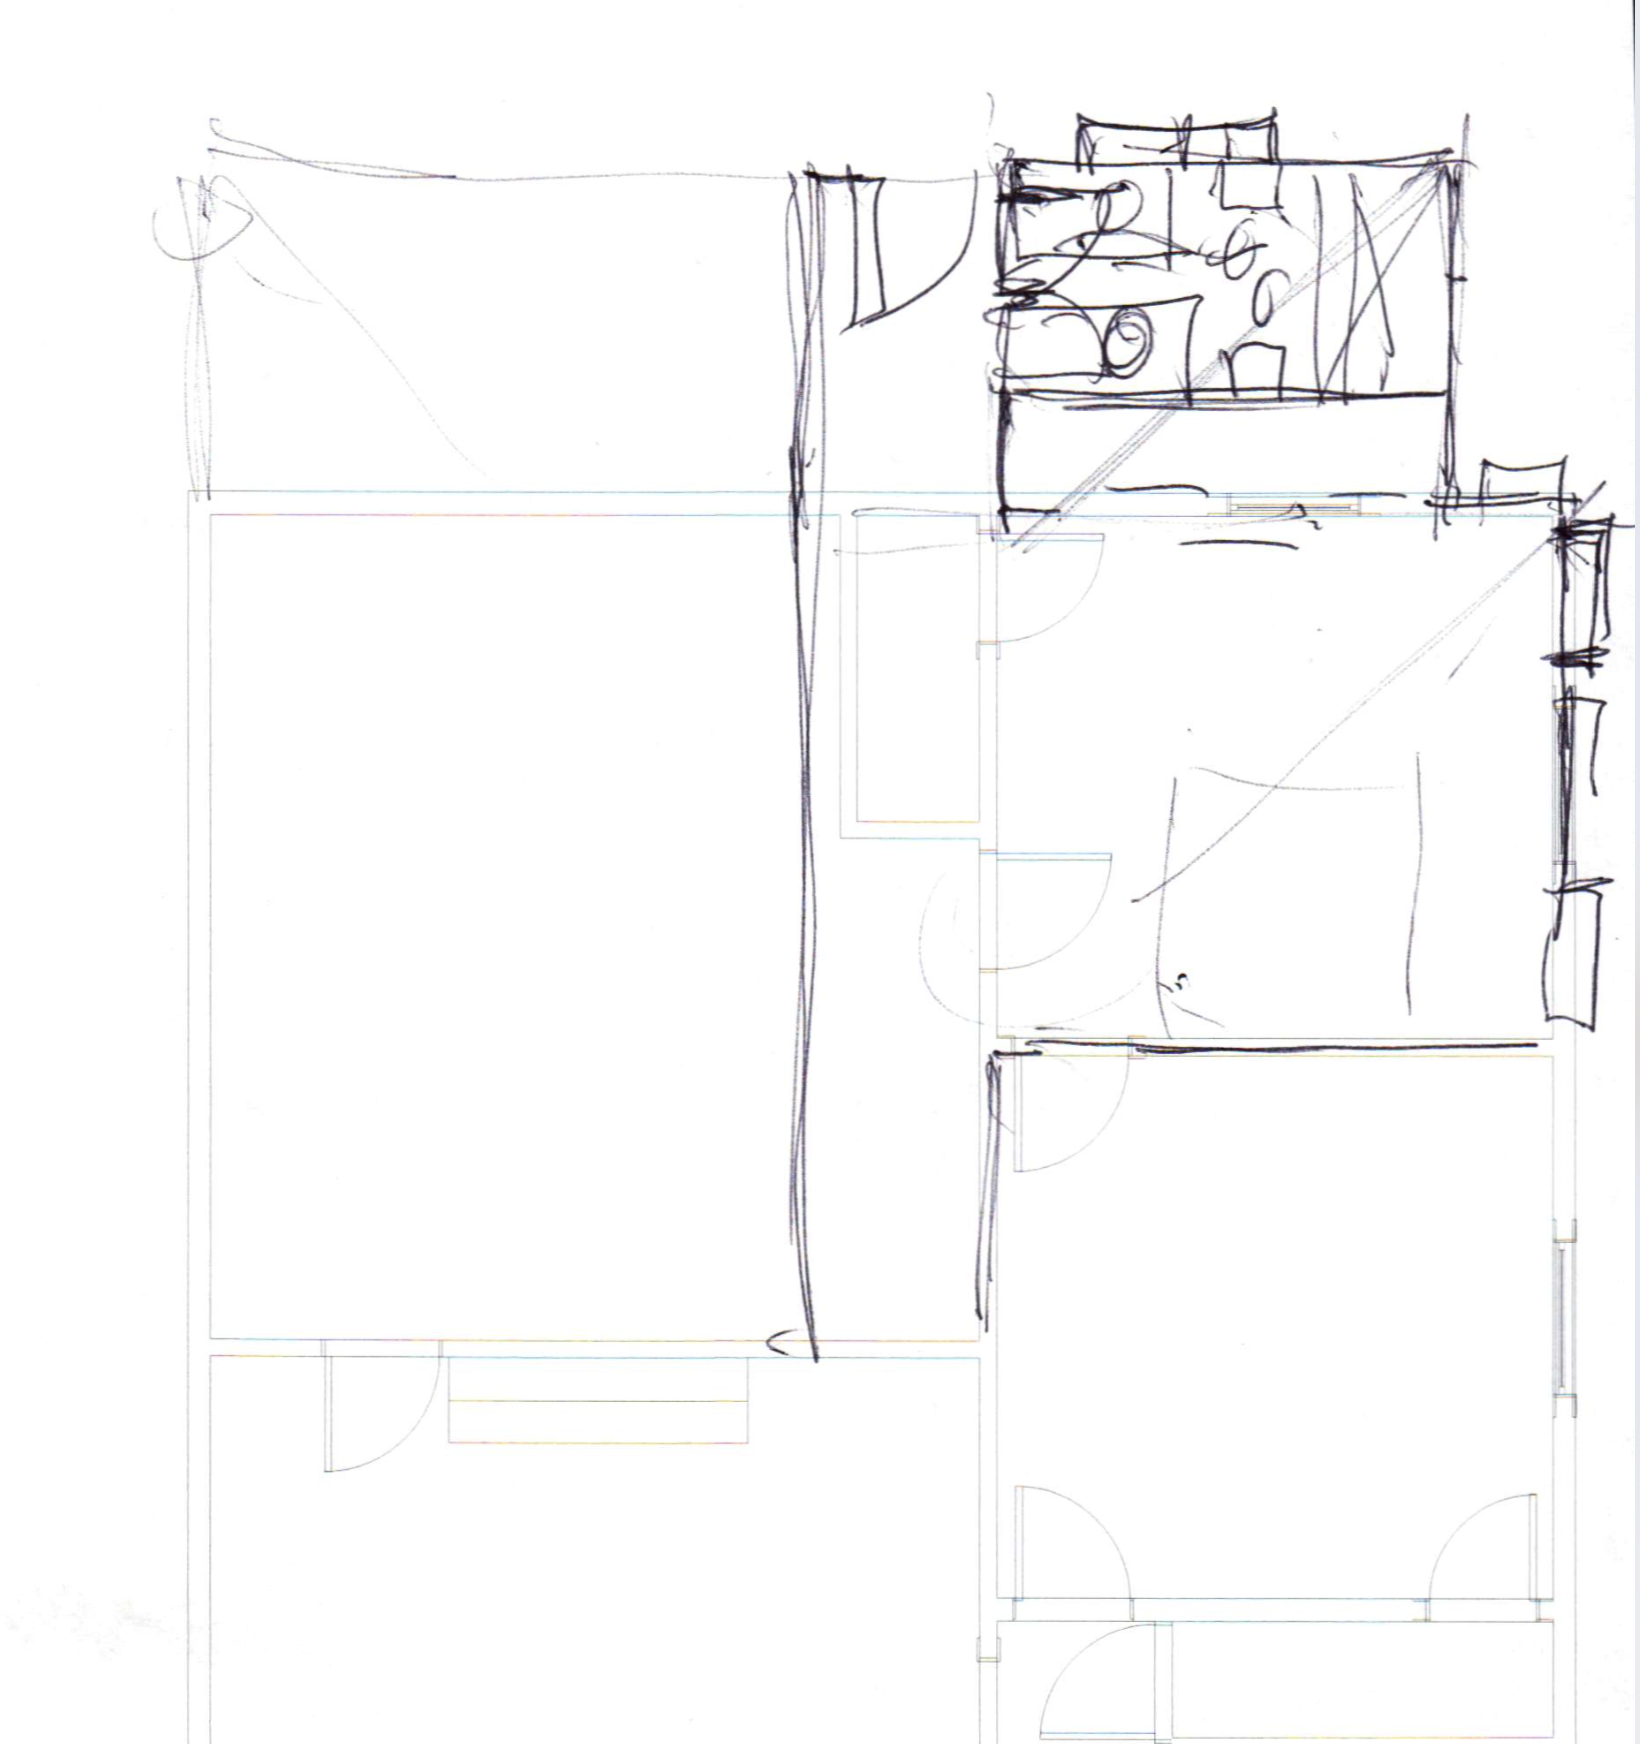
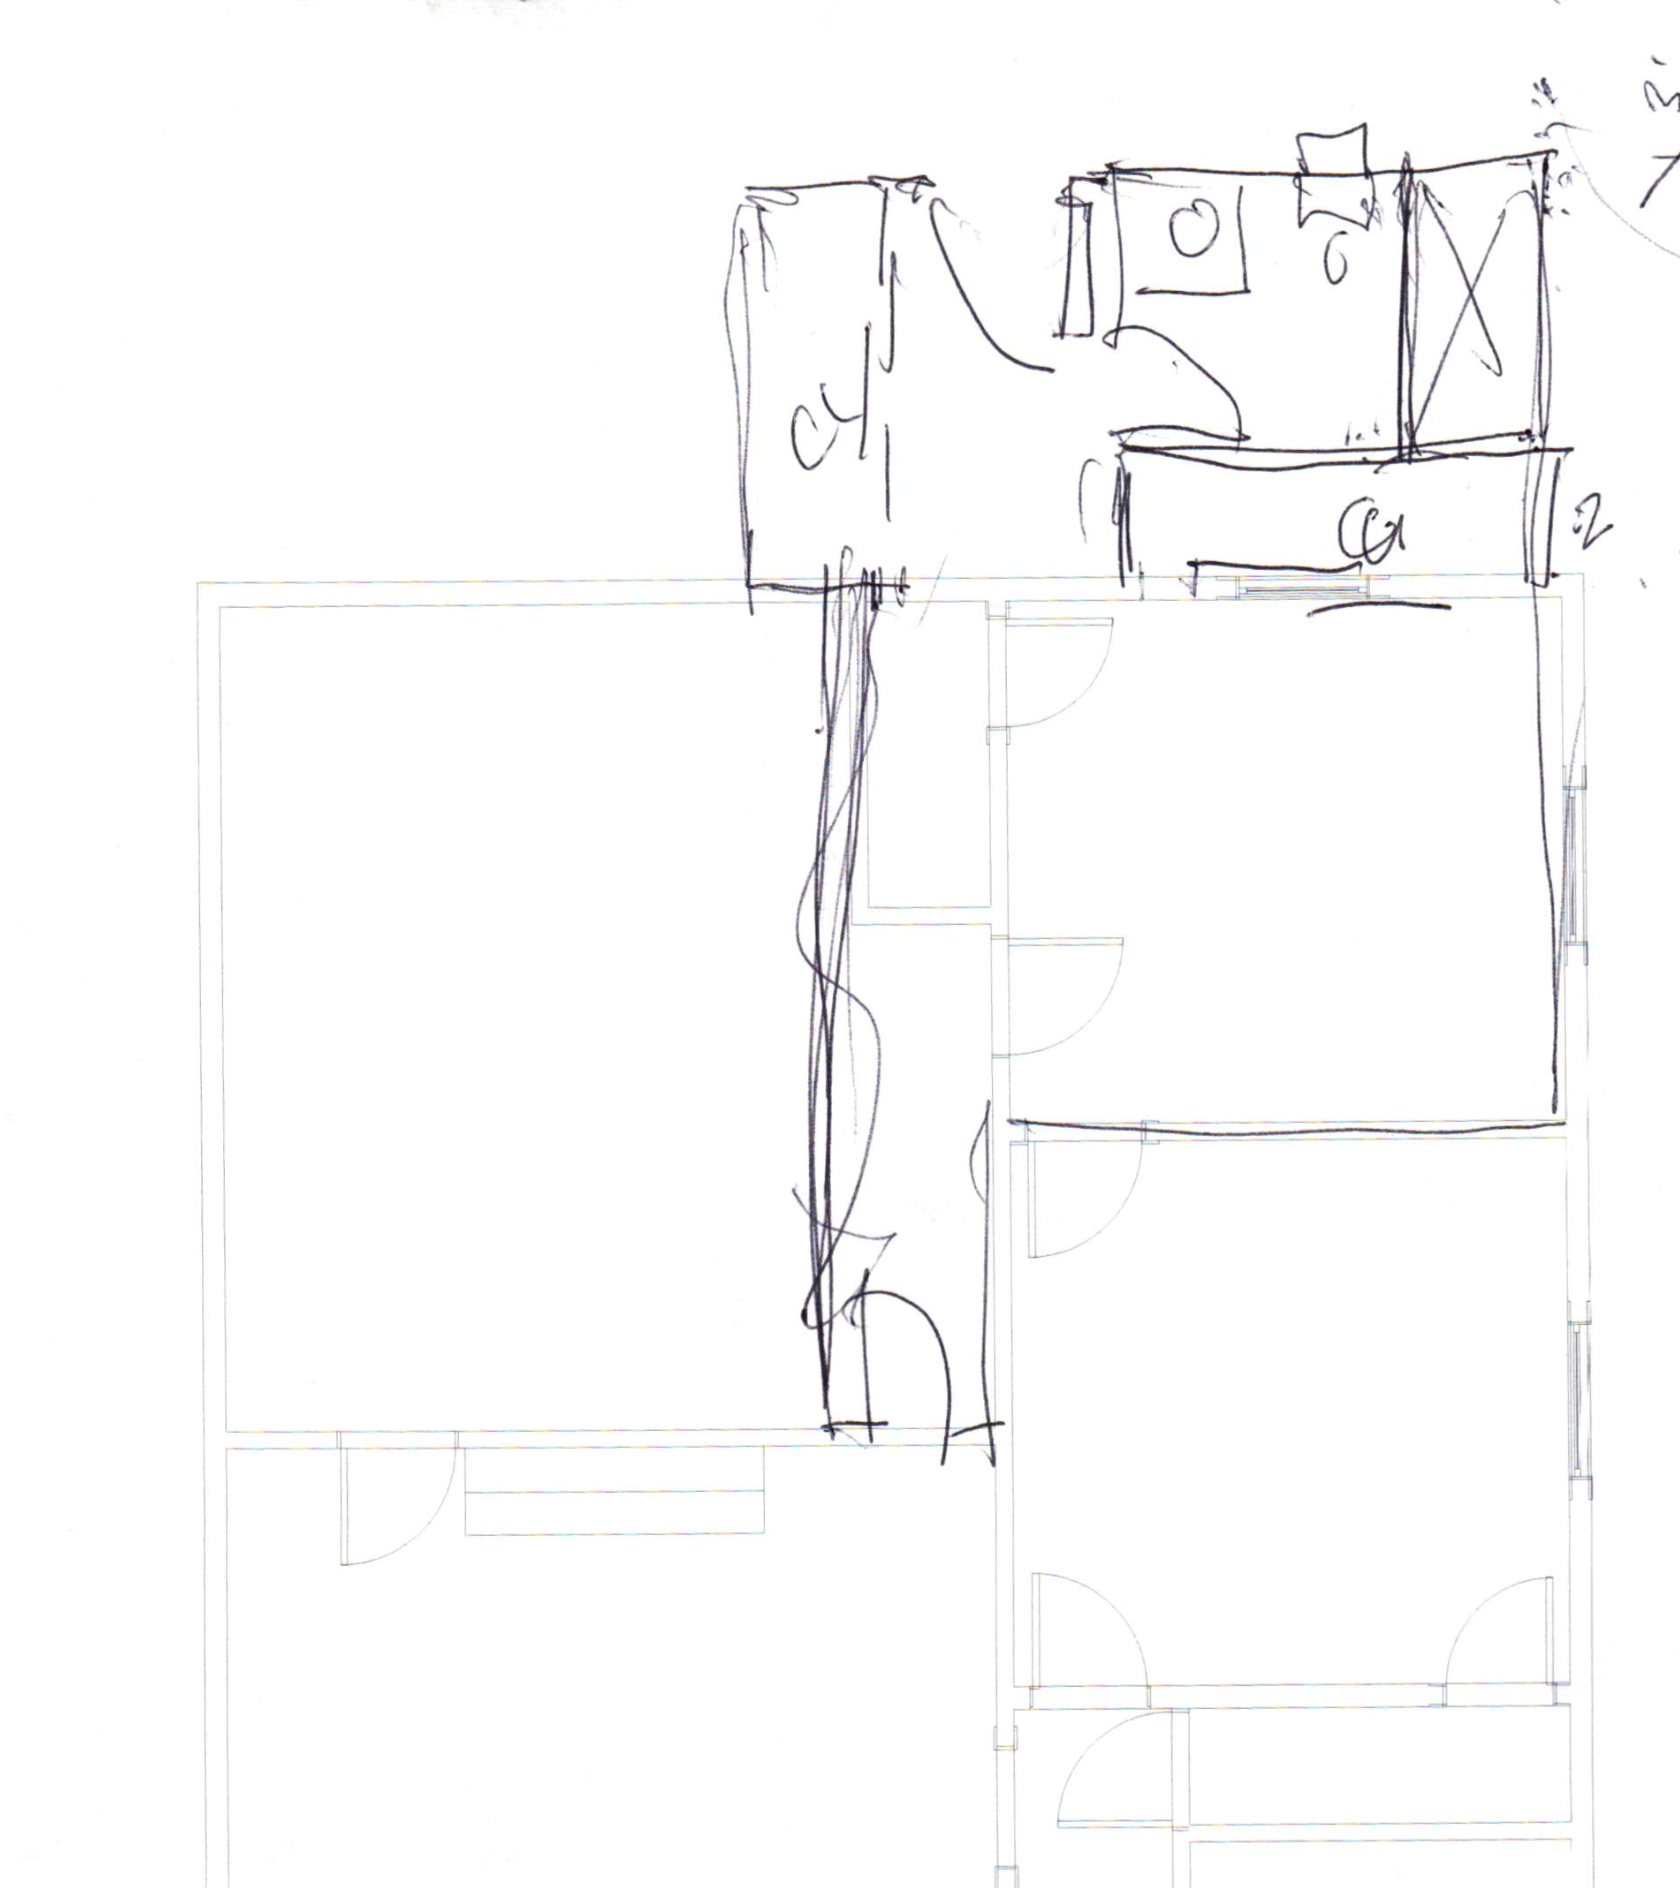
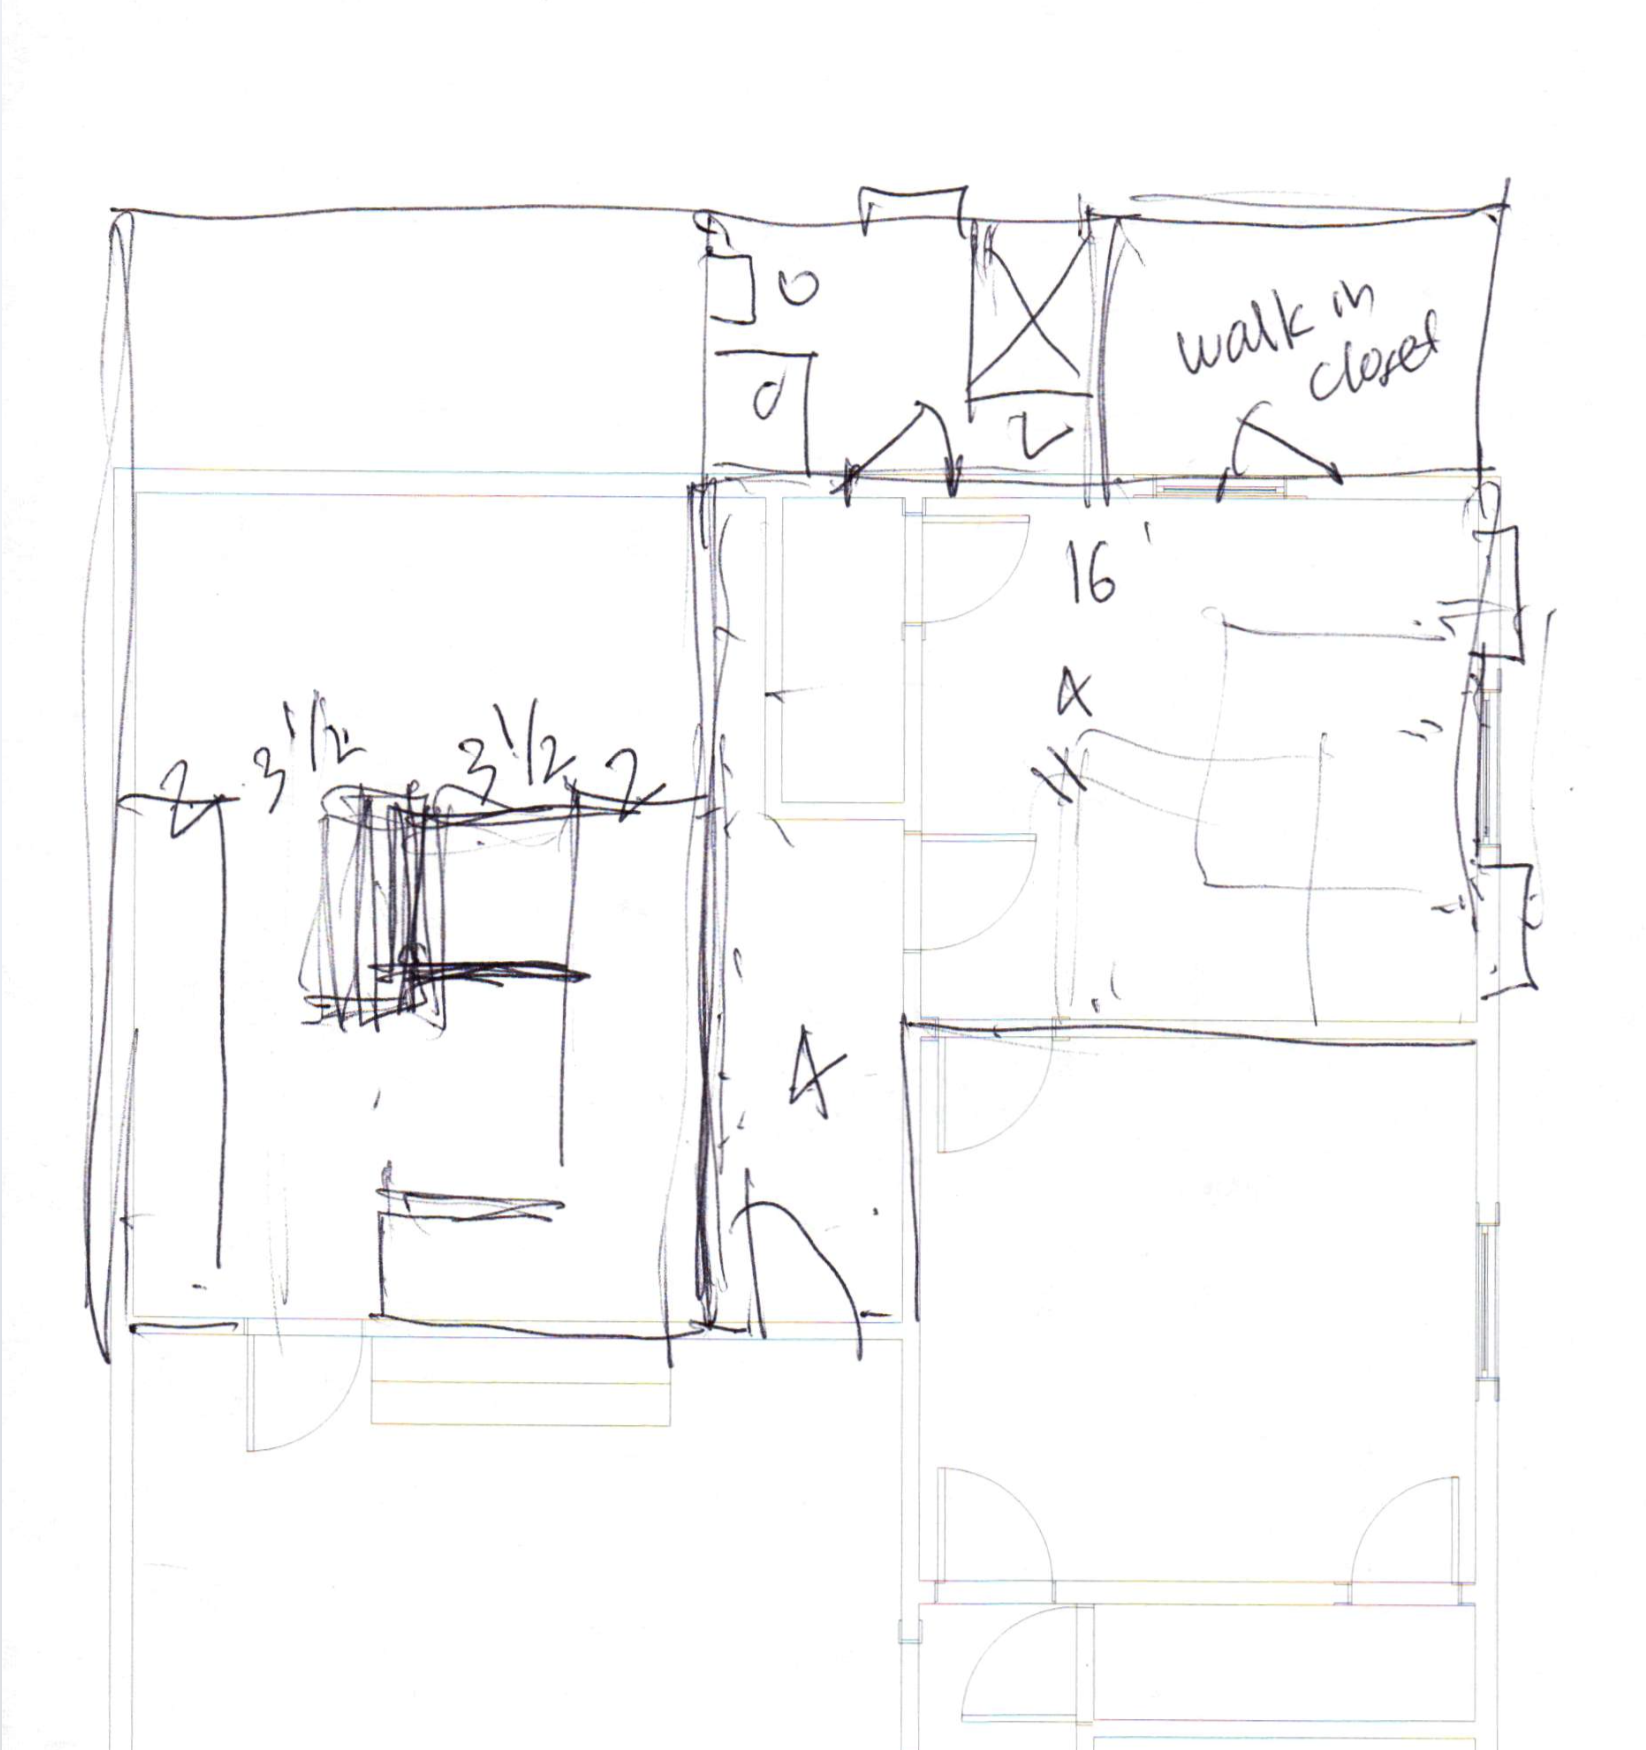
I've spent the past three years trying to decide on a new layout for the back of our house. We've come up with lots of ideas, but there is ultimately always a compromise of some sort and we struggle with identifying what we want to give up on. I think we've solidified a plan, but I'm still not 100% so I want your feedback!

The Gold Hive Floor Planning for a Big Remodel

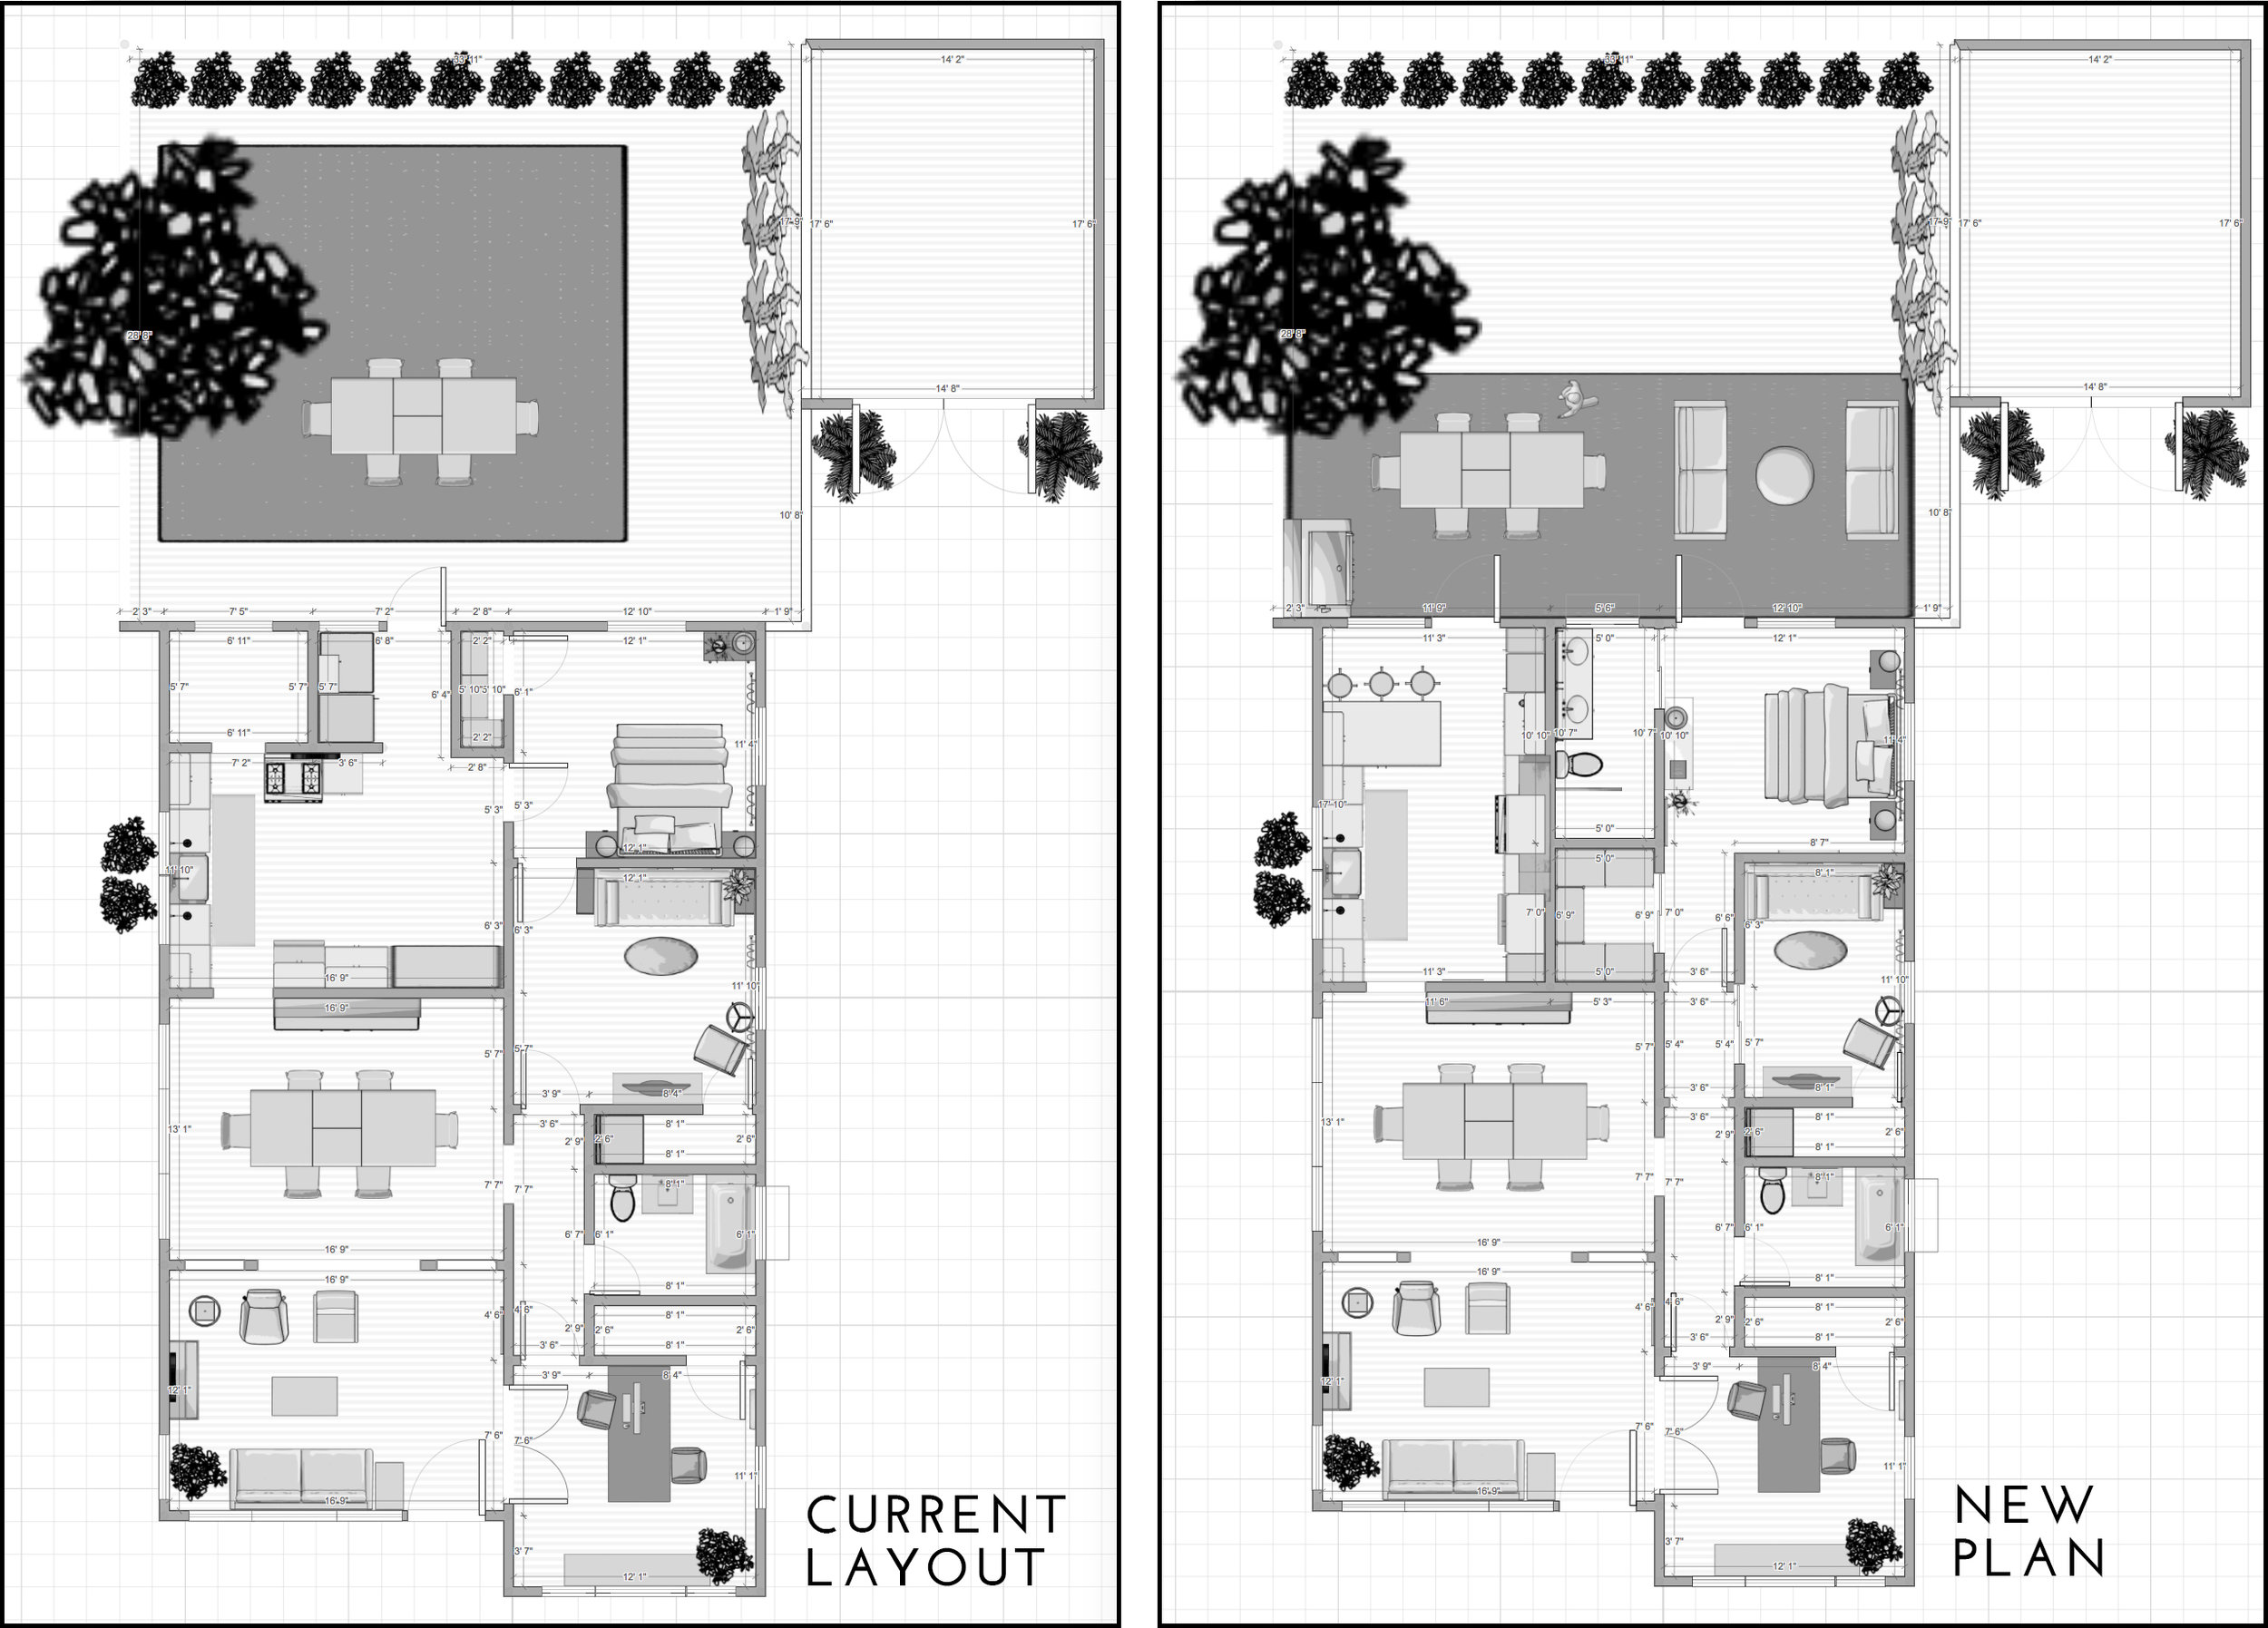
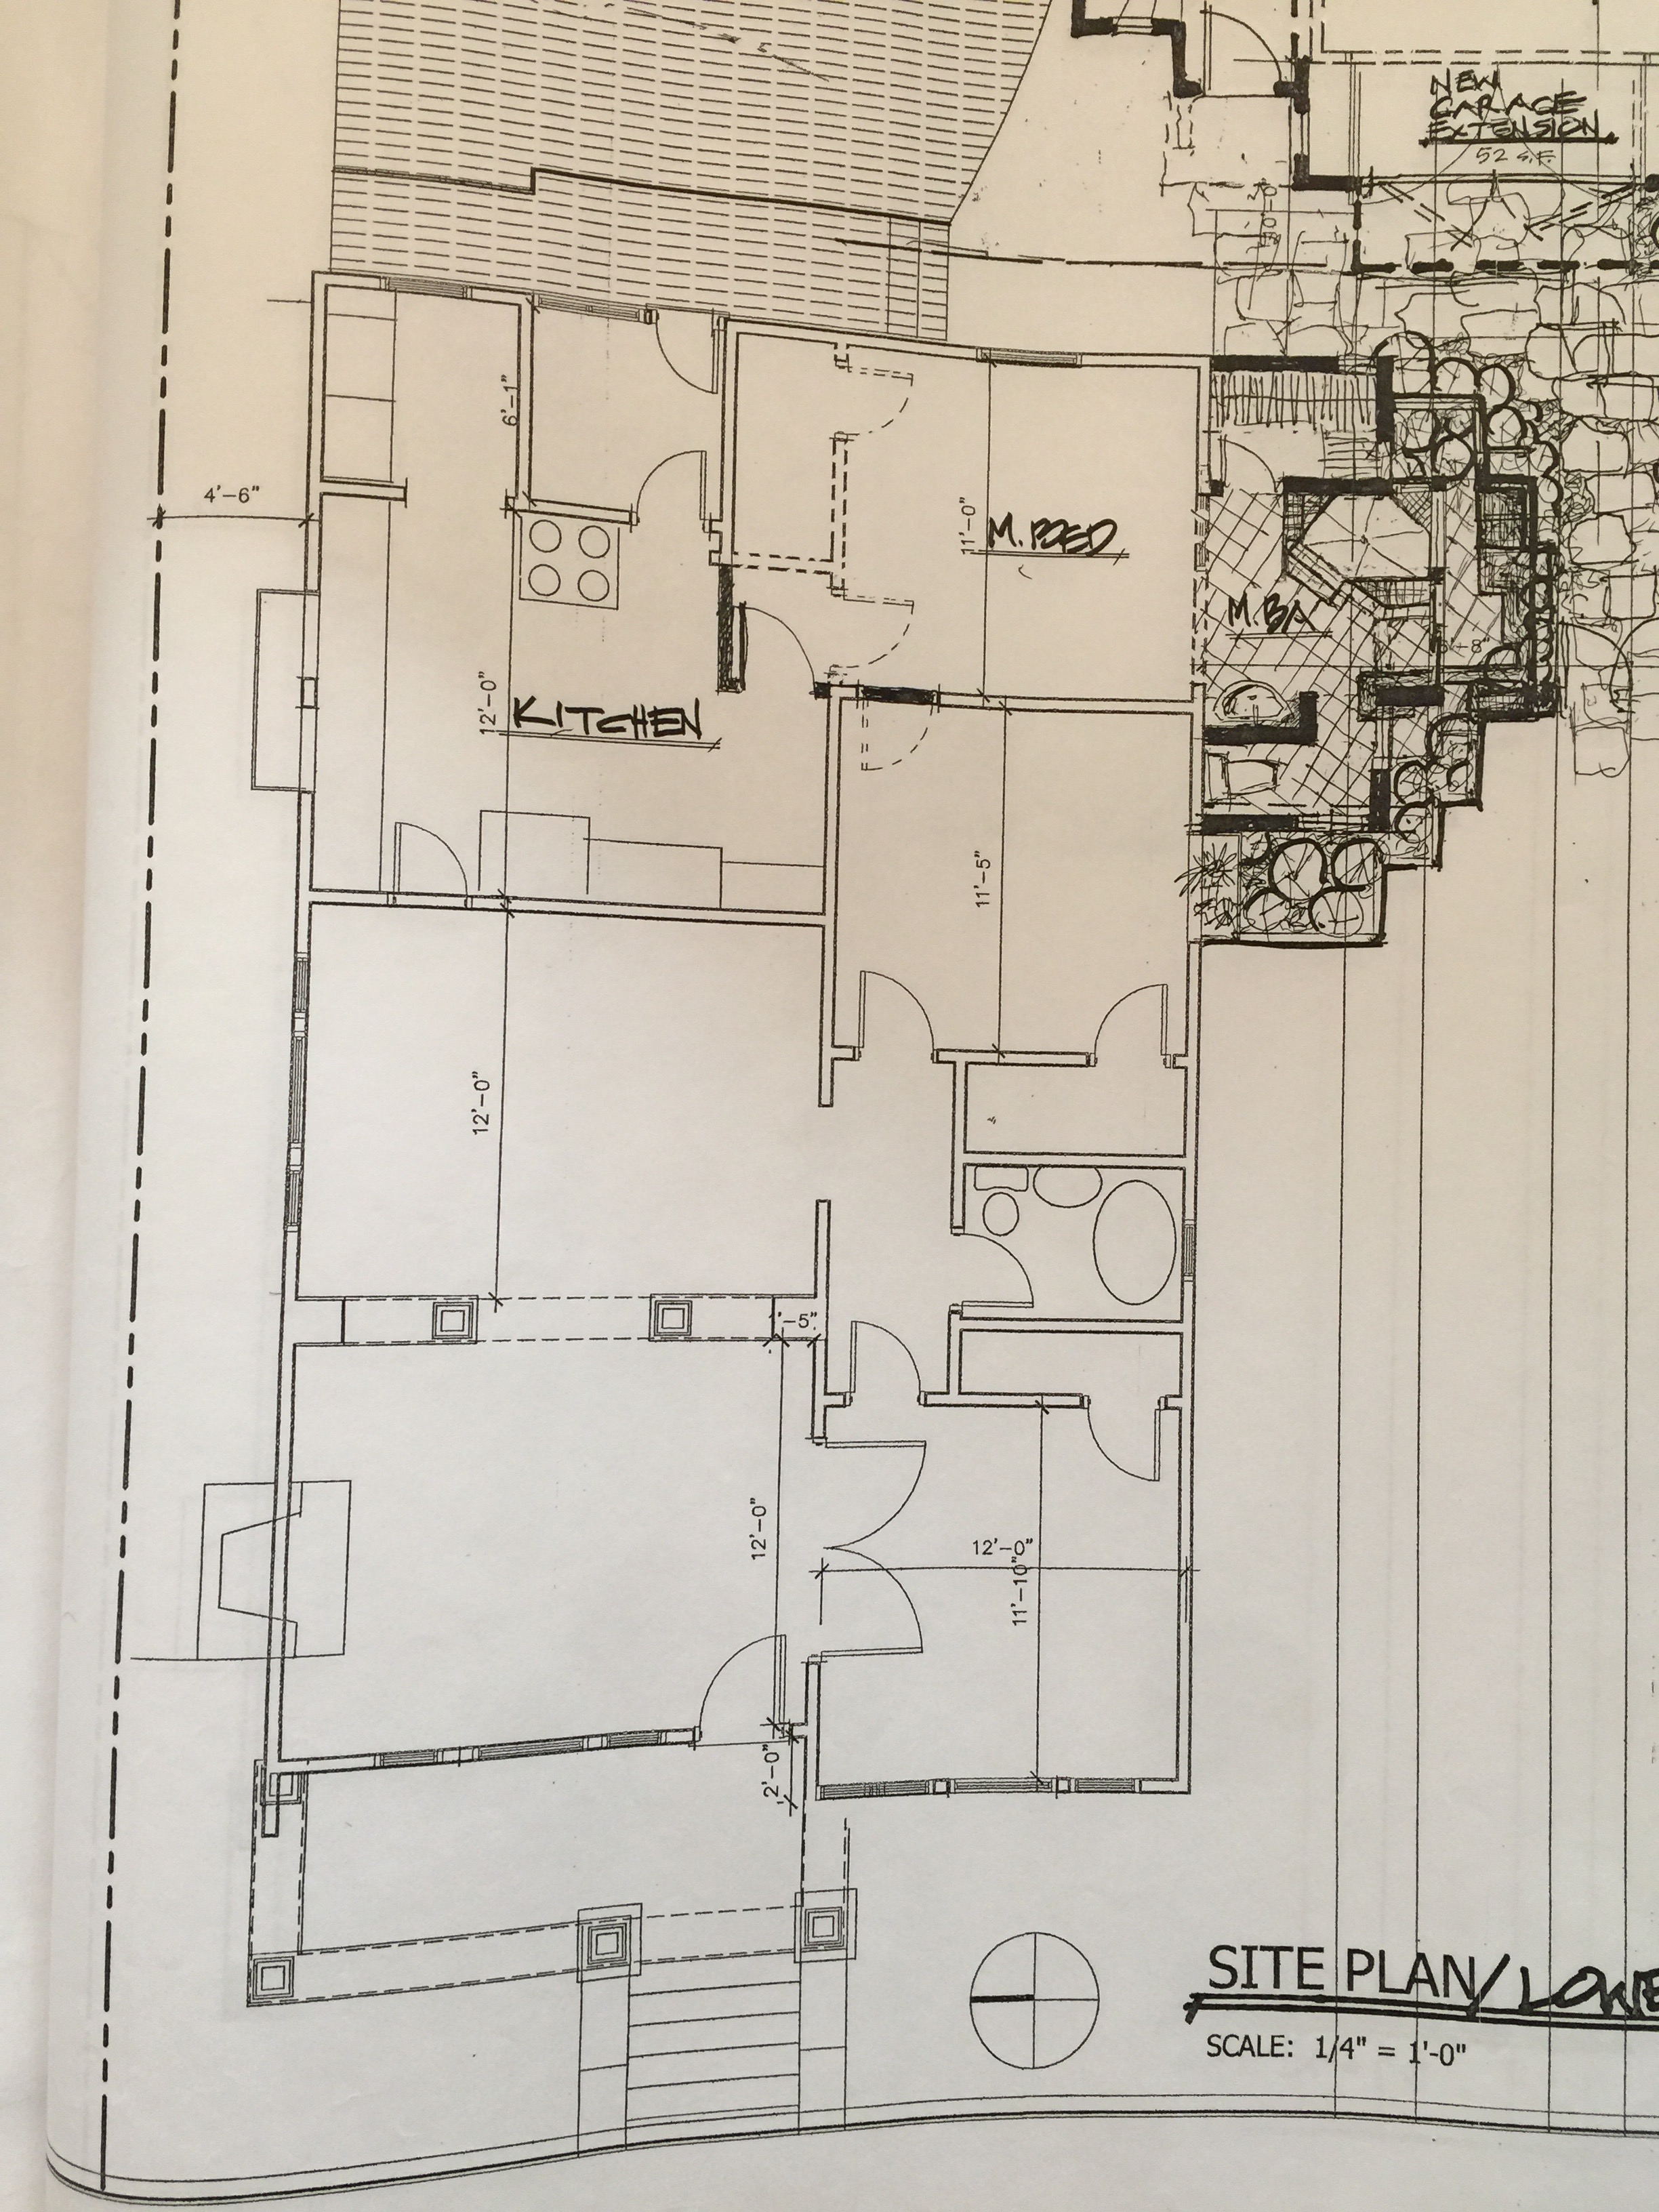
Below is the existing floor plan.

The Gold Hive Floor Plan

We have three bedrooms, one bathroom, and a nice flow between the spaces that makes the house feel airy yet not too open. The ceilings are nine feet tall so even though our house comes in at just under 1,400 square feet, it still feels perfectly spacious. I love this little abode.

But, here's what we don't like.

  1. The master bedroom is accessible only by walking through another bedroom, or the kitchen. It's fine right now when the guest bedroom is actually just a TV room, and access to the kitchen is very convenient for rolling out of bed straight to breakfast. But, I'd like to access the master without tripping over a sleeping house guest or a stove.

  2. We'd like to have a second bathroom in the house, ideally in the form of an ensuite off the master bedroom.

  3. The kitchen layout isn't the most functional. It's decently sized but with wasted space on half of the room and with the two mudrooms. These two little rooms are inefficiently used for storage, and the walls block all of the natural sunlight from the back of the house.

  4. We want a more indoor/outdoor feel. Right now, the only backyard access is through a door that's tucked away in a mudroom. We'd like to see the kitchen and the master extend into the outdoor space.

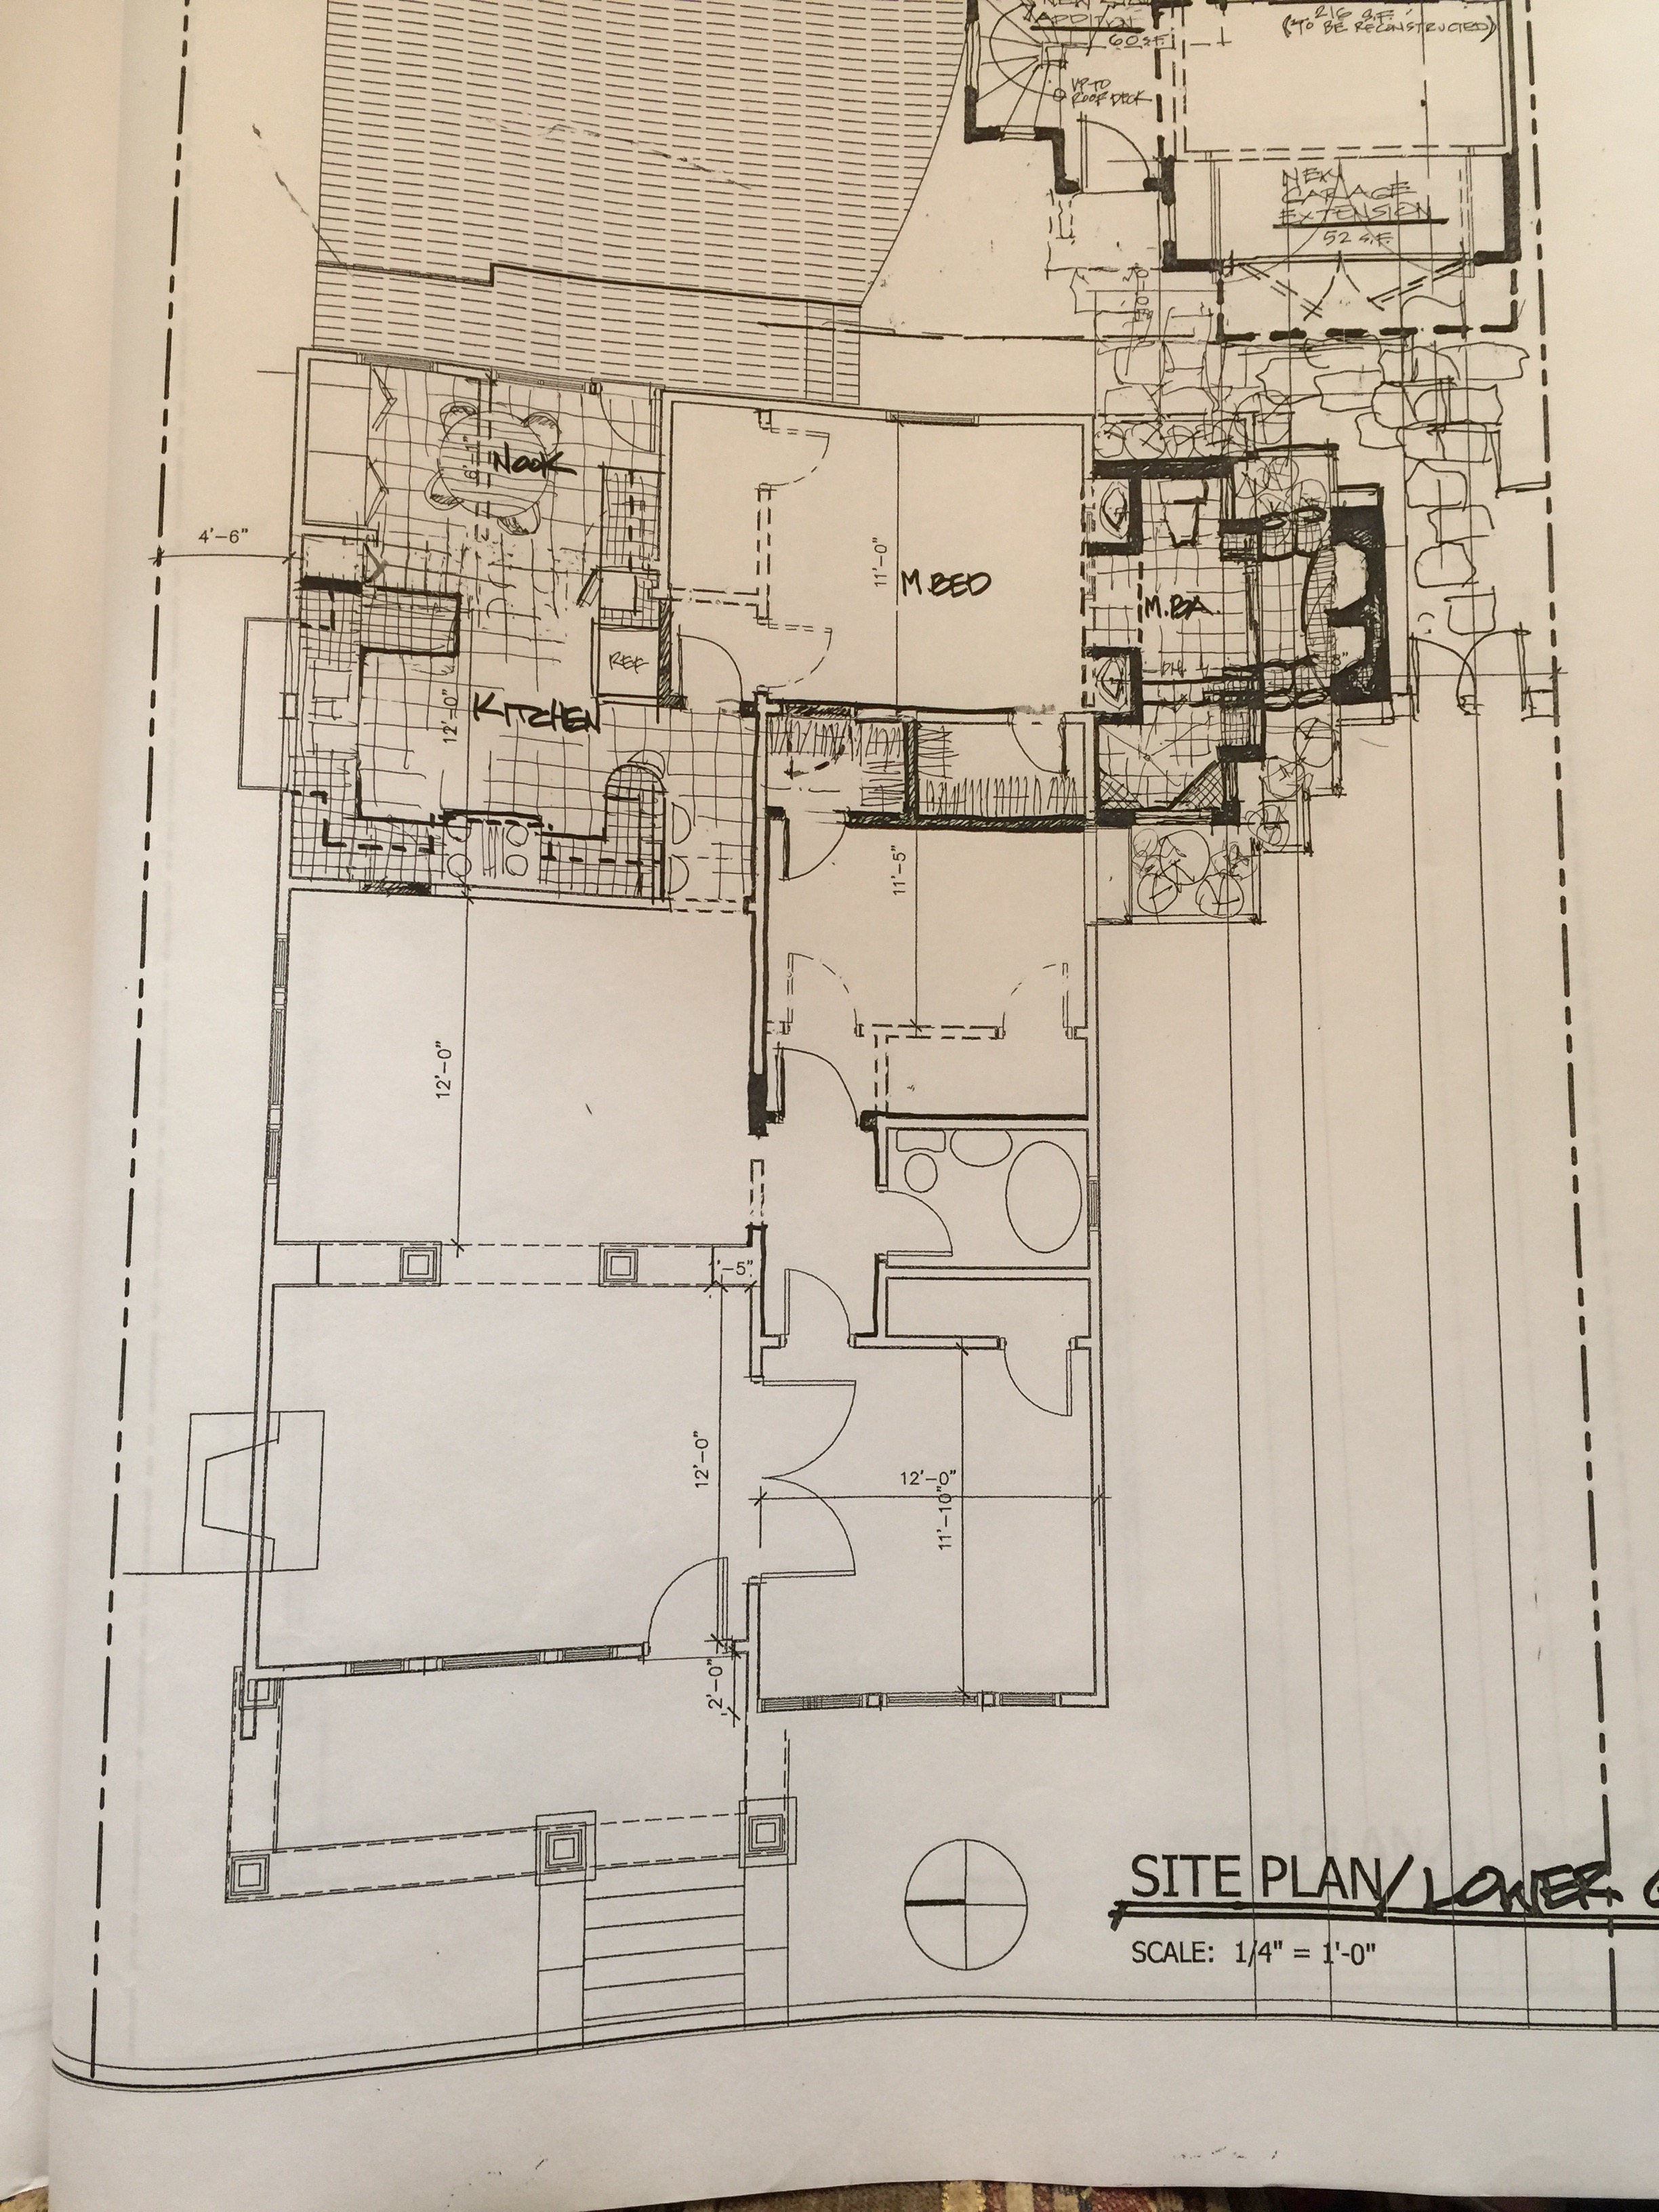
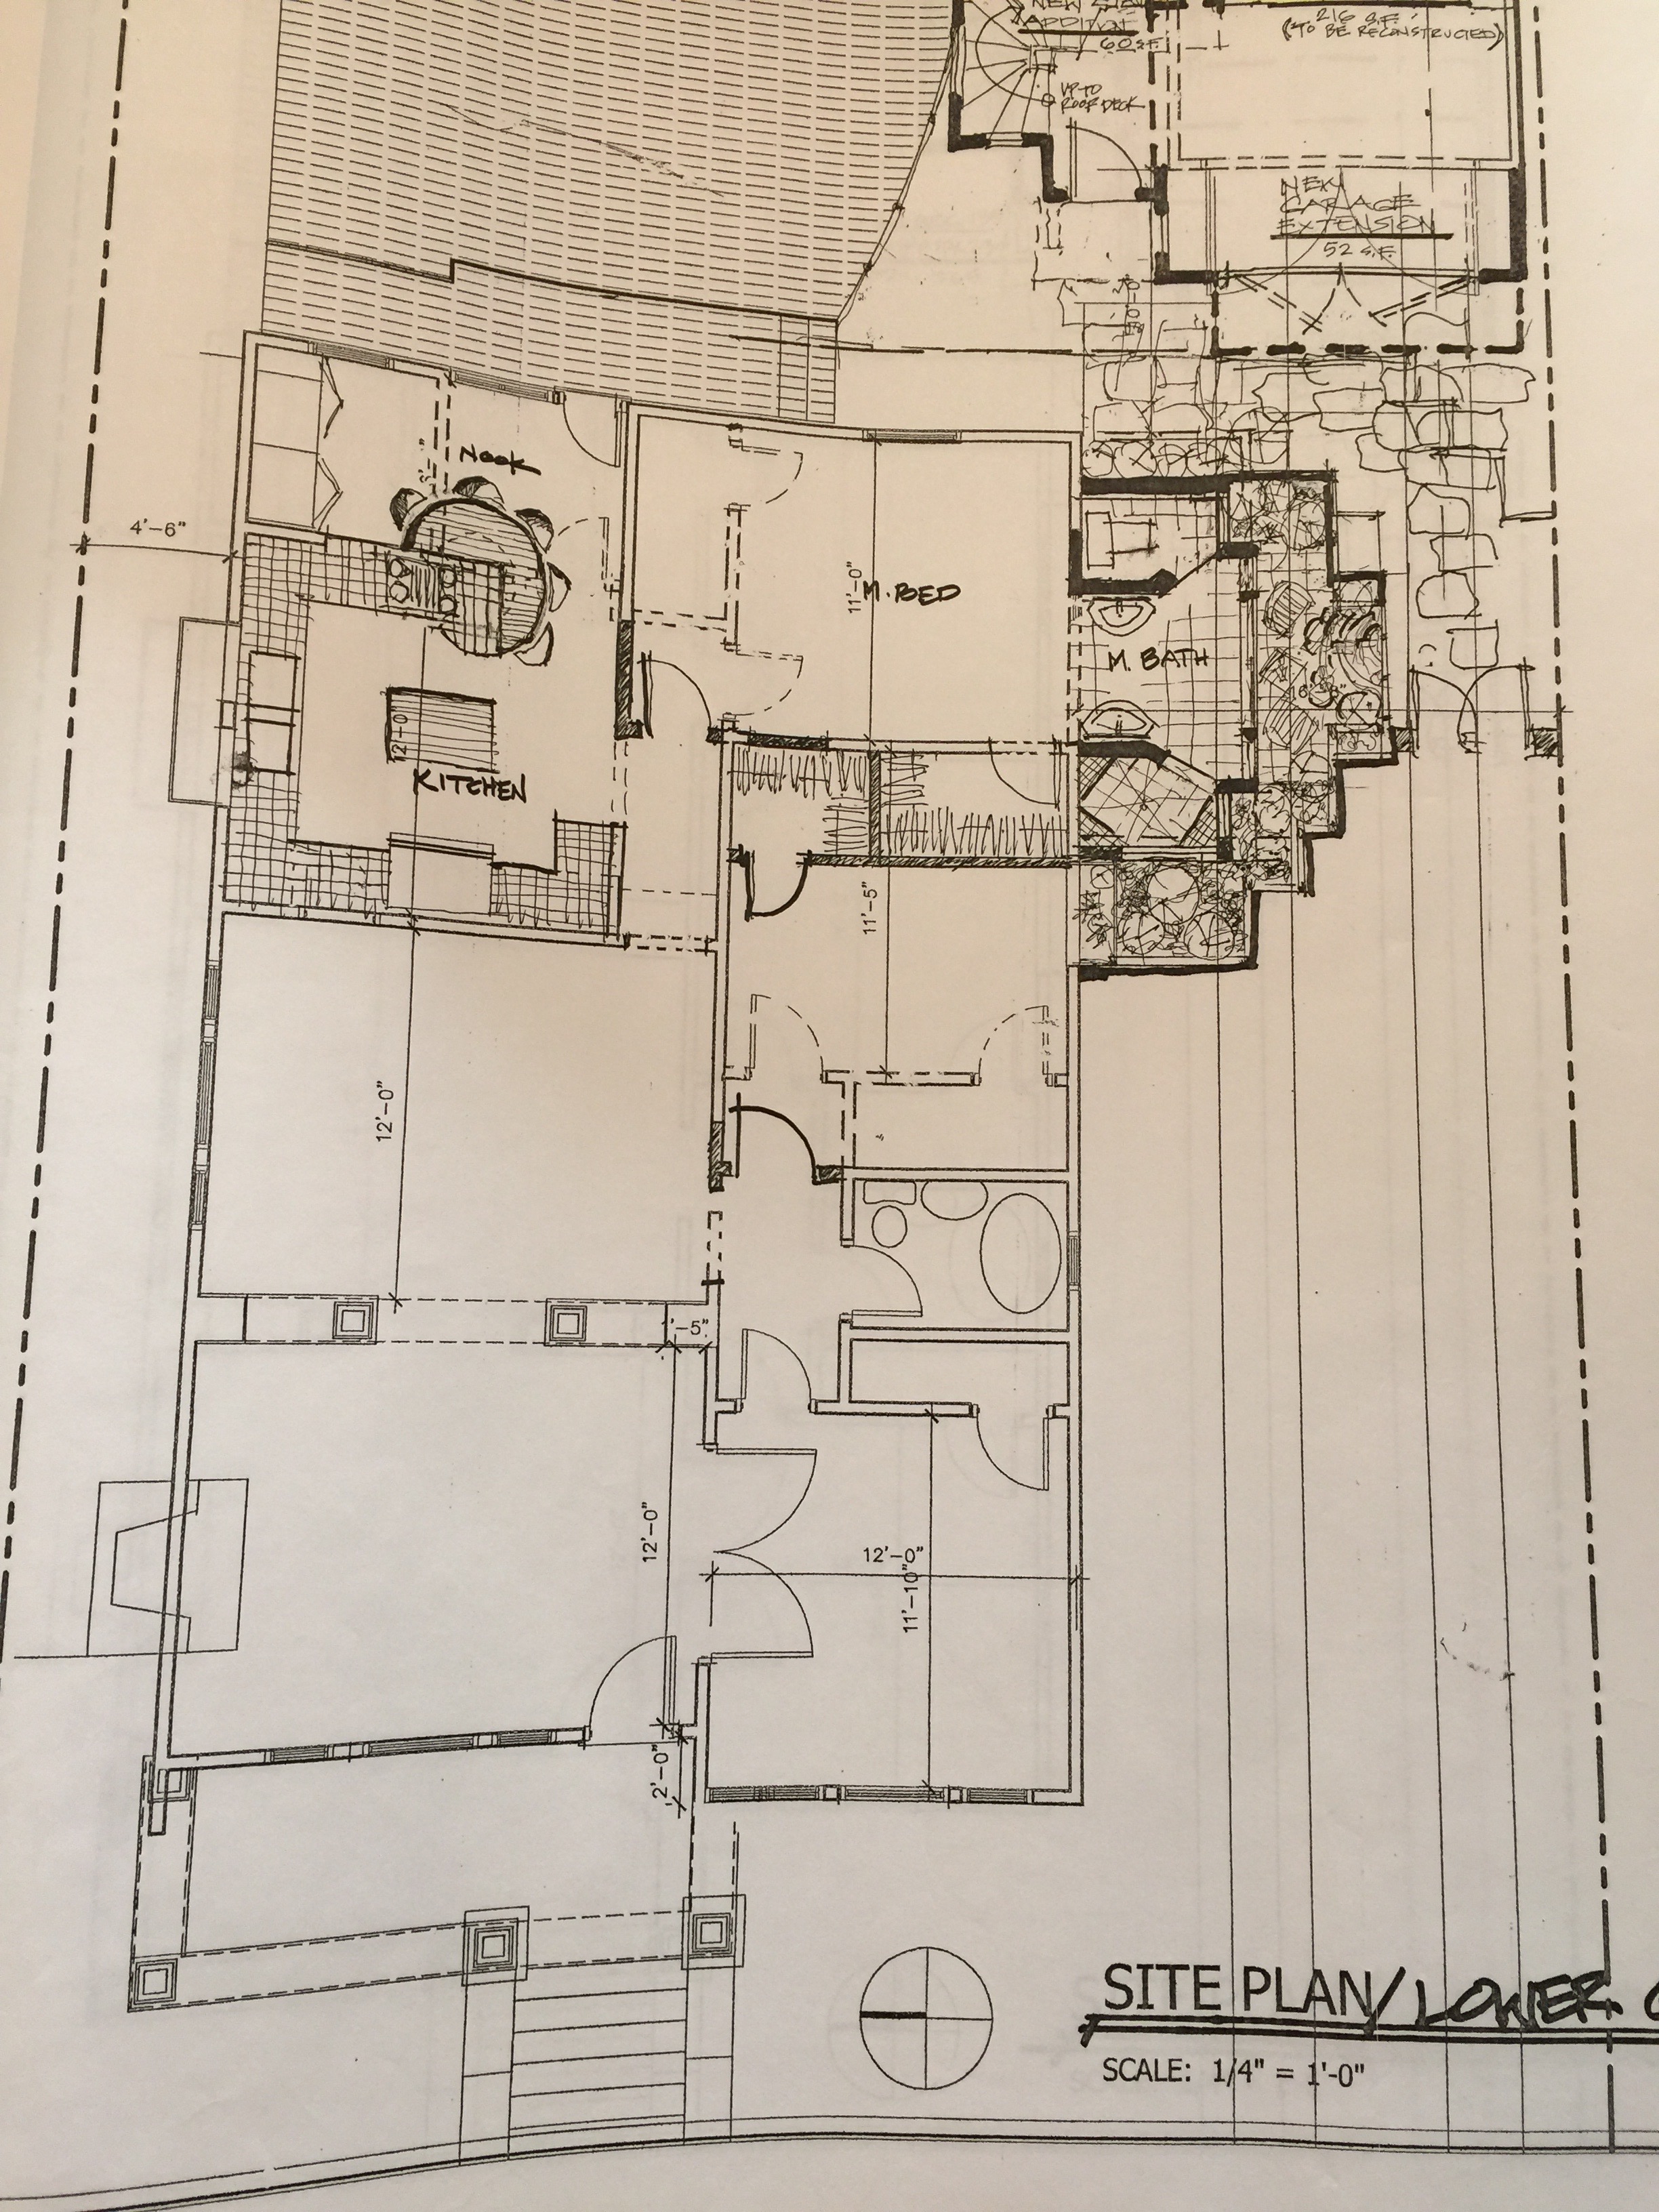
Here's the plan I'm toying with:

Proposed floor plan for house The Gold Hive

In this new layout, we'd gain a second bathroom, a bigger closet, both the kitchen and the master the would open up to the backyard, and we'd access the master through a hallway instead of another room. YAY! The only compromise is that the guest bedroom would get significantly smaller. To remedy the small space, I'll add transom windows over the guest room and hallway doors so natural light can flow between all the spaces. We will also install pocket doors to gain as much floor space as possible.

Here are each of the floor plans side-by-side so you can see the changes.

side-by-side layout changes.jpg

Since it's hard to visualize a space that you've never set foot in, I put together a video walkthrough using the renderings I created to design the floorplan. Take a look at the 2-minute video below for a better idea of the house will flow.

Reducing the size of a bedroom isn't ideal, I know. But the other options I played with had much bigger compromises. We toyed with adding on into the backyard, making the master accessible from the dining room, by jogging the hallway over to not take away bedroom space, and so many more.

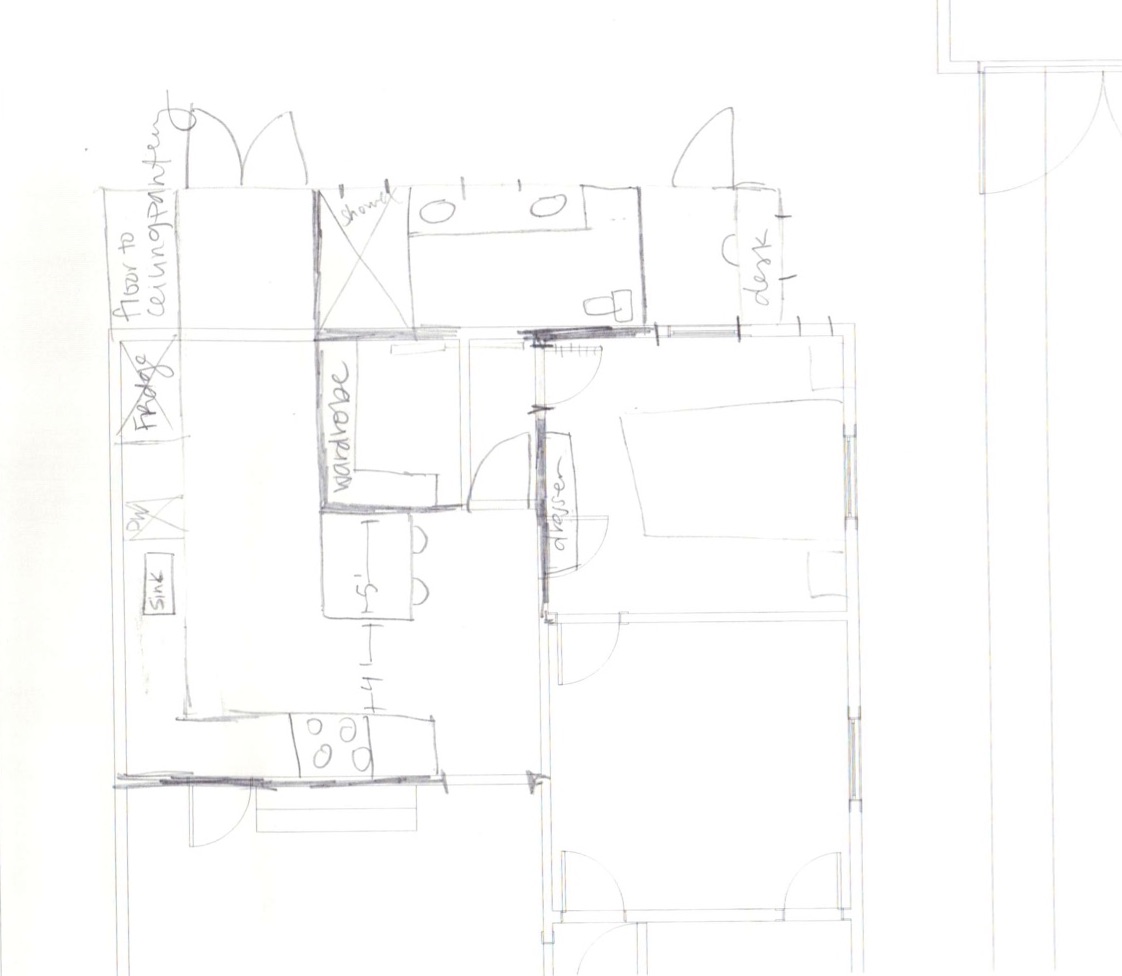
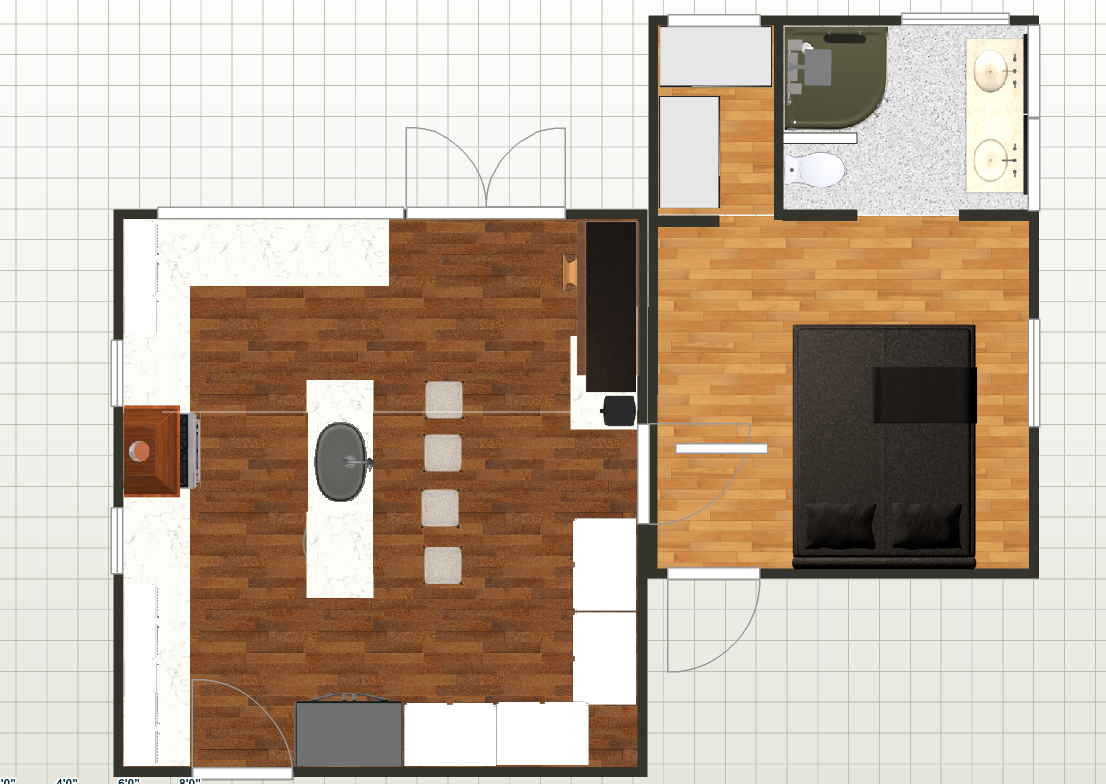
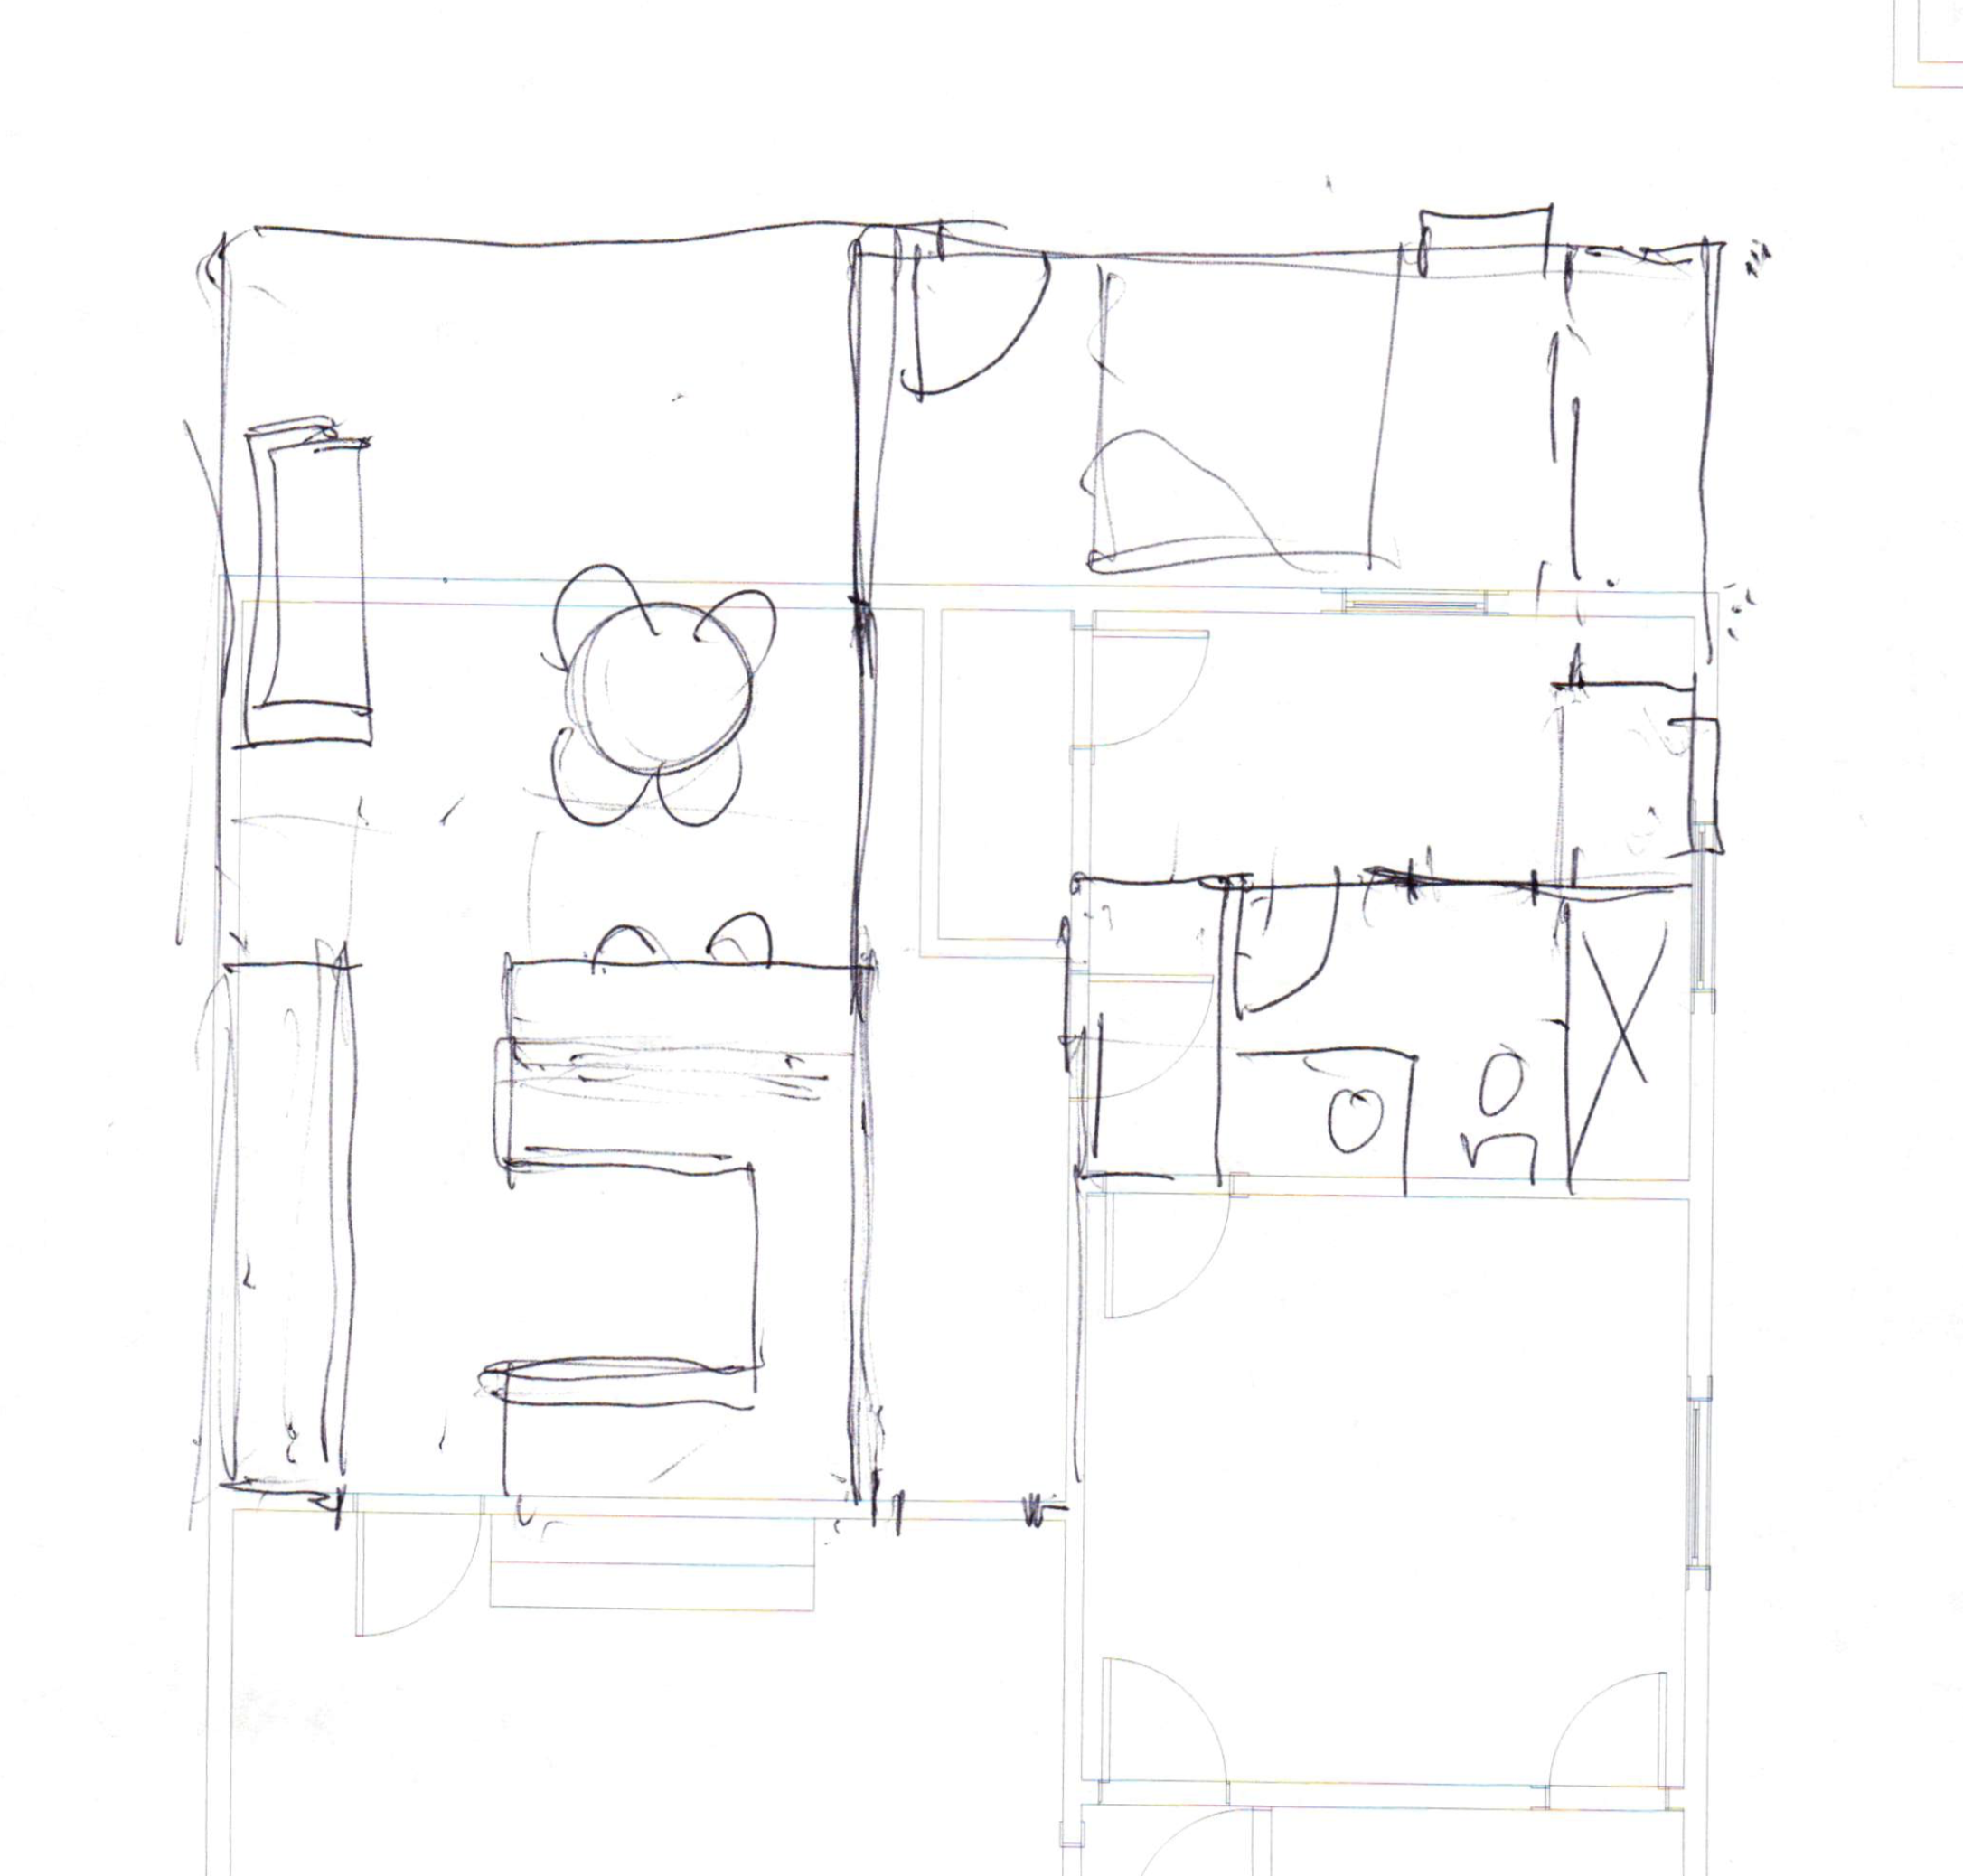
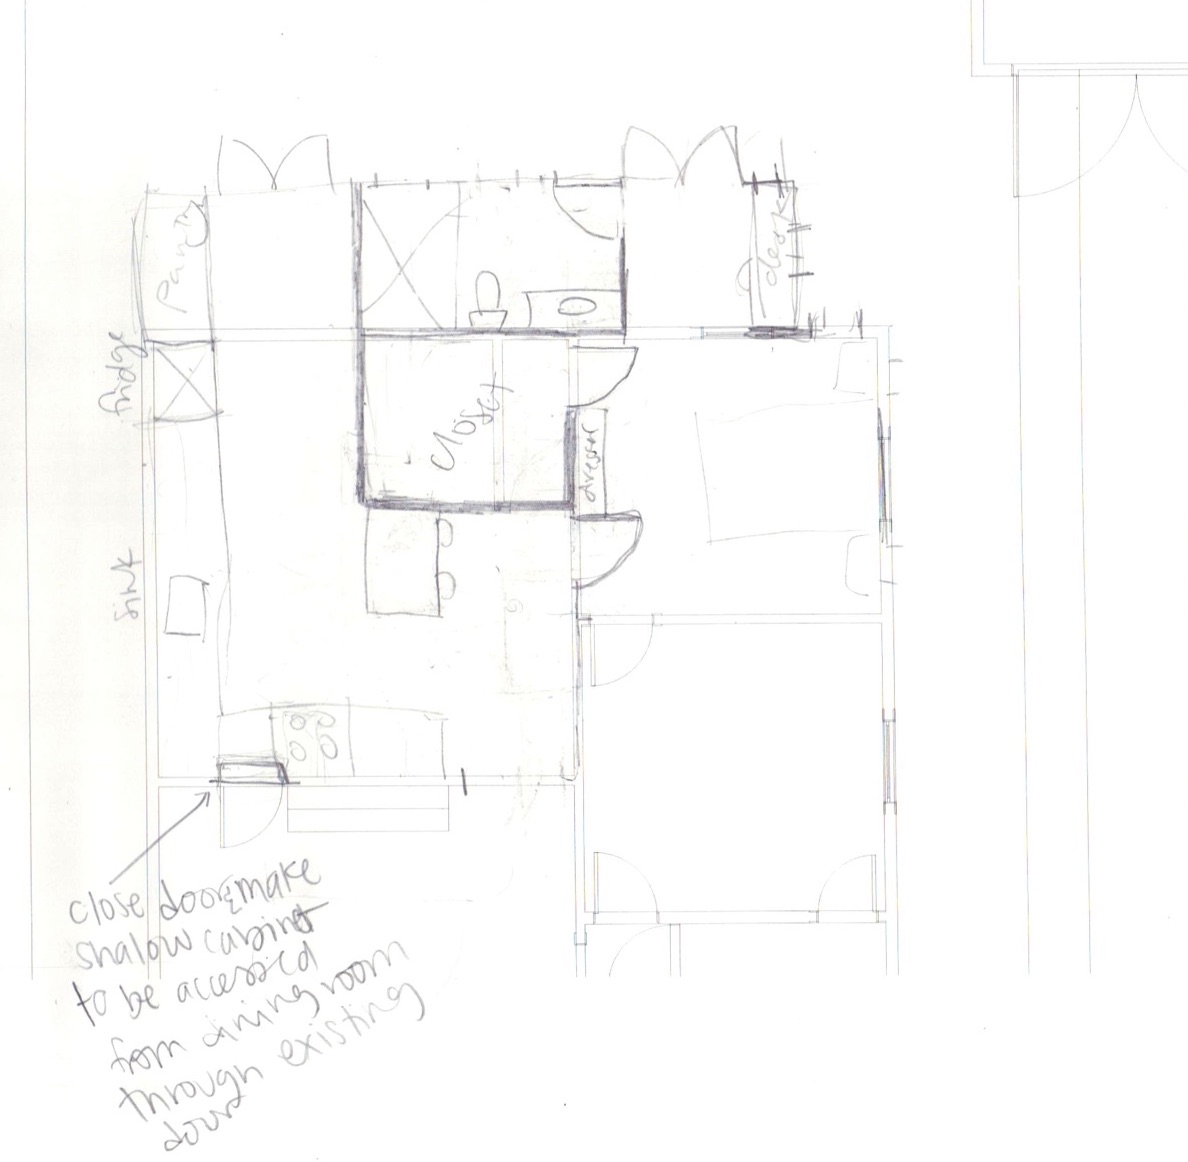
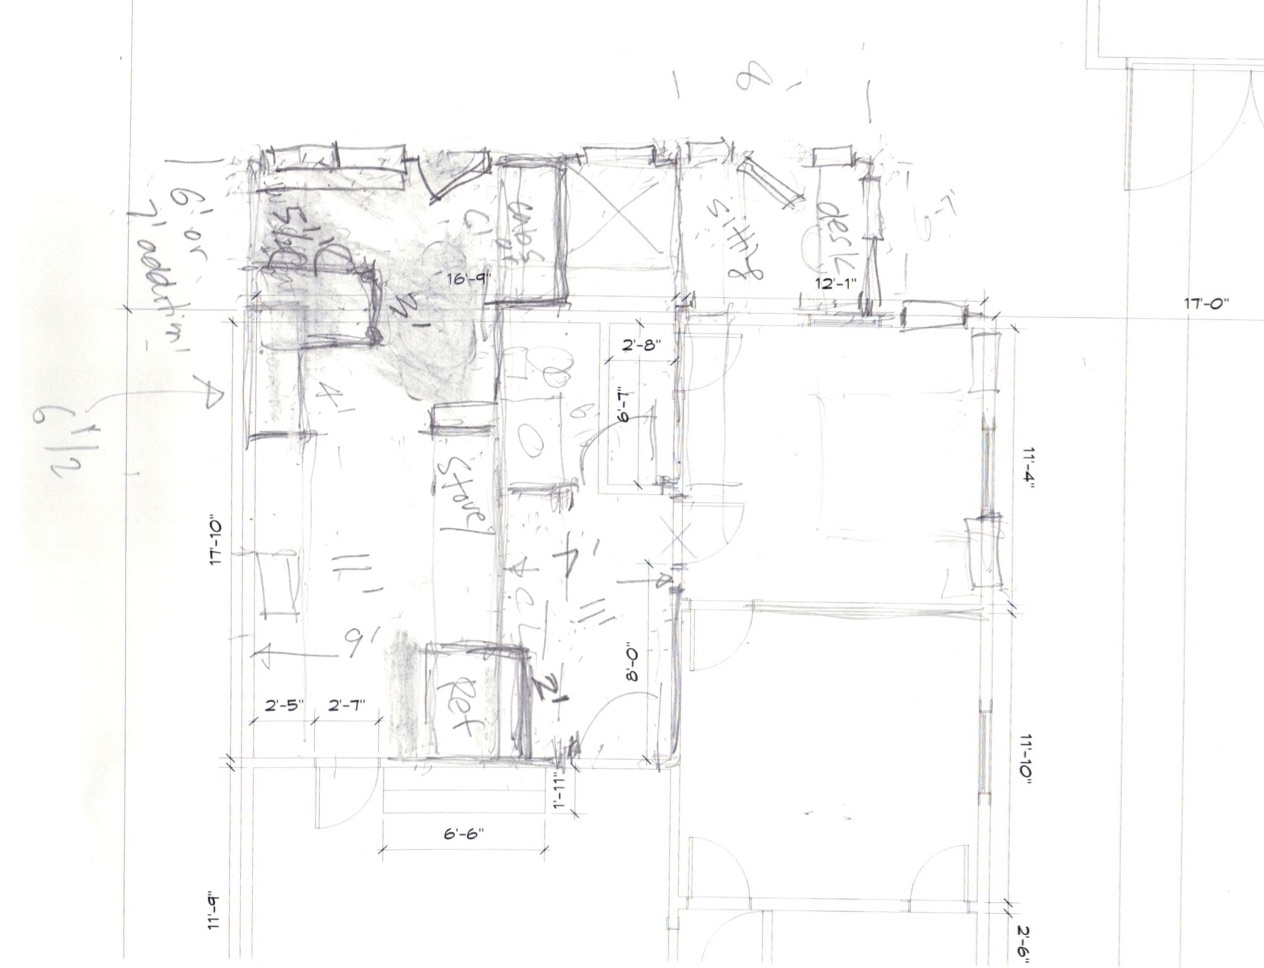
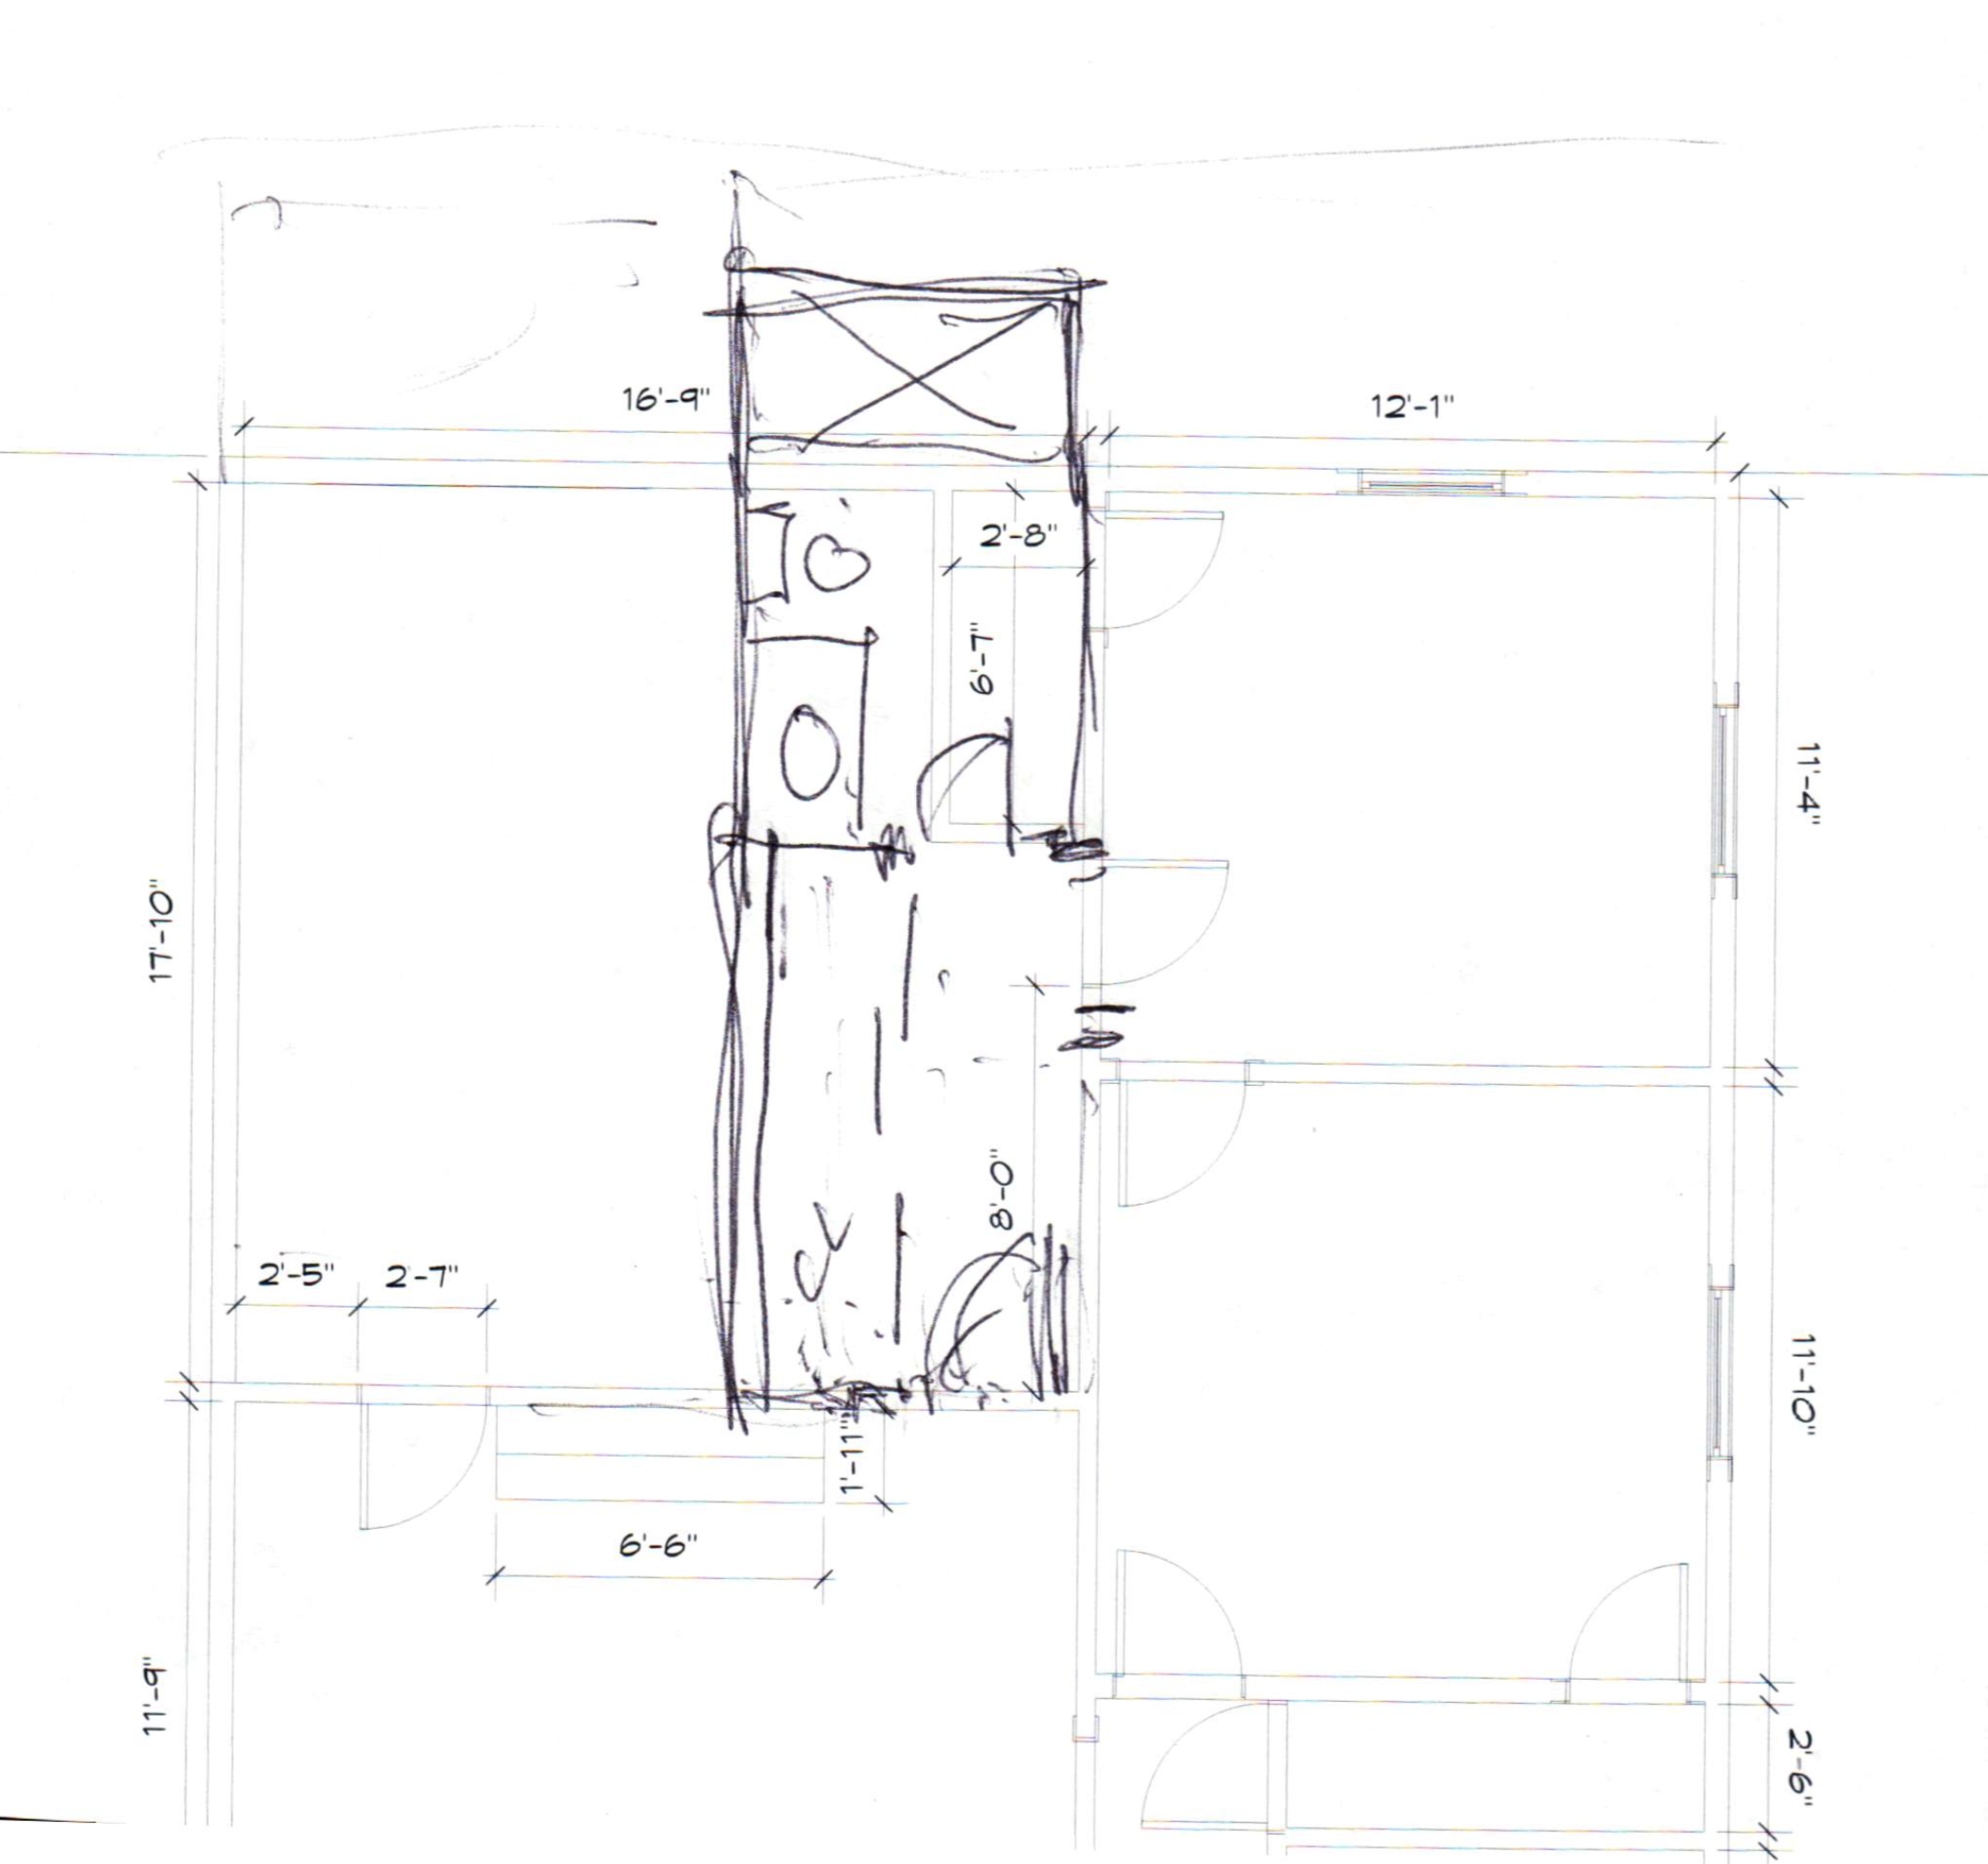
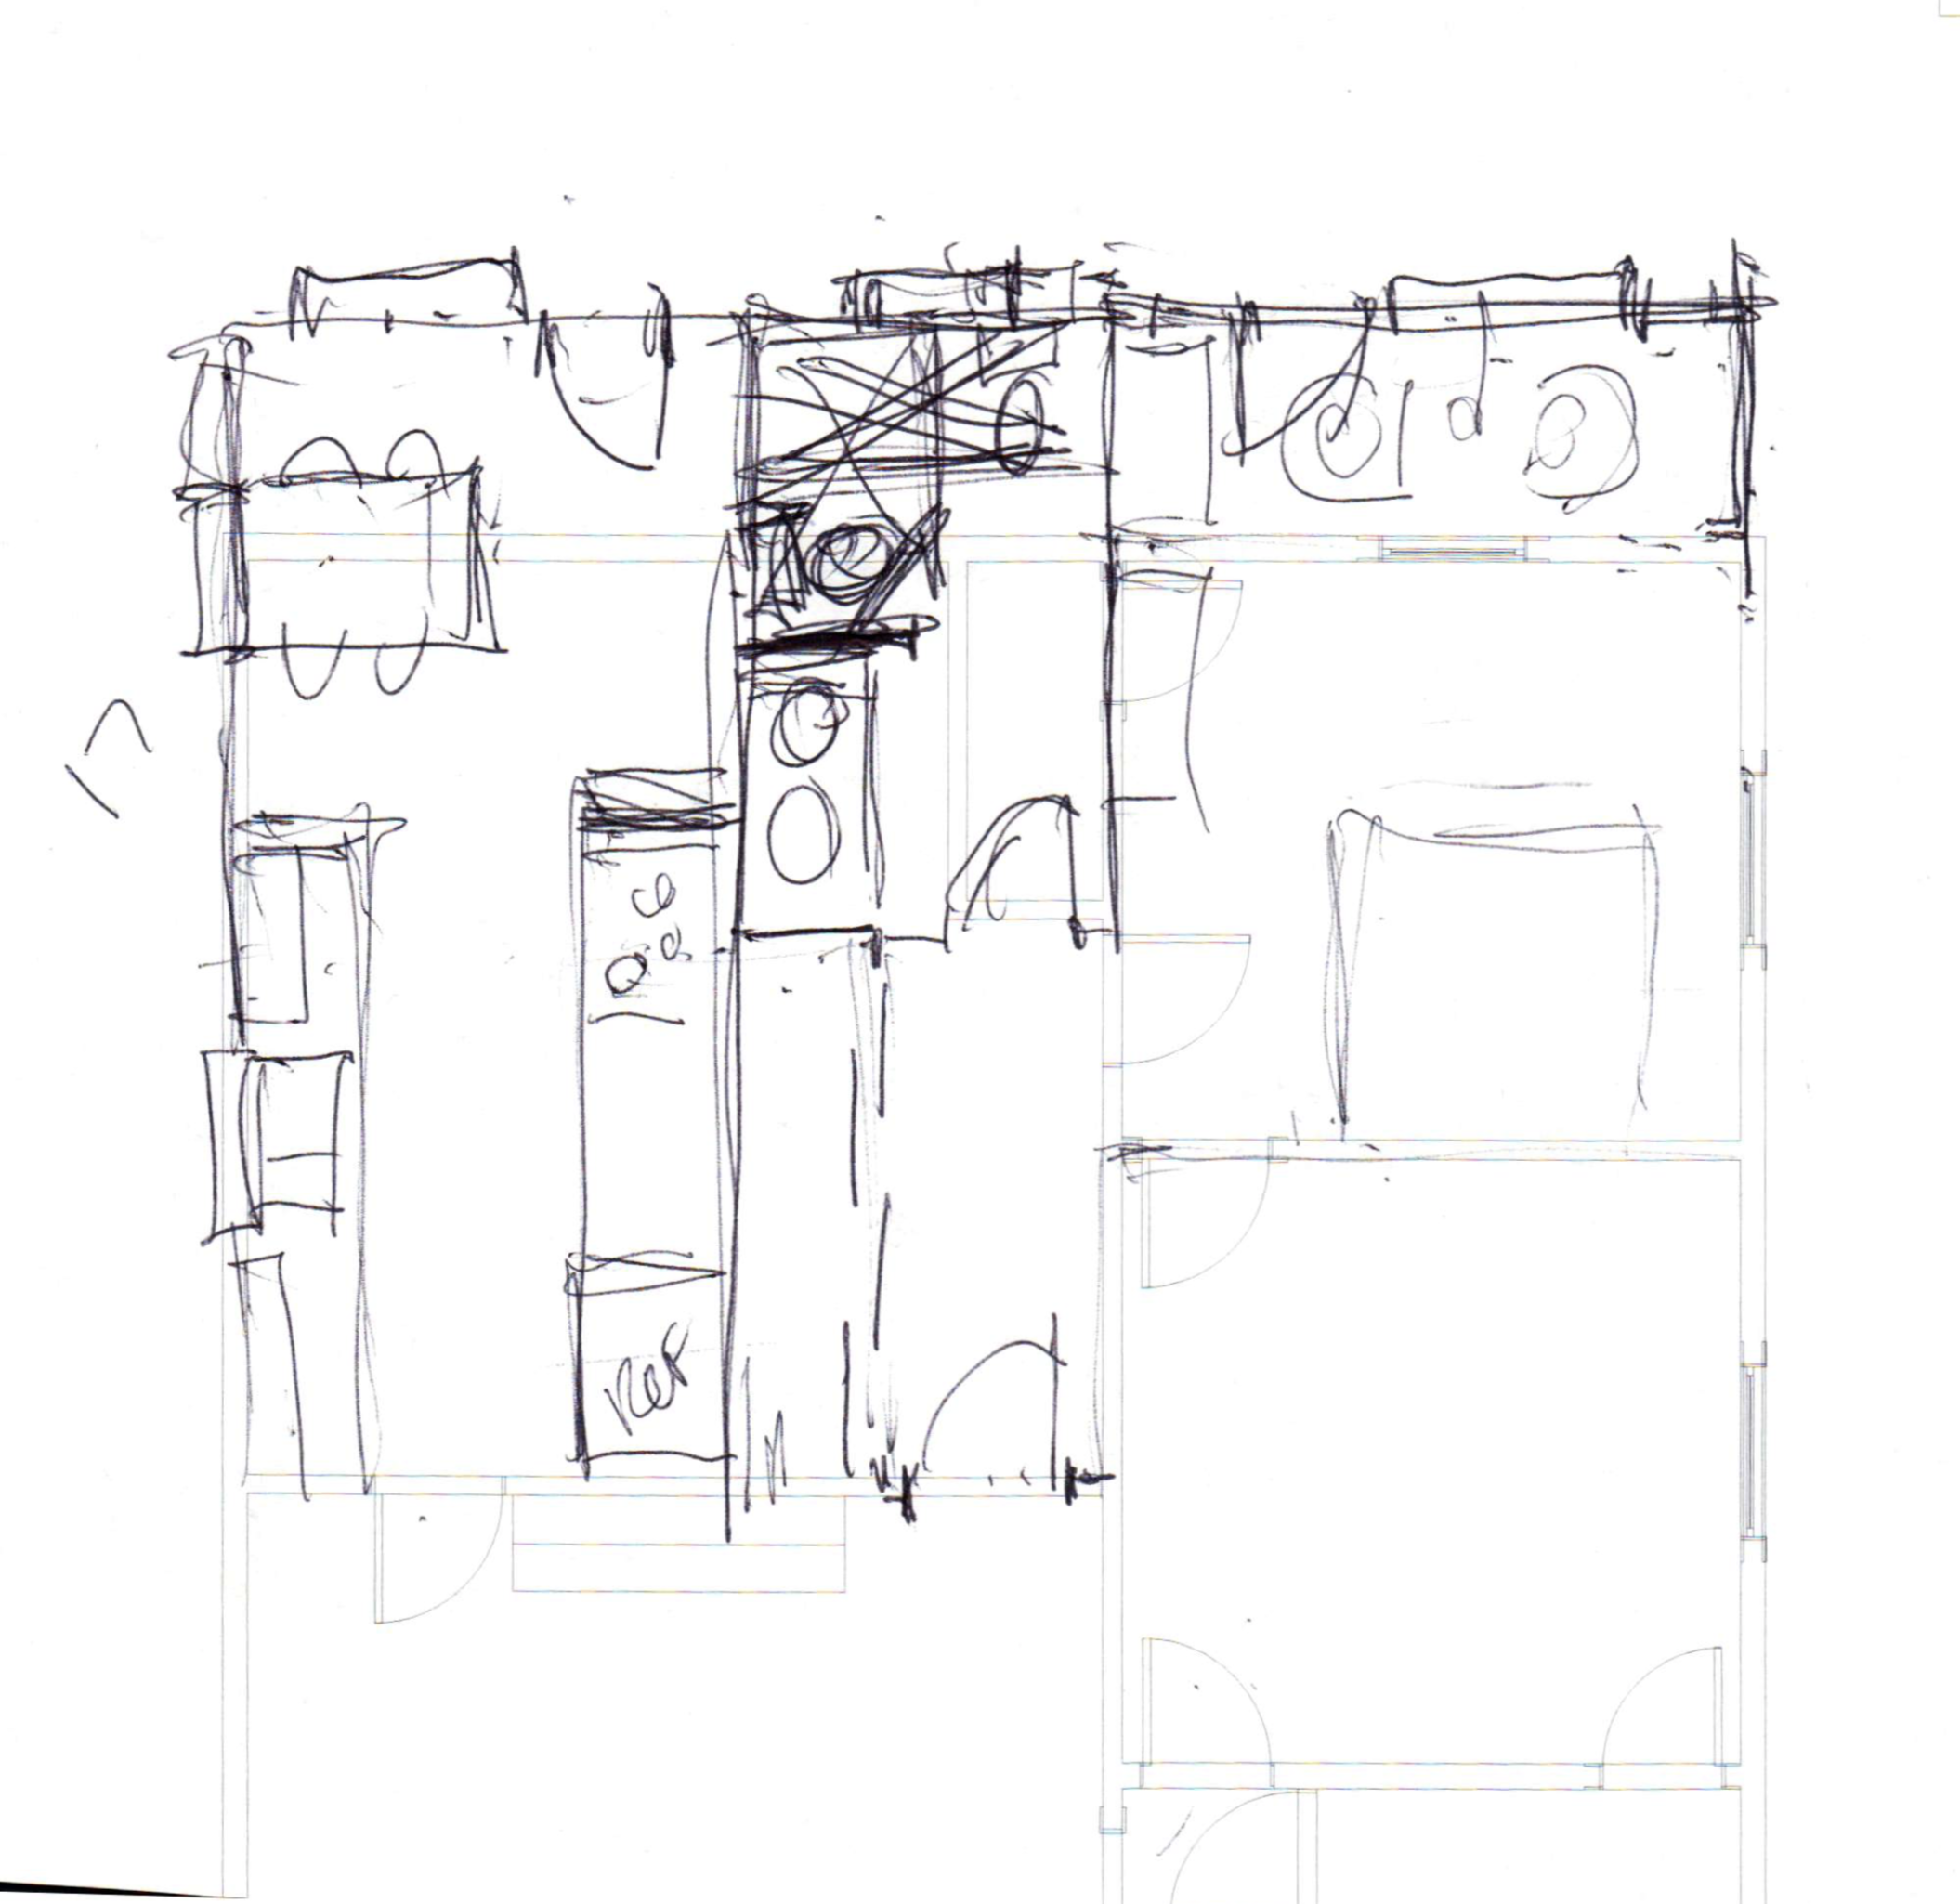
If you're into floor plan configurations, cycle through the ones below. The differing rendering styles are because some are mine, some are from the previous owner's plans to add on, and the others were sketched by Ross' uncle who we cornered at a family reunion to brainstorm a bunch of ideas together. He's a prison architect - yes, prisons - but in a nice rehabilitative way. I have probably 30 other drawings in a notebook, but looking at them is too exhausting. If you're a layout nerd, let me know and maybe I'll upload the rest of them.

So, tell me! Any thoughts? comments? questions? concerns? I genuinely am interested in what you have to say! I'm not an expert, and I haven't lived in a variety of houses to know how different designs function but I'm taking inspiration from house tours, blogs, online images, books, and asking all the pros I can. Please weigh in - whether you're an expert or not! If you want to sketch up an idea to send my way, here's a pdf of the current floor plan.

We're taking this project on in phases, but phase one starts soon, so speak now or forever hold your peace! Note also that the kitchen isn't fully fleshed out. The renderings are not the final layout and most certainly not the finishes you can expect in the kitchen remodel - so stay tuned for that.

Thanks in advance for your feedback!

See The Latest Kitchen Renovation Posts

My Go-To Lemon Meringue Pie Recipe

lemons mer-0080.jpg

Happy New Year! Everyone's new year's resolution was to eat more desserts, right? Well, for those of you aiming to up the pie intake, here's a recipe for you inspired by yesterday's lemon haul. The tree in our front yard was weighed down by lots of citrus, so I plucked most of them off and spent a few hours squeezing the lemons. Check out a video of the process I made in my Instagram Stories. I now have enough juice to last us through 2018 - and probably into 2019!

lemons2-0090.jpg

This is my go-to lemon meringue pie recipe that I adapted from three different recipes and then tweaked throughout the years. Ross' grandmother reminds me each time I serve it, that she normally hates anything with lemon, but she loves this pie.

Ingredients

Crust:

2 ½ cups all-purpose flour
1 ¼ teaspoon sea salt
1 cup (2 sticks) unsalted butter, chilled and cubed
¾ cup ice water

Filling:

4 large egg yolks
1 cup sugar
¼ teaspoon salt
6 tablespoons cornstarch
1 ½ cup boiling water
2 tablespoons butter
½ cup lemon juice
1 tablespoon lemon zest

Meringue:

4 large egg whites
1 teaspoon vanilla extract
¼ teaspoon lemon juice
6 tablespoons sugar

Prepare the crust

Mix the flour and salt in a large bowl. Using a pastry blender (or, a cheese grater - thanks, Joy the Baker!) incorporate the cold butter until the mixture looks like coarse meal. You want large bits of butter! Drizzle in the ice water and combine with your hands. Dump the mixture onto a floured work surface then knead into a ball. Cut the dough in half and shape into two 1-inch thick disks, wrap in plastic wrap (or a more sustainable wrap) then pop in the fridge for at least an hour.

Roll out one of the dough disks (freeze the other and use another time) on the floured work surface and roll (I like a french rolling pin) out to fit into a 9-inch pie pan. Put into your pie pan of choice (I like ceramic pans), poke the bottom with a fork a few times, then decorate the edges as you like. Line the crust with parchment paper and fill with pie weights. Bake for 15 minutes, then remove the pie weights and cook longer until the crust is golden. Set aside and let cool.

Prepare the filling

In a large sauce pan, whisk the sugar, salt, and cornstarch. Whisk while gradually pouring in the boiling water. Cook over medium heat, whisking constantly until the mixture becomes thick and translucent. Turn off the heat, place a dollop of the mixture into the bowl with the egg yolks, and mix together to temper the eggs. Mix the eggs into the mixture, turn on the heat to medium, and stir until you see large breaking bubbles. Remove from heat and mix in the lemon juice, zest, and butter. Set aside to cool.

Prepare the Meringue

Using an electric mixer, beat the egg whites, vanilla, and lemon juice until soft peaks form. Continue to beat while gradually adding the sugar until stiff peaks form.

Prepare the pie

Pour the meringue mixture into the crust. Dollop the meringue on top of the filling and use two spoons to create peaks with the meringue. Be sure to spread the meringue all the way to the edges touching the crust so it doesn't shrink. Put the pie in the oven under the broiler for a couple of minutes to toast the top of the meringue, or use a culinary torch if you're fancy.

lemons mer-0081.jpg

That's it!

This is one of my favorite pie recipes that I enjoy all year long thanks to my wintertime efforts freezing all of the lemon juice. A few products that make the lemon harvesting so much better are the electric citrus juicer (mine is discontinued but that one has great reviews) the magical ice cube tray that you can store in the freezer sideways, the juice jars to store the juice waiting to be frozen - or freshly made lemonade, and you can't forget the strainer to remove pulp. You can see my whole process in my Instagram Stories!

Do you want more recipes from me? Or, would you rather me stick to home design and renovations? It's okay, you can be honest.

Here's to a year of citrus and pie! Happy 2018.